Creative Woodworks & crafts 1997-12, страница 32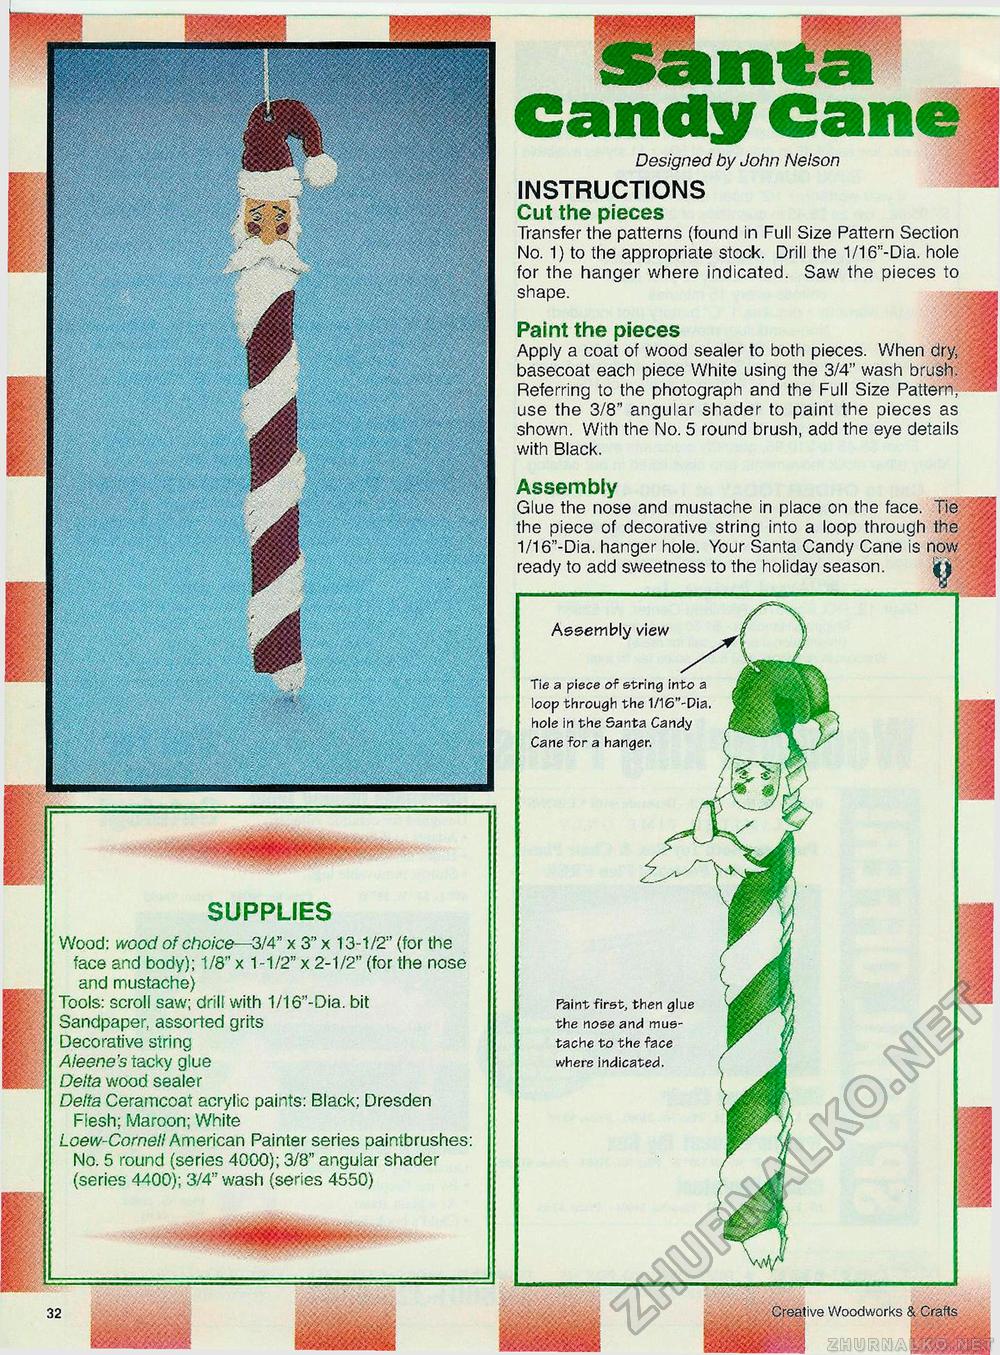
Assembly view Tie a piece of string into a loop through the 1/16"-Dia. hole in the Santa Candy Cane for a hanger. Paint first, then glue the nose and mustache to the face where indicated. SUPPLIES Wood: wood of choice—3/4" x 3" x 13-1/2" (for the face and body); 1/8" x 1-1/2" x 2-1/2" (for the nose and mustache) Tools: scroll saw; drill with 1/16"-Dia. bit Sandpaper, assorted grits Decorative string Aieene's tacky glue Delta wood sealer Delta Ceramcoat acrylic paints: Black; Dresden Flesh; Maroon; White Loew-Cornell American Painter series paintbrushes: No. 5 round (series 4000); 3/8" angular shader (series 4400); 3/4" wash (series 4550) Woodworks & Crafts Assembly Glue the nose and mustache in place on the face. Tie the piece of decorative string into a loop through the 1/16"-Dia. hanger hole. Your Santa Candy Cane is now |§§ ready to add sweetness to the holiday season. Candy Cane Designed by John Nelson INSTRUCTIONS Cut the pieces Transfer the patterns (found in Full Size Pattern Section No. 1) to the appropriate stock. Drill the 1/16"-Dia. hole for the hanger where indicated. Saw the pieces to shape. Paint the pieces Apply a coat of wood sealer to both pieces. When dry, basecoat each piece White using the 3/4" wash brush. Referring to the photograph and the Full Size Pattern, use the 3/8" angular shader to paint the pieces as shown. With the No. 5 round brush, add the eye details with Black. |


