Creative Woodworks & crafts 1997-12, страница 59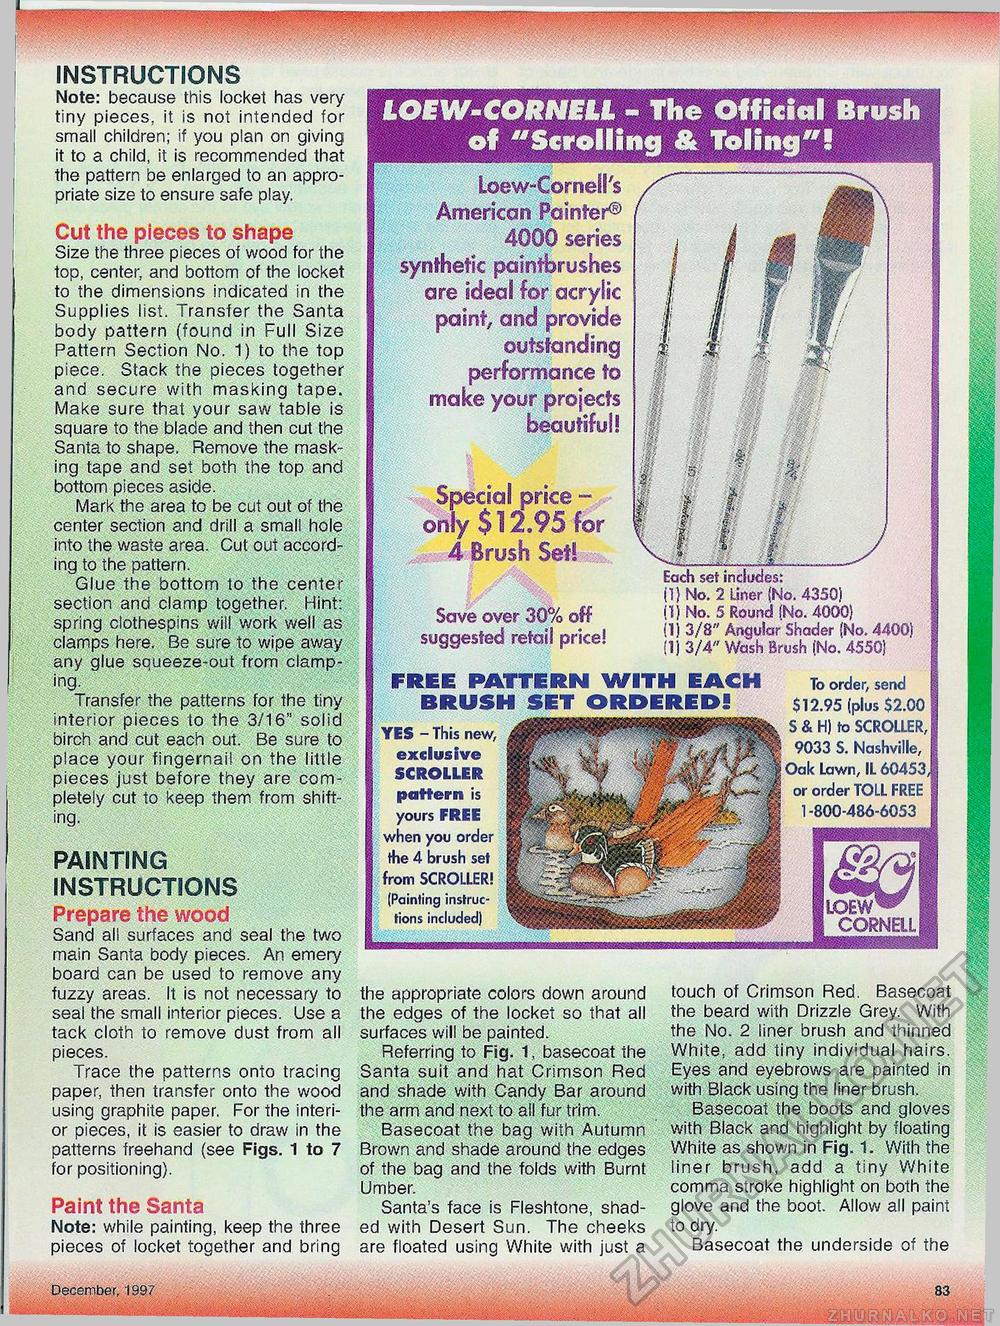
LQEWw CORNELL INSTRUCTIONS Note: because this locket has very tiny pieces, it is not intended for small children; if you plan on giving it to a child, it is recommended that the pattern be enlarged to an appropriate size to ensure safe play. Cut the pieces to shape Size the three pieces of wood for the top, center, and bottom of the locket to the dimensions indicated in the Supplies list. Transfer the Santa body pattern (found in Full Size Pattern Section No. 1) to the top piece. Stack the pieces together and secure with masking tape. Make sure that your saw table is square to the blade and then cut the Santa to shape. Remove the masking tape and set both the top and bottom pieces aside. Mark the area to be cut out of the center section and drill a small hole into the waste area. Cut out according to the pattern. Glue the bottom to the center section and clamp together. Hint: spring clothespins will work well as clamps here. Be sure to wipe away any glue squeeze-out from clamping. Transfer the patterns for the tiny interior pieces to the 3/16" solid birch and cut each out. Be sure to place your fingernail on the little pieces just before they are completely cut to keep them from shifting. PAINTING INSTRUCTIONS Prepare the wood Sand all surfaces and seal the two main Santa body pieces. An emery board can be used to remove any fuzzy areas. It is not necessary to seal the small interior pieces. Use a tack cloth to remove dust from all pieces. Trace the patterns onto tracing paper, then transfer onto the wood using graphite paper. For the interior pieces, it is easier to draw in the patterns freehand (see Figs. 1 to 7 for positioning). Paint the Santa Note: while painting, keep the three pieces of locket together and bring LOEW-CORNEU - The Official Brush of "Scrolling & To I ing"! Loew-Comell's American Painter® 4000 series synthetic paintbrushes are ideal for acrylic paint, and provide outstanding performance to make your projects beautiful! Special price -only $ 12.95 for 4 Brush Setl Save over 30% off suggested retail price! Each set includes: (1) No. 2 Liner (No. 43501 (1) No. 5 Round (No. 4000) (1) 3/8" Angular Shader (No. 4400) (1) 3/4" Wash Brush (No. 4550| FREE PATTERN WITH EACH BRUSH SET ORDERED! YES - This new, exclusive SCROLLER pattern is yours FREE when you order the 4 brush set from SCROLLER! (Painting instructions included) To order, send $12.95 (plus $2.00 S & H) to SCROLLER, 9033 S. Nashville, Oak Lawn, IL 60453, or order TOLL FREE 1-800-486-6053 the appropriate colors down around the edges of the locket so that all surfaces will be painted. Referring to Fig. 1, basecoat the Santa suit and hat Crimson Red and shade with Candy Bar around the arm and next to ail fur trim. Basecoat the bag with Autumn Brown and shade around the edges of the bag and the folds with Burnt Umber. Santa's face is Fleshtone, shaded with Desert Sun. The cheeks are floated using White with just a touch of Crimson Red. Basecoat the beard with Drizzle Grey. With the No. 2 liner brush and thinned White, add tiny individual hairs. Eyes and eyebrows are painted in with Black using the liner brush. Basecoat the boots and gloves with Black and highlight by floating White as shown in Fig. 1. With the liner brush, add a tiny White comma stroke highlight on both the glove and the boot. Allow all paint to dry. Basecoat the underside of the December, 1997 83 |


