Creative Woodworks & crafts 1998-09, страница 54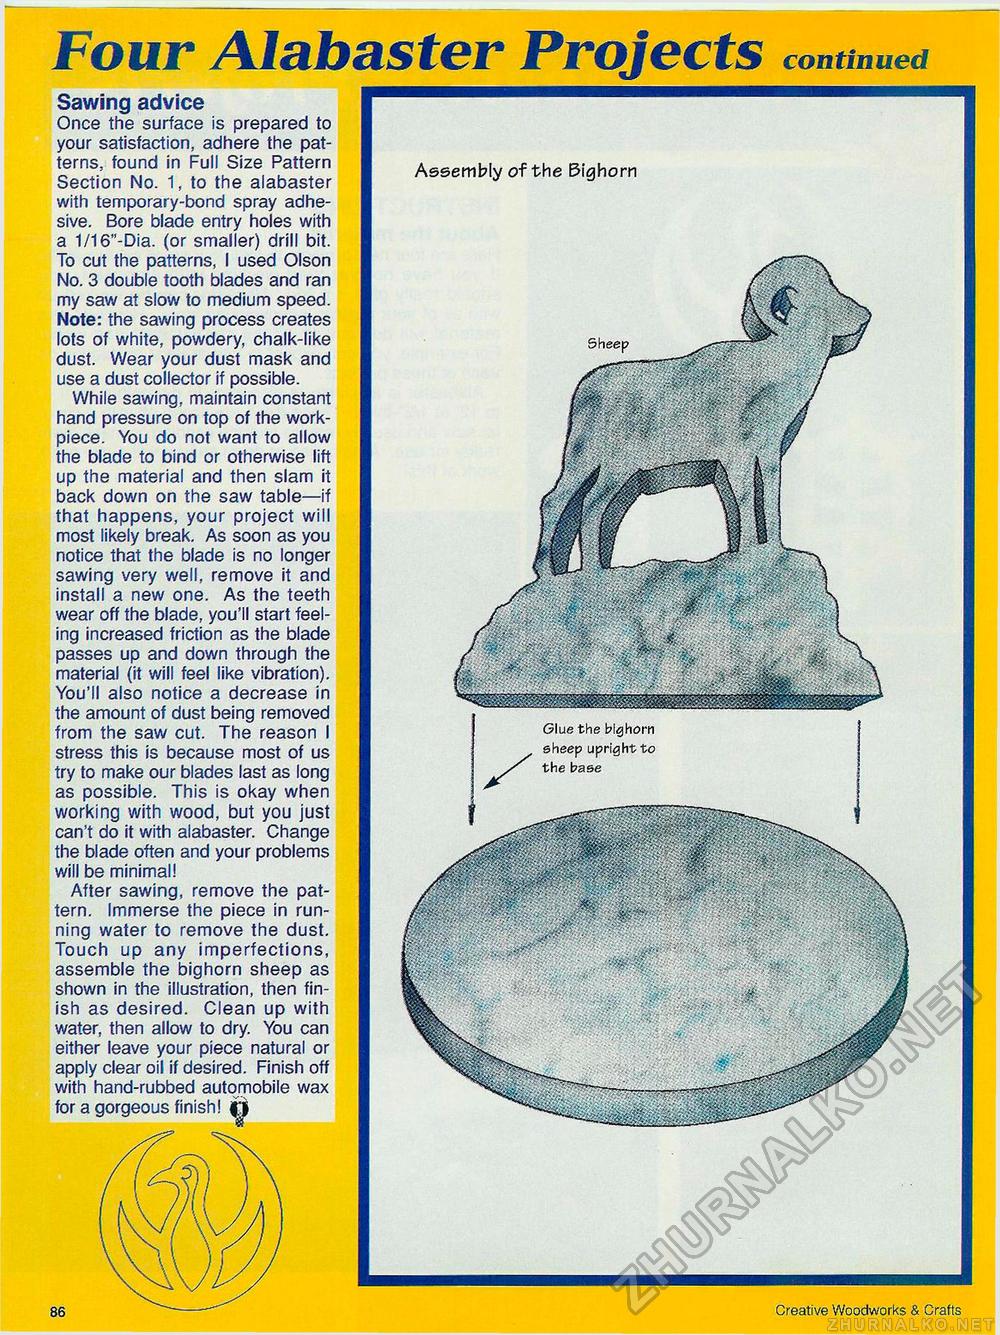
Four Alabaster Projects continuedSawing advice Once the surface is prepared to your satisfaction, adhere the patterns, found in Full Size Pattern Section No. 1, to the alabaster with temporary-bond spray adhesive. Bore blade entry holes with a 1/16"-Dia. (or smaller) drill bit. To cut the patterns, I used Olson No. 3 double tooth blades and ran my saw at slow to medium speed. Note: the sawing process creates lots of white, powdery, chalk-like dust. Wear your dust mask and use a dust collector if possible. While sawing, maintain constant hand pressure on top of the work-piece. You do not want to allow the blade to bind or otherwise lift up the material and then slam it back down on the saw table—if that happens, your project will most likely break. As soon as you notice that the blade is no longer sawing very well, remove it and install a new one. As the teeth wear off the blade, you'll start feeling increased friction as the blade passes up and down through the material (it will feel like vibration). You'll also notice a decrease in the amount of dust being removed from the saw cut. The reason I stress this is because most of us try to make our blades last as long as possible. This is okay when working with wood, but you just can't do it with alabaster. Change the blade often and your problems will be minimal! After sawing, remove the pattern. Immerse the piece in running water to remove the dust. Touch up any imperfections, assemble the bighorn sheep as shown in the illustration, then finish as desired. Clean up with water, then allow to dry. You can either leave your piece natural or apply clear oil if desired. Finish off with hand-rubbed automobile wax for a gorgeous finish! fj Assembly of the Bighorn Glue the bighorn sheep upright to the base Creative Woodworks & Crafts |


