Creative Woodworks & crafts 2000-10, страница 38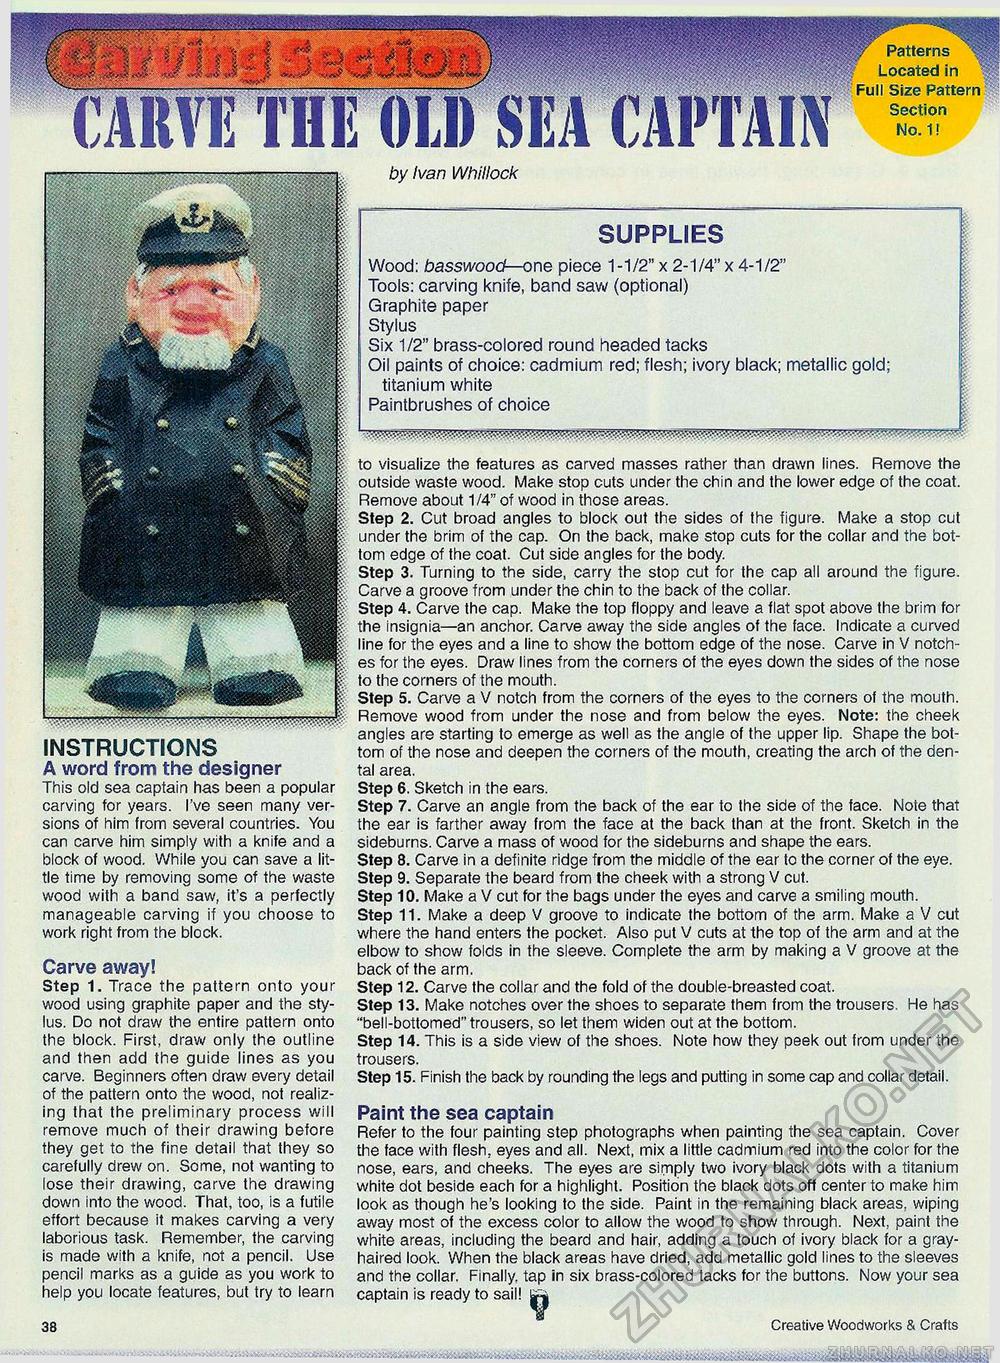
Full Size Pattern No. 1! INSTRUCTIONS A word from the designer This old sea captain has been a popular carving for years. I've seen many versions of him from several countries. You can carve him simply with a knife and a block of wood. While you can save a little time by removing some of the waste wood with a band saw, it's a perfectly manageable carving if you choose to work right from the block. Carve away! Step 1. Trace the pattern onto your wood using graphite paper and the stylus. Do not draw the entire pattern onto the block. First, draw only the outline and then add the guide lines as you carve. Beginners often draw every detail of the pattern onto the wood, not realizing that the preliminary process will remove much of their drawing before they get to the fine detail that they so carefully drew on. Some, not wanting to lose their drawing, carve the drawing down into the wood. That, too, is a futile effort because it makes carving a very laborious task. Remember, the carving is made with a knife, not a pencil. Use pencil marks as a guide as you work to help you locate features, but try to learn SUPPLIES Wood: basswood—one piece 1-1/2" x 2-1/4" x 4-1/2" Tools: carving knife, band saw (optional) Graphite paper Stylus Six 1/2" brass-colored round headed tacks Oil paints of choice: cadmium red; flesh; ivory black; metallic gold; titanium white Paintbrushes of choice by Ivan Whillock to visualize the features as carved masses rather than drawn lines. Remove the outside waste wood. Make stop cuts under the chin and the lower edge of the coat. Remove about 1/4" of wood in those areas. Step 2. Cut broad angles to block out the sides of the figure. Make a stop cut under the brim of the cap. On the back, make stop cuts for the collar and the bottom edge of the coat. Cut side angles for the body. Step 3. Turning to the side, carry the stop cut for the cap all around the figure. Carve a groove from under the chin to the back of the collar. Step 4. Carve the cap. Make the top floppy and leave a flat spot above the brim for the insignia—an anchor. Carve away the side angles of the face. Indicate a curved line for the eyes and a line to show the bottom edge of the nose. Carve in V notches for the eyes. Draw lines from the corners of the eyes down the sides of the nose to the comers of the mouth. Step 5. Carve a V notch from the comers of the eyes to the corners of the mouth. Remove wood from under the nose and from below the eyes. Note: the cheek angles are starting to emerge as well as the angle of the upper lip. Shape the bottom of the nose and deepen the corners of the mouth, creating the arch of the dental area. Step 6. Sketch in the ears. Step 7. Carve an angle from the back of the ear to the side of the face. Note that the ear is farther away from the face at the back than at the front. Sketch in the sideburns. Carve a mass of wood for the sideburns and shape the ears. Step 8. Carve in a definite ridge from the middle of the ear to the corner of the eye. Step 9. Separate the beard from the cheek with a strong V cut. Step 10. Make a V cut for the bags under the eyes and carve a smiling mouth. Step 11. Make a deep V groove to indicate the bottom of the arm. Make a V cut where the hand enters the pocket. Also put V cuts at the top of the arm and at the elbow to show folds in the sleeve. Complete the arm by making a V groove at the back of the arm. Step 12. Carve the collar and the fold of the double-breasted coat. Step 13. Make notches over the shoes to separate them from the trousers. He has "bell-bottomed" trousers, so let them widen out at the bottom. Step 14. This is a side view of the shoes. Note how they peek out from under the trousers. Step 15. Finish the back by rounding the legs and putting in some cap and collar detail. Paint the sea captain Refer to the four painting step photographs when painting the sea captain. Cover the face with flesh, eyes and all. Next, mix a little cadmium red into the color for the nose, ears, and cheeks. The eyes are simply two ivory black dots with a titanium white dot beside each for a highlight. Position the black dots off center to make him look as though he's looking to the side. Paint in the remaining black areas, wiping away most of the excess color to allow the wood to show through. Next, paint the white areas, including the beard and hair, adding a touch of ivory black for a gray-haired look. When the black areas have dried, add metallic gold lines to the sleeves and the collar. Finally tap in six brass-colored tacks for the buttons. Now your sea captain is ready to sail! 38 Creative Woodworks & Crafts |


