Creative Woodworks & crafts 2000-10, страница 6
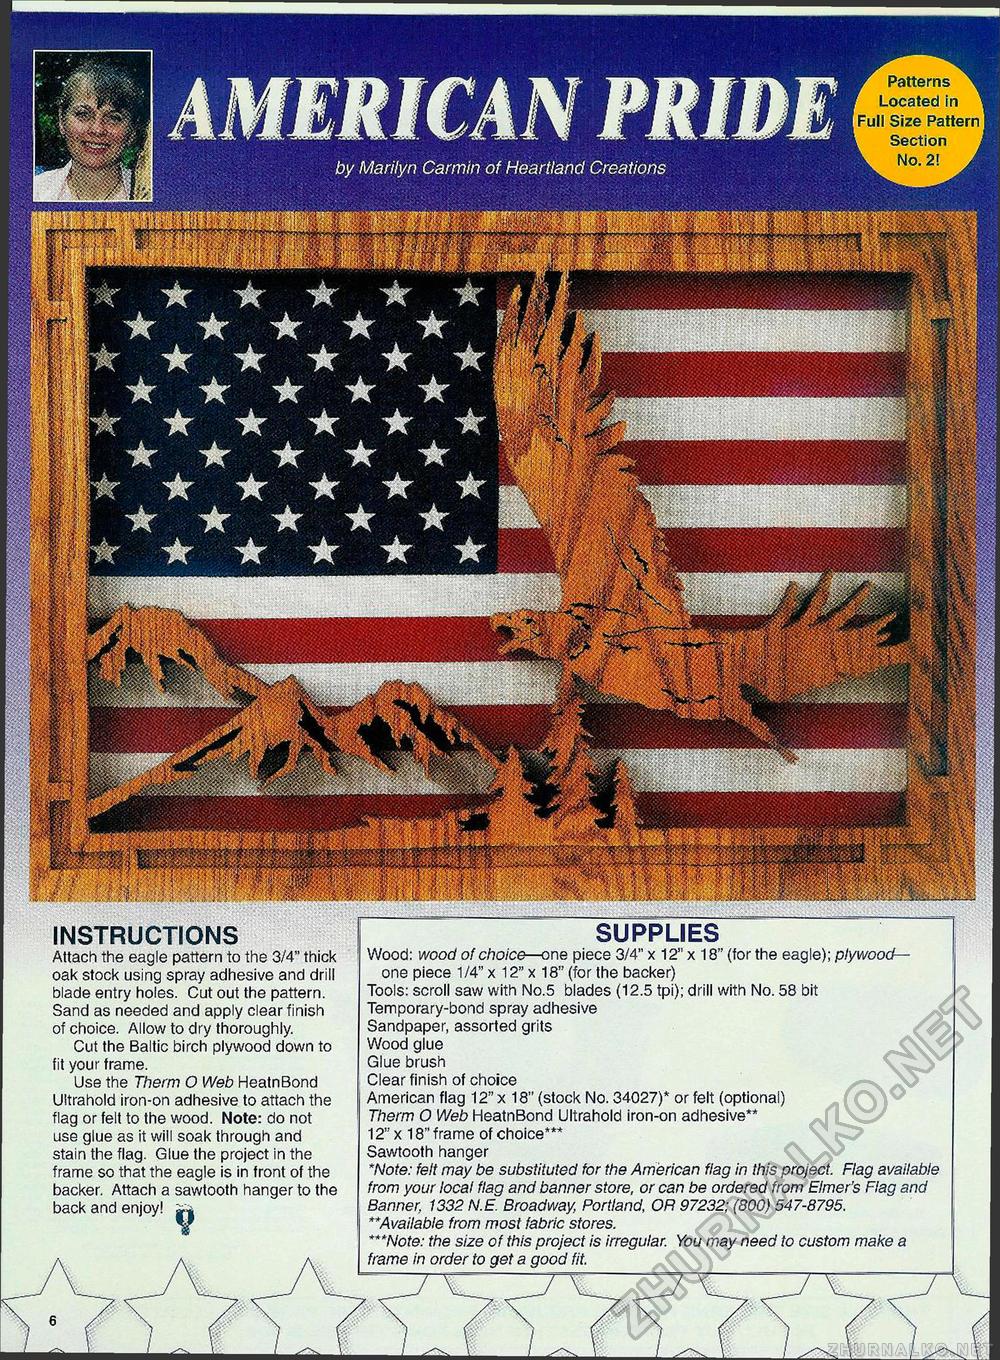
r Patterns ^ Located in * Full Size Pattern L Section i No. 2! A SUPPLIES Wood: wood of choice—one piece 3/4" x 12" x 18" (for the eagle); plywood- one piece 1/4" x 12" x 18" (for the backer) Tools: scroll saw with No.5 blades (12.5 tpi); drill with No. 58 bit Temporary-bond spray adhesive Sandpaper, assorted grits Wood glue Glue brush Clear finish of choice American flag 12" x 18" (stock No. 34027)* or felt (optional) Therm O Web HeatnBond Ultrahold iron-on adhesive** 12" x 18" frame of choice*** Sawtooth hanger 'Note: felt may be substituted for the American flag in this project. Flag available from your local flag and banner store, or can be ordered from Elmer's Flag and Banner, 1332 N.E. Broadway, Portland, OR 97232; (800) 547-8795. **Available from most fabric stores. ***Note: the size of this project is irregular. You may need to custom make a frame in order to get a good fit. INSTRUCTIONS Attach the eagle pattern to the 3/4" thick oak stock using spray adhesive and drill blade entry holes. Cut out the pattern. Sand as needed and apply clear finish of choice. Allow to dry thoroughly. Cut the Baltic birch plywood down to fit your frame. Use the Therm O Web HeatnBond Ultrahold iron-on adhesive to attach the flag or felt to the wood. Note: do not use glue as it will soak through and stain the flag. Glue the project in the frame so that the eagle is in front of the backer. Attach a sawtooth hanger to the back and enjoy! i-i |


