Creative Woodworks & crafts 2001-01, страница 50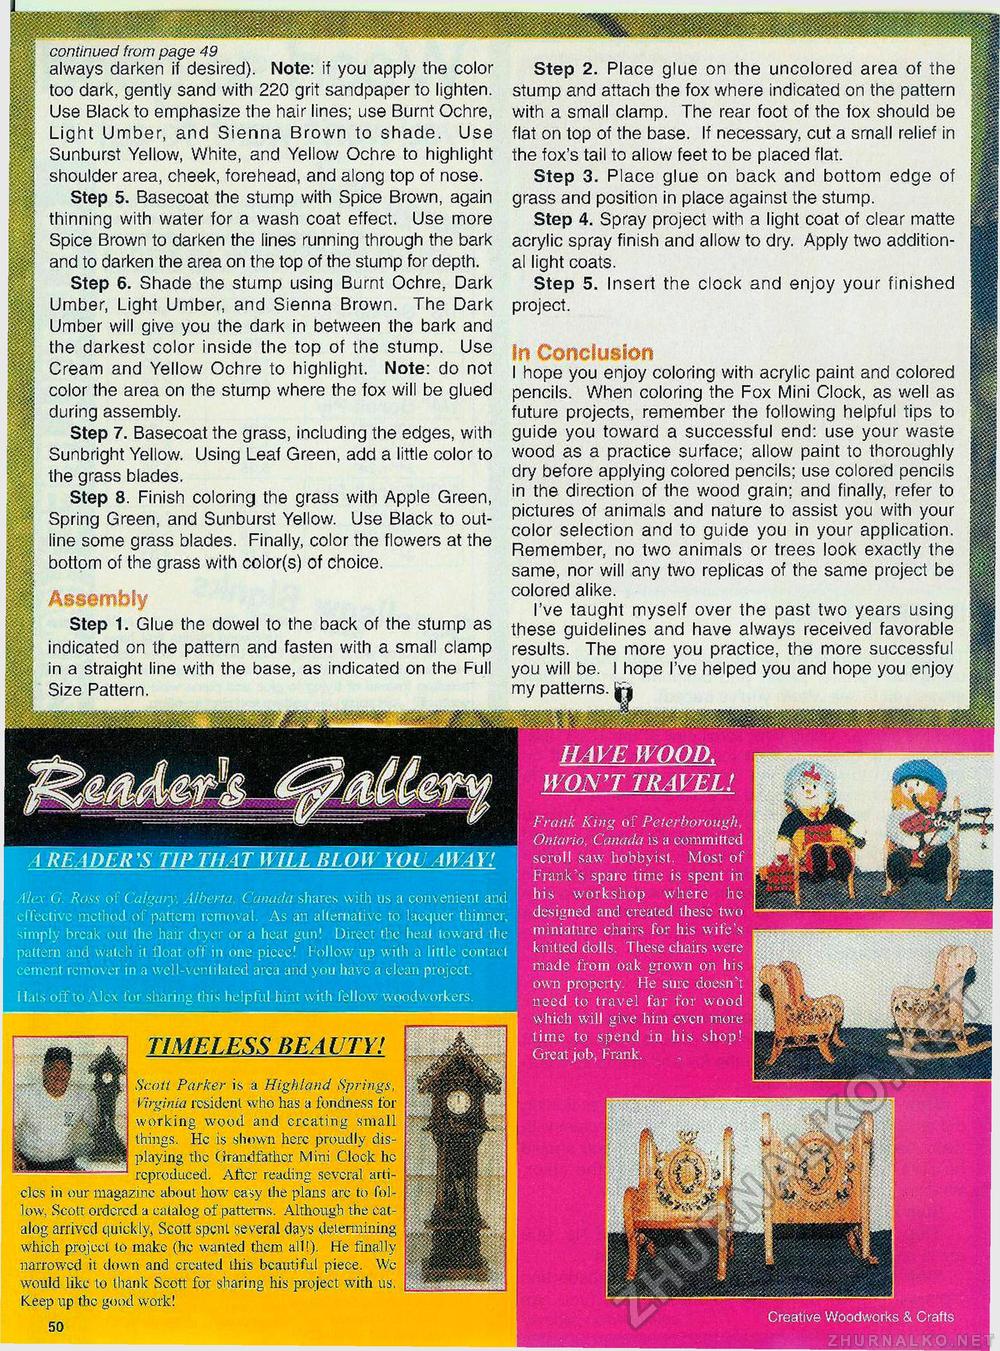
Creative Woodworks & Crafts mmmmm continued from page 49 always darken if desired). Note: if you apply the color too dark, gently sand with 220 grit sandpaper to lighten. Use Black to emphasize the hair lines; use Burnt Ochre, Light Umber, and Sienna Brown to shade. Use Sunburst Yellow, White, and Yellow Ochre to highlight shoulder area, cheek, forehead, and along top of nose. Step 5. Basecoat the stump with Spice Brown, again thinning with water for a wash coat effect. Use more Spice Brown to darken the lines running through the bark and to darken the area on the top of the stump for depth. Step 6. Shade the stump using Burnt Ochre, Dark Umber, Light Umber, and Sienna Brown. The Dark Umber will give you the dark in between the bark and the darkest color inside the top of the stump. Use Cream and Yellow Ochre to highlight. Note: do not color the area on the stump where the fox will be glued during assembly. Step 7. Basecoat the grass, including the edges, with Sunbright Yellow. Using Leaf Green, add a little color to the grass blades. Step 8. Finish coloring the grass with Apple Green, Spring Green, and Sunburst Yellow. Use Black to outline some grass blades. Finally, color the flowers at the bottom of the grass with color(s) of choice. Assembly Step 1. Glue the dowel to the back of the stump as indicated on the pattern and fasten with a small clamp in a straight line with the base, as indicated on the Full Size Pattern. Step 2. Place glue on the uncolored area of the stump and attach the fox where indicated on the pattern with a small clamp. The rear foot of the fox should be flat on top of the base. If necessary, cut a small relief in the fox's tail to allow feet to be placed flat. Step 3. Place glue on back and bottom edge of grass and position in place against the stump. Step 4. Spray project with a light coat of clear matte acrylic spray finish and allow to dry. Apply two additional light coats. Step 5. Insert the clock and enjoy your finished project. In Conclusion I hope you enjoy coloring with acrylic paint and colored pencils. When coloring the Fox Mini Clock, as well as future projects, remember the following helpful tips to guide you toward a successful end: use your waste wood as a practice surface; allow paint to thoroughly dry before applying colored pencils; use colored pencils in the direction of the wood grain; and finally, refer to pictures of animals and nature to assist you with your color selection and to guide you in your application. Remember, no two animals or trees look exactly the same, nor will any two replicas of the same project be colored alike. I've taught myself over the past two years using these guidelines and have always received favorable results. The more you practice, the more successful you will be. I hope I've helped you and hope you enjoy my patterns. |f| A READER'S TIP THAT WILL BLOW YOU AWAY! Alex Ci. Ross of Calgary. Alberta, Canada shares with us a convenient and effectiv e method of pattern removal. As an alternative to lacquer thinner, simply break out the hair dryer or a heat gun! Direct the heat toward the pattern and watch it float off in one piece! hollow up with a little contact cement remover in a well-ventilated area and you have a clean project. I lats off to Alex for sharing this helpful hint with fellow woodworkers. TIMELESS BEAUTY! HAVE WOOD. WON'T TRAVEL! Frank King of Peterborough, Ontario, Canada is a committed scroll saw hobbyist. Most of Frank's spare time is spent in his workshop where he designed and created these two miniature chairs for his wife's knitted dolls. These chairs were made from oak grown on his own property. He sure doesn't need to travel far for wood which will give him even more time to spend in his shop! Great job, Frank. Scott Parker is a Highland Springs, Virginia resident who has a fondness for working wood and creating small things. He is shown here proudly displaying the Grandfather Mini Clock he reproduced. After reading several articles in our magazine about how easy the plans are to follow, Scott ordered a catalog of patterns. Although the catalog arrived quickly, Scott, spent several days determining which project to make (be wanted them all!). He finally narrowed it down and created this beautiful piece. We would like to thank Scott for sharing his project with us. Keep up the good work! |


