Creative Woodworks & crafts 2001-11, страница 58
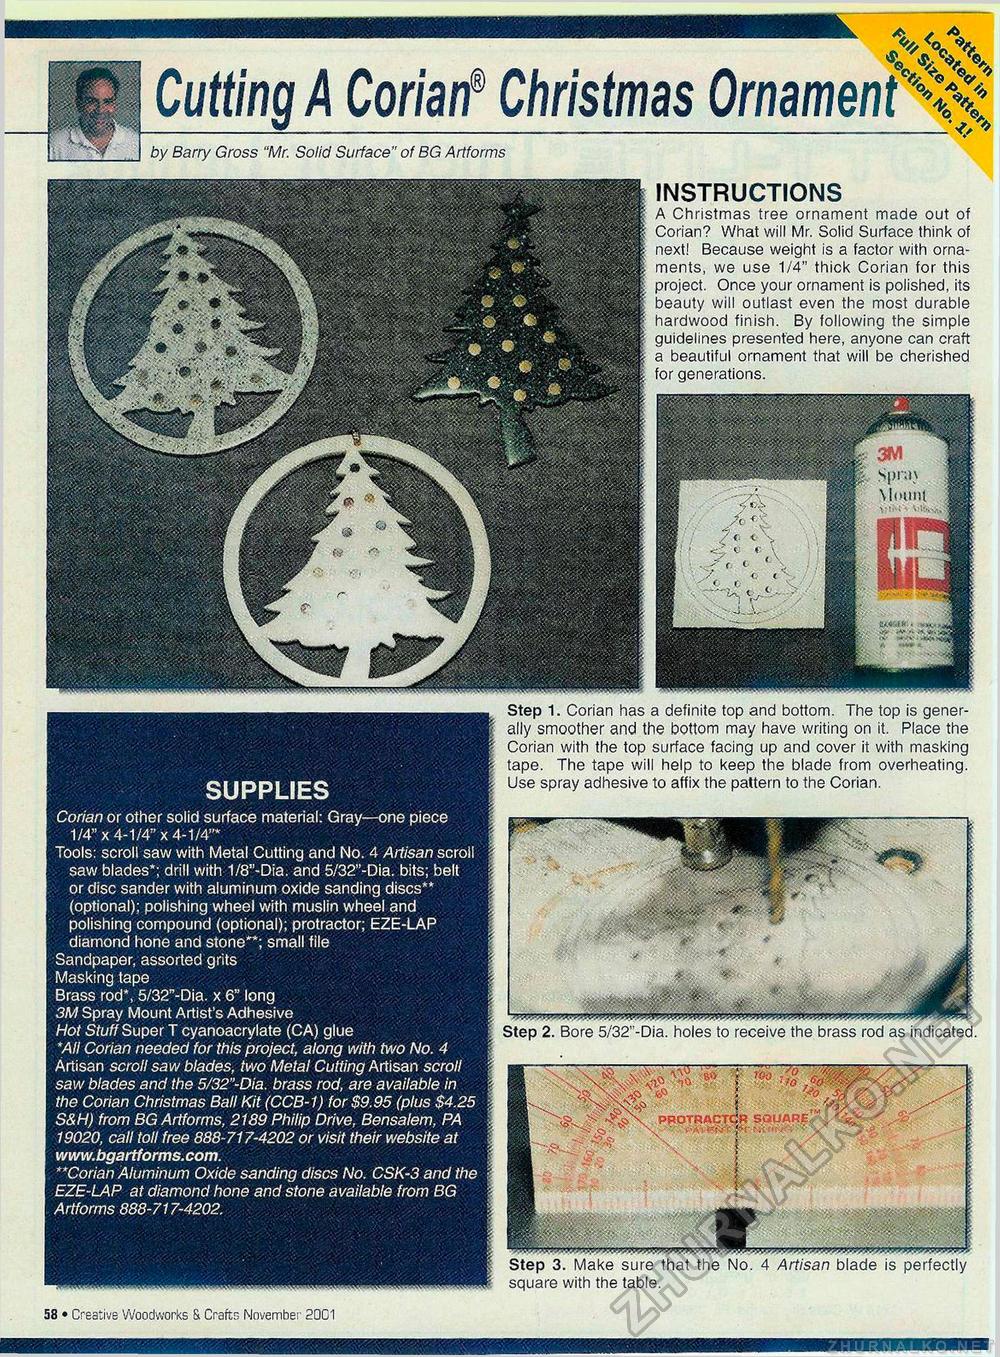
SUPPLIES Corian or other solid surface material: Gray—one piece 1/4" x 4-1/4" x 4-1/4"* Tools: scroll saw with Metal Cutting and No. 4 Artisan scroll saw blades*; drill with 1/8"-Dia. and 5/32"-Dia. bits; belt or disc sander with aluminum oxide sanding discs** (optional); polishing wheel with muslin wheel and polishing compound (optional); protractor; EZE-LAP diamond hone and stone**; small file Sandpaper, assorted grits Masking tape Brass rod*, 5/32"-Dia. x 6" long 3M Spray Mount Artist's Adhesive Hot Stuff Super T cyanoacrylate (CA) glue *AII Corian needed for this project, along with two No. 4 Artisan scroll saw blades, two Metal Cutting Artisan scroll saw blades and the 5/32"-Dia. brass rod, are available in the Corian Christmas Ball Kit (CCB-1) for $9.95 (plus $4.25 S&H) from BG Artforms, 2189 Philip Drive, Bensalem, PA 19020, call toll free 888-717-4202 or visit their website at **Corian Aluminum Oxide sanding discs No. CSK-3 and the EZE-LAP at diamond hone and stone available from BG Artforms 888-717-4202. Step 3. Make sure that the No. 4 Artisan blade is perfectly square with the table. Step 2. Bore 5/32"-Dia. holes to receive the brass rod as indicated. Cutting A Corian® Christmas Ornament by Barry Gross "Mr. Solid Surface" of BG Artforms INSTRUCTIONS A Christmas tree ornament made out of Corian? What will Mr. Solid Surface think of next! Because weight is a factor with ornaments, we use 1/4" thick Corian for this project. Once your ornament is polished, its beauty will outlast even the most durable hardwood finish. By following the simple guidelines presented here, anyone can craft a beautiful ornament that will be cherished for generations. Step 1. Corian has a definite top and bottom. The top is generally smoother and the bottom may have writing on it. Place the Corian with the top surface facing up and cover it with masking tape. The tape will help to keep the blade from overheating. Use spray adhesive to affix the pattern to the Corian. 58 • Creative Woodworks & Crafts November 2001 continued on page 18 |


