Creative Woodworks & crafts 2002-03, страница 30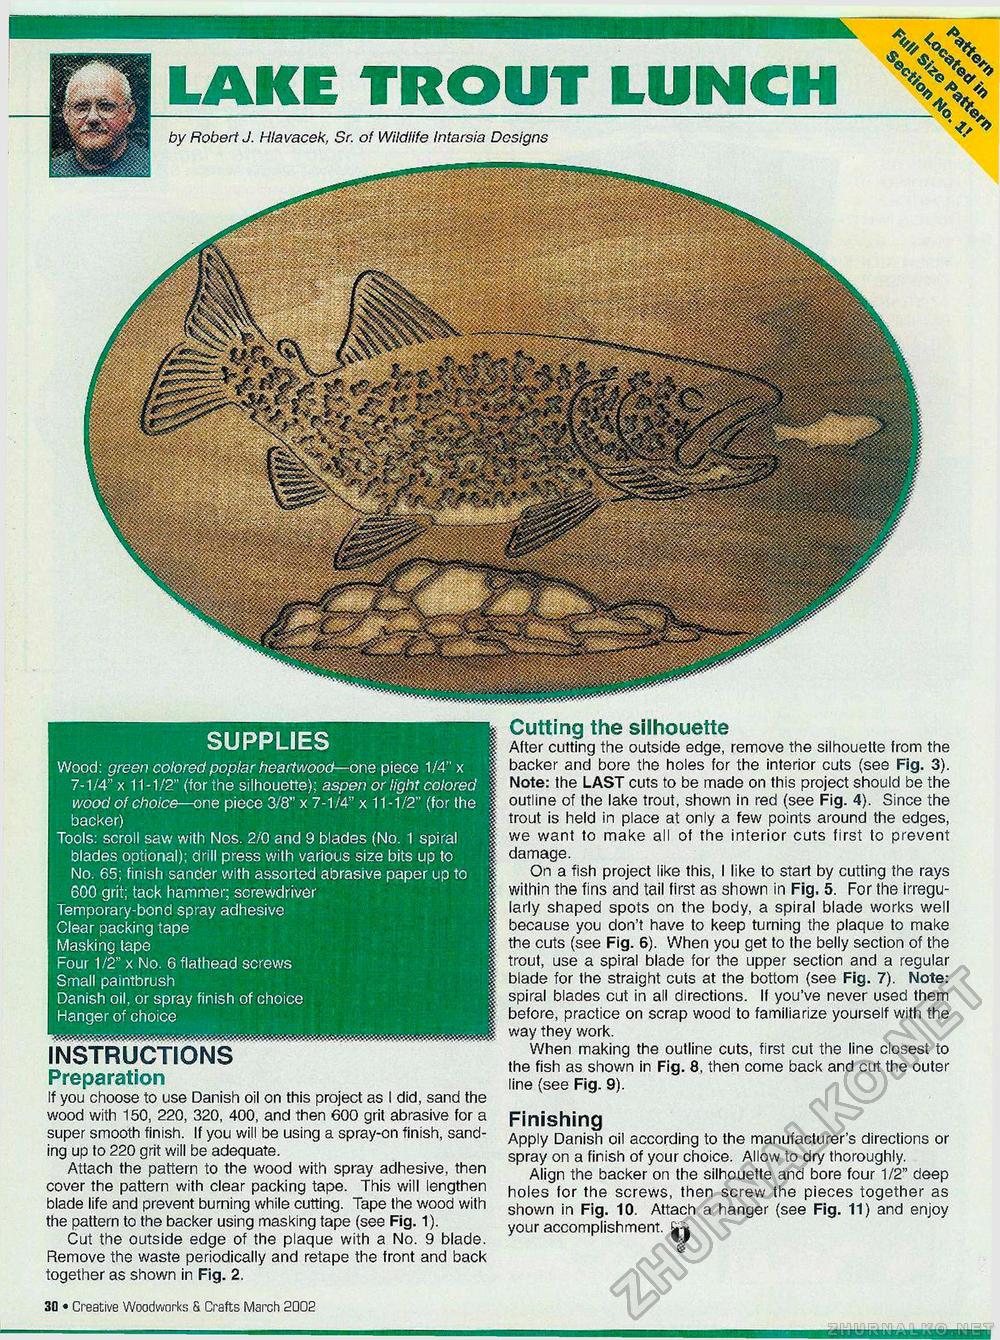
LAKE TROUT LUNCH by Robert J. Hlavacek, Sr. of Wildlife Intarsia Designs SUPPLIES Wood: green colored poplar heartwood—one piece 1/4" x 7-1/4" x 11-1/2" (for the silhouette): aspen or light colored wood of choice-—one piece 3/8" x 7-1/4" x 11-1/2" (tor the backer) Tools: scroll saw with Nos. 2/0 and 9 blades (No. 1 spiral blades optional); drill press with various size bits up to No. 65: finish sander with assorted abrasive paper up to 600 grit; tack hammer; screwdriver Temporary-bond spray adhesive Clear packing tape Masking tape Four 1/2" x No. 6 flathead screws Small paintbrush Danish oil, or spray finish of choice Hanger of choice INSTRUCTIONS Preparation If you choose to use Danish oil on this project as I did, sand the wood with 150, 220, 320, 400, and then 600 grit abrasive for a super smooth finish. If you will be using a spray-on finish, sanding up to 220 grit will be adequate. Attach the pattern to the wood with spray adhesive, then cover the pattern with clear packing tape. This will lengthen blade life and prevent burning while cutting. Tape the wood with the pattern to the backer using masking tape (see Fig. 1). Cut the outside edge of the plaque with a No. 9 blade. Remove the waste periodically and retape the front and back together as shown in Fig. 2. Cutting the silhouette After cutting the outside edge, remove the silhouette from the backer and bore the holes for the interior cuts (see Fig. 3). Note: the LAST cuts to be made on this project should be the outline of the lake trout, shown in red (see Fig. 4). Since the trout is held in place at only a few points around the edges, we want to make all of the interior cuts first to prevent damage. On a fish project like this, I like to start by cutting the rays within the fins and taii first as shown in Fig. 5. For the irregularly shaped spots on the body, a spiral blade works well because you don't have to keep turning the plaque to make the cuts (see Fig. 6). When you get to the belly section of the trout, use a spiral blade for the upper section and a regular blade for the straight cuts at the bottom (see Fig. 7). Note: spiral blades cut in all directions. If you've never used them before, practice on scrap wood to familiarize yourself with the way they work. When making the outline cuts, first cut the line closest to the fish as shown in Fig. 8, then come back and cut the outer line (see Fig. 9). Finishing Apply Danish oil according to the manufacturer's directions or spray on a finish of your choice. Allow to dry thoroughly. Align the backer on the silhouette and bore four 1/2" deep holes for the screws, then screw the pieces together as shown in Fig. 10. Attach a hanger (see Fig. 11) and enjoy your accomplishment. && 24 • Creative Wnnriwnrks & Crafts March 2002 |


