Creative Woodworks & crafts 2002-08, страница 24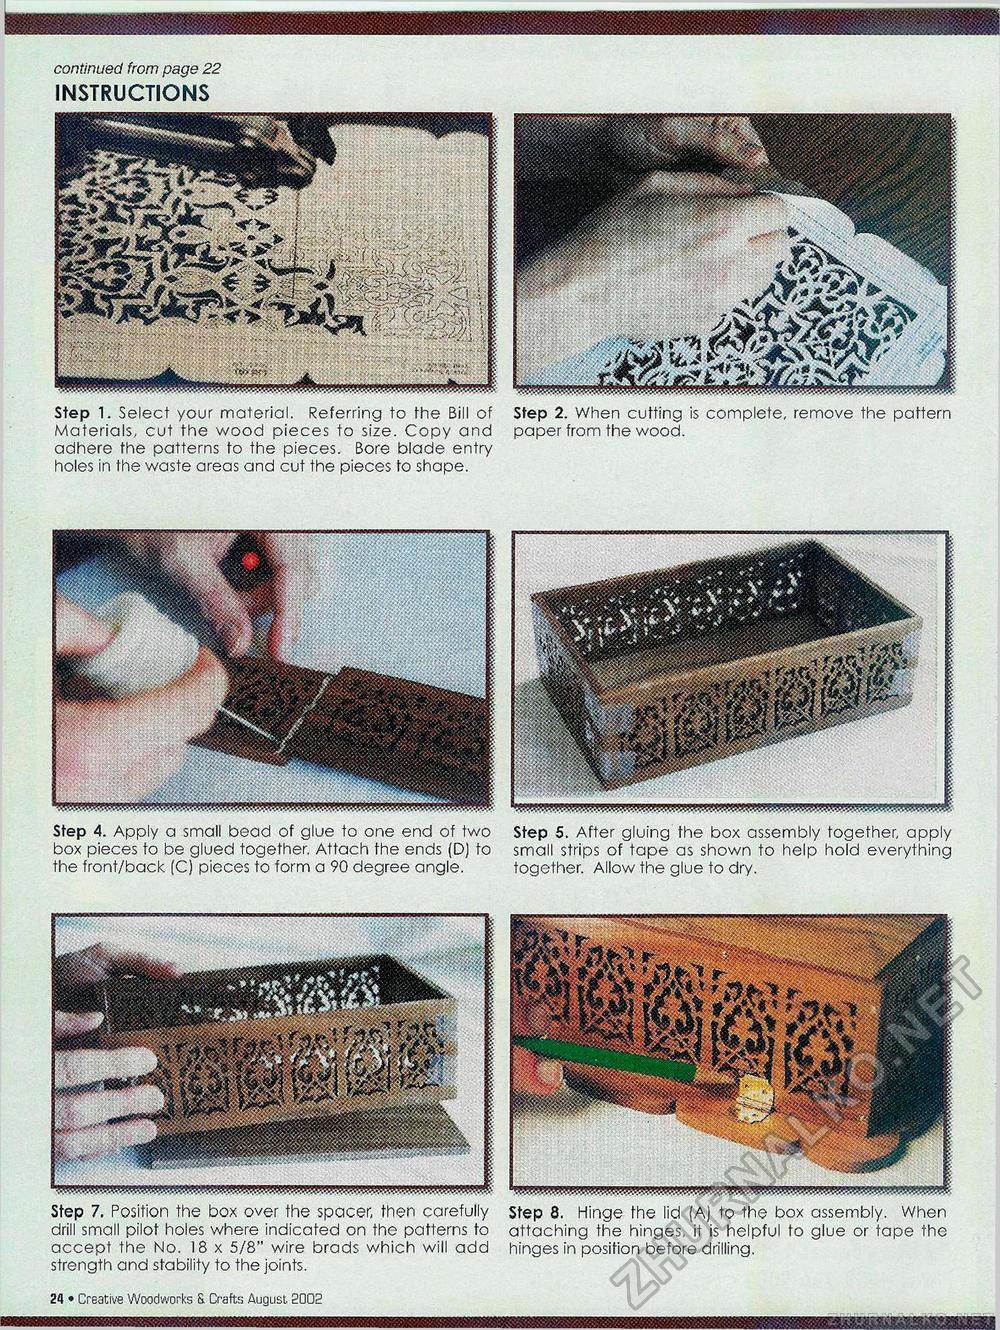
continued from page 22 INSTRUCTIONS Step 1. Select your material. Referring to the Bill of Materials, cut the wood pieces to size. Copy and adhere the patterns to the pieces. Bore blade entry holes in the waste areas and cut the pieces to shape. Step 2. When cutting is complete, remove the pattern paper from the wood. Step 4. Apply a small bead of glue to one end of two box pieces to be glued together. Attach the ends (D) to the front/back (C) picces to form a 90 degree angle. Step 5. After gluing the box assembly together, apply small strips of tape as shown to help hold everything together. Allow the glue to dry. Step 7. Position the box over the spacer, then carefully step 8. Hinge the lid (A) to the box assembly. When drill small pilot holes where indicated on the patterns to attaching the hinges, it is helpful to glue or tape the accept the No. 18 x 5/8" wire brads which will add strength and stability to the joints. hinges in position before drilling. 18 • Creative Woodworks S. Crafts August 2002 |


