Creative Woodworks & crafts 2004-03, страница 8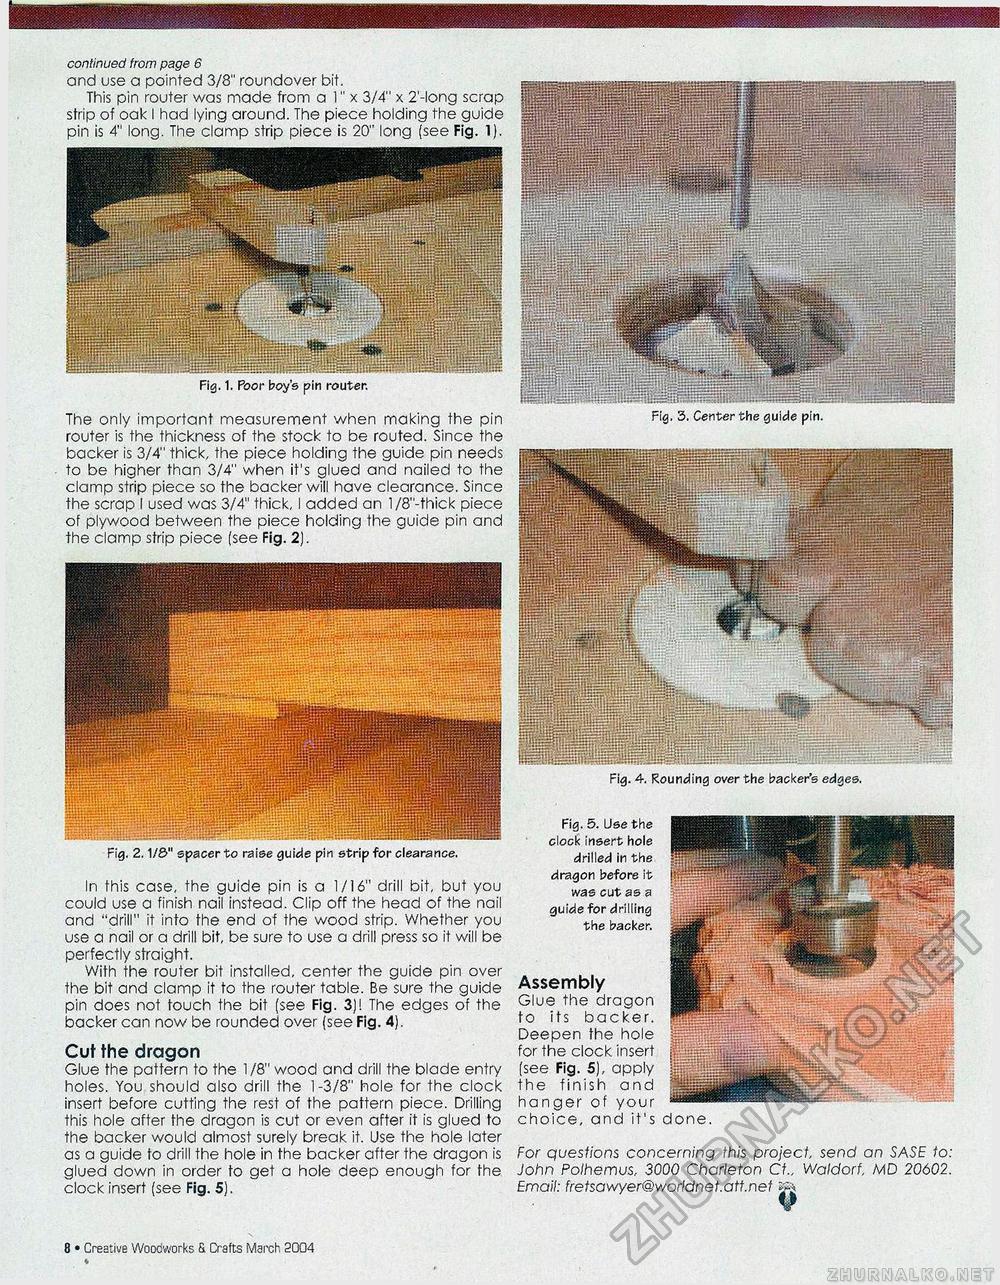
continued from page 6 and use a pointed 3/8" roundover bit. This pin router was made from a 1" x 3/4" x 2'-long scrap strip of oak I had lying around. The piece holding the guide pin is 4" long. The clamp strip piece is 20" long (see Fig. 1). Fig. 1. Poor boy's pin router. The only important measurement when making the pin router is the thickness of the stock to be routed. Since the backer is 3/4" thick, the piece holding the guide pin needs to be higher than 3/4" when it's glued and nailed to the clamp strip piece so the backer will have clearance. Since the scrap I used was 3/4" thick, I added an l/8"-thick piece of plywood between the piece holding the guide pin and the clamp strip piece (see Fig. 2). Fig. 4. Rounding over the backer's edges. Fig. 2.1 /&" spacer to raise guide pin strip for clearance. In this case, the guide pin is a 1/16" drill bit, but you could use a finish nail instead. Clip off the head of the nail and "drill" it into the end of the wood strip. Whether you use a nail or a drill bit, be sure to use a drill press so it will be perfectly straight. With the router bit installed, center the guide pin over the bit and clamp it to the router table. Be sure the guide pin does not touch the bit (see Fig. 3)! The edges of the backer can now be roundea over (see Fig. 4). Cut the dragon Glue the pattern to the 1/8" wood and drill the blade entry holes. You should also drill the 1-3/8" hole for the clock insert before cutting the rest of the pattern piece. Drilling this hole after the dragon is cut or even after it is glued to the backer would almost surely break it. Use the hole later as a guide to drill the hole in the backer after the dragon is glued down in order to get a hole deep enough for the clock insert (see Fig. 5). Fig. 5. Use the clock insert hole drilled in the dragon before it was cut as a guide for drilling the backer. Assembly Glue the dragon to its backer. Deepen the hole for the clock insert [see Fig. 5), apply the finish and hanger of your choice, and it's done. For questions concerning this project, send an SASE to: John Polhemus, 3000 Charleton CL Waldorf, MD 20602. Email: fretsawyer@v/orldnet.att.net ¥ 14 • Creative Woodworks S. Crafts March 2004 |


