Creative Woodworks & crafts 2004-09, страница 8
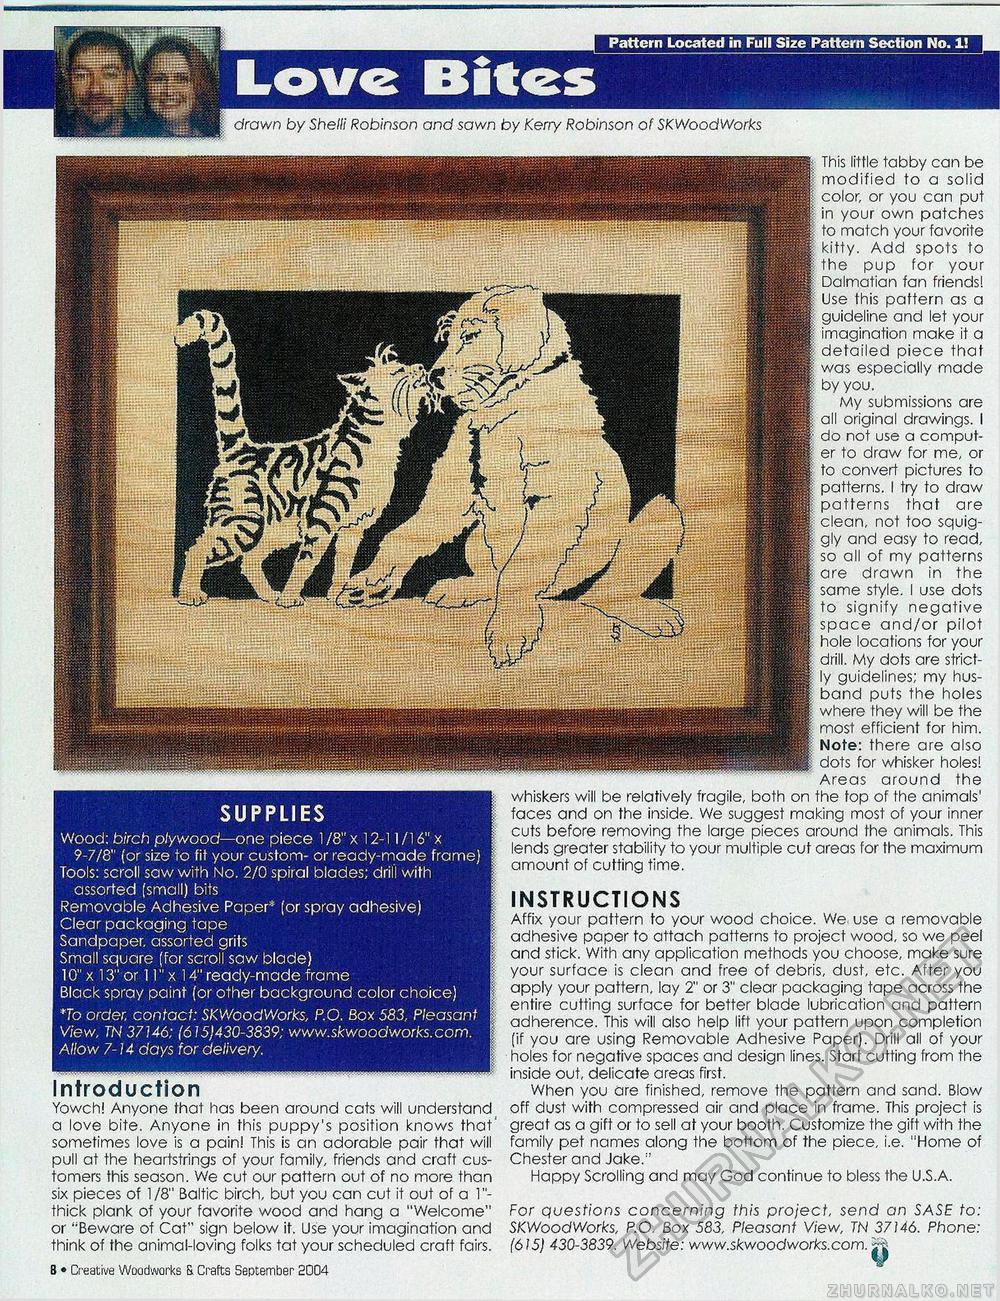
Pattern Located in Full Size Pattern Section No. 1! SUPPLIES Wood: birch plywood—one piece 1 /8" x 12-11 /16" x 9-7/8" (or size to fit your custom- or ready-made frame) Tools: scroll saw with No. 2/0 spiral blades; drill with assorted (small) bits Removable Adhesive Paper* [or spray adhesive) Clear packaging tape Sandpaper, assorted grits Small square (for scroll saw blade) 10" x 13" or 11" x 14" ready-made frame Black spray paint (or other background color choice) *To order, contact: SKWoodWorks, P.O. Box 583, Pleasant View, TN 37146: (615j430-3839; www.skwoodworks.com. Allow 7-14 days for delivery. Introduction Yowch! Anyone that has been around cats will understand a love bite. Anyone in this puppy's position knows that' sometimes love is a pain! This is an adorable pair that will pull at the heartstrings of your family, friends and craft customers this season. We cut our pattern out of no more than six pieces of 1/8" Baltic birch, but you can cut it out of a 1"-thick plank of your favorite wood and hang a "Welcome" or "Beware of Cat" sign below it. Use your imagination and think of the animal-loving folks tat your scheduled craft fairs. fit • Creative Woodworks S. Crafts September 2004 This little tabby can be modified to a solid color, or you can put in your own patches to match your favorite kitty. Add spots to the pup for your Dalmatian fan friends! Use this pattern as a guideline and let your imagination make it a detailed piece that was especially made by you. My submissions are all original drawings. I do not use a computer to draw for me, or to convert pictures to patterns. I try to draw patterns that are clean, not too squiggly and easy to read, so all of my patterns are drawn in the same style. I use dots to signify negative space and/or pilot hole locations for your drill. My dots are strictly guidelines; my husband puts the holes where they will be the most efficient for him. Note: there are also dots for whisker holes! Areas around the whiskers will be relatively fragile, both on the fop of the animals' faces and on the inside. We suggest making most of your inner cuts before removing the large pieces around the animals. This lends greater stability to your multiple cut areas for the maximum amount of cutting time. INSTRUCTIONS Affix your pattern to your wood choice. We use a removable adhesive paper to attach patterns to project wood, so we peel and stick. With any application methods you choose, make sure your surface is clean and free of debris, dust, etc. After you apply your pattern, lay 2" or 3" clear packaging tape across the entire cutting surface for better blade lubrication and pattern adherence. This will also help lift your pattern upon completion (if you are using Removable Adhesive Paper). Drill all of your holes for negative spaces and design lines. Start cutting from the inside out, delicate areas first. When you are finished, remove the pattern and sand. Blow off dust with compressed air and place in frame. This project is great as a gift or to sell at your booth. Customize the gift with the family pet names along the bottom of the piece, i.e. "Home of Chester and Jake." Happy Scrolling and may God continue to bless the U.S.A. For questions concerning this project, send an SASE to: SKWoodWorks, P.O. Box 583, Pleasant View, TN 37146. Phone: (615) 430-3839. Website: www.skwoodworks.com. ■ drawn by Shelli Robinson and sawn by Kerry Robinson of SKWoodWorks |


