Creative Woodworks & crafts 2004-11, страница 20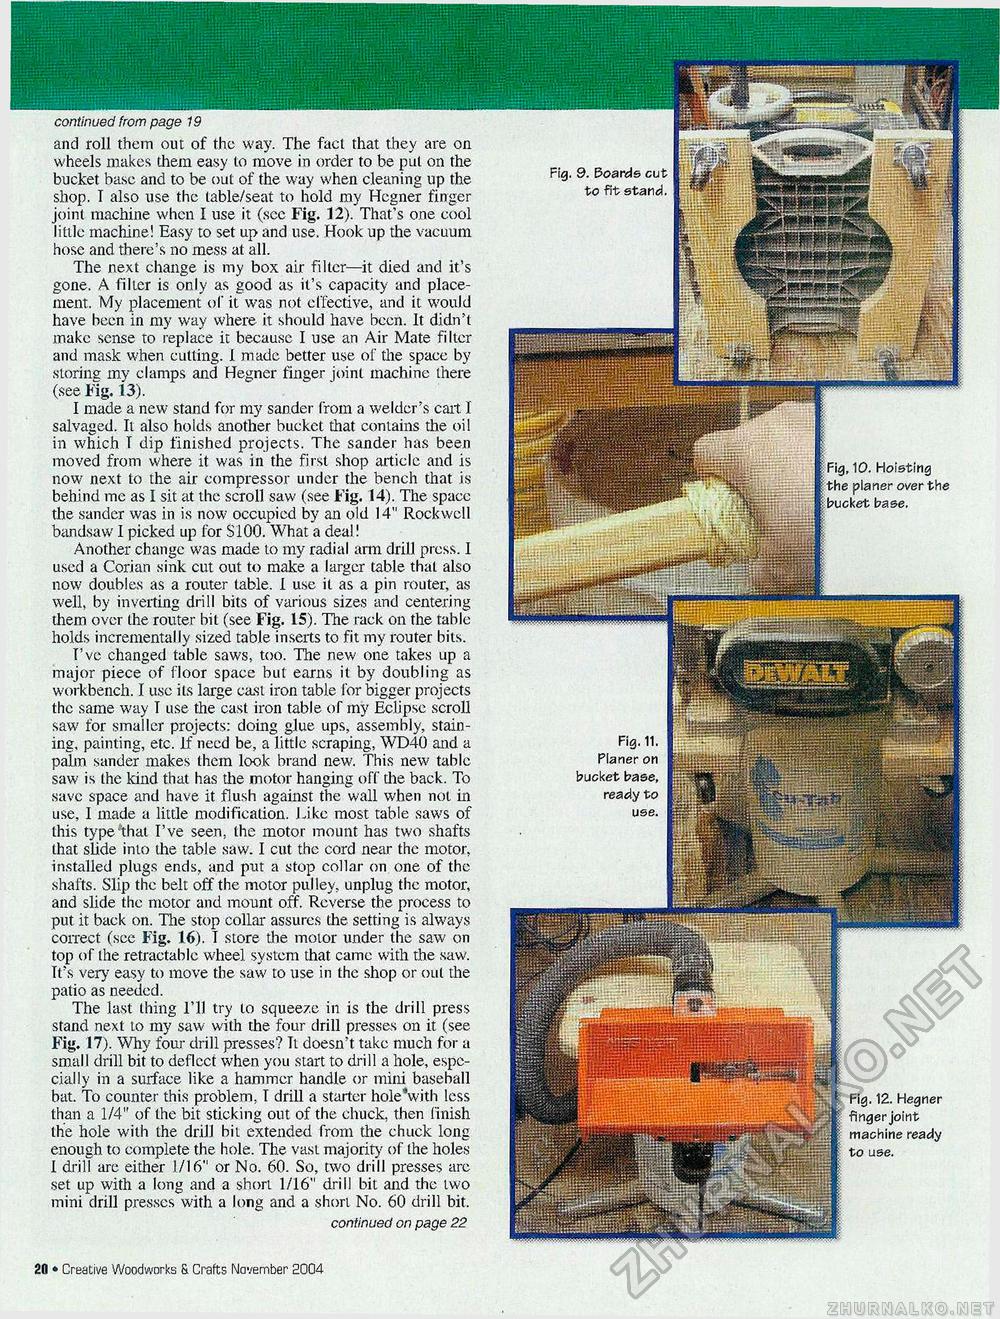
continued from page 19 and roll them out of the way. The fact that they are on wheels makes them easy to move in order to be put on the bucket base and to be out of the way when cleaning up the shop. I also use the table/seat to hold my Hcgner finger joint machine when I use it (sec Fig. 12). That's one cool little machine! Easy to set up and use. Hook up the vacuum hose and there's no mess at all. The next change is my box air filter—it died and it's gone. A filter is only as good as it's capacity and placement. My placement of it was not effective, and it would have been in my way where it should have been. It didn't make sense to replace it because I use an Air Mate filter and mask when cutting. I made better use of the space by storing my clamps and Hegner finger joint machine there (see Fig. 13). I made a new stand for my sander from a welder's cart. I salvaged. It also holds another bucket that contains the oil in which T dip finished projects. The sander has been moved from where it was in the first shop article and is now next to the air compressor under the bench that is behind me as I sit at the scroll saw (see Fig. 14). The space the sander was in is now occupied by an old 14" Rockwell bandsaw I picked up for SI 00. What a deal! Another change was made to my radial arm drill press. 1 used a Corian sink cut out to make a larger table that also now doubles as a router table. I use it as a pin router, as well, by inverting drill bits of various sizes and centering them over the router bit (see Fig. 15). The rack on the table holds incrementally sized table inserts to fit my router bits. T'vc changed table saws, too. The new one takes up a major piece of floor space but earns it by doubling as workbench. I use its large cast iron table for bigger projects the same way I use the cast iron table of my Eclipse scroll saw for smaller projects: doing glue ups, assembly, staining, painting, etc. If need be, a little scraping, WD40 and a palm sander makes them look brand new. This new table saw is the kind that has the motor hanging off the back. To save space and have it flush against the wall when not hi use, I made a little modification. Like most table saws of this type that I've seen, the motor mount has two shafts that slide into the table saw. I cut the cord near the motor, installed plugs ends, and put a stop collar on one of the shafts. Slip the belt off the motor pulley, unplug the motor, and slide the motor and mount off. Reverse the process to put it back on. The stop collar assures the setting is always correct (see Fig. 16). T store the motor under the saw on top of the retractable wheel system that came with the saw. It's very easy to move the saw to use in the shop or out the patio as needed. The last thing I'll try to squeeze in is the drill press stand next to my saw with the four drill presses on it (see Fig. 17). Why four drill presses? It doesn't take much for a small drill bit to deflect when you start to drill a hole, especially in a surface like a hammer handle or mini baseball bat. To counter this problem, I drill a starter hole'with less than a 1/4" of the bit sticking out of the chuck, then finish the hole with the drill bit extended from the chuck long enough to complete the hole. The vast majority of the holes I drill are either 1/16" or No. 60. So, two drill presses are set up with a long and a short 1/16" drill bit and the two mini drill presses with a long and a short No. 60 drill bit. continued on page 22 Fig. 9. Boards cut to fit stand. Fig. 11. Planer on bucket base, ready to use. Fig, 10. Hoisting the Fig. 12. Hegner finger joint machine ready to use. 20 • Creative Woodworks S. Crafts November 2004 |


