Creative Woodworks & crafts 2005-01, страница 42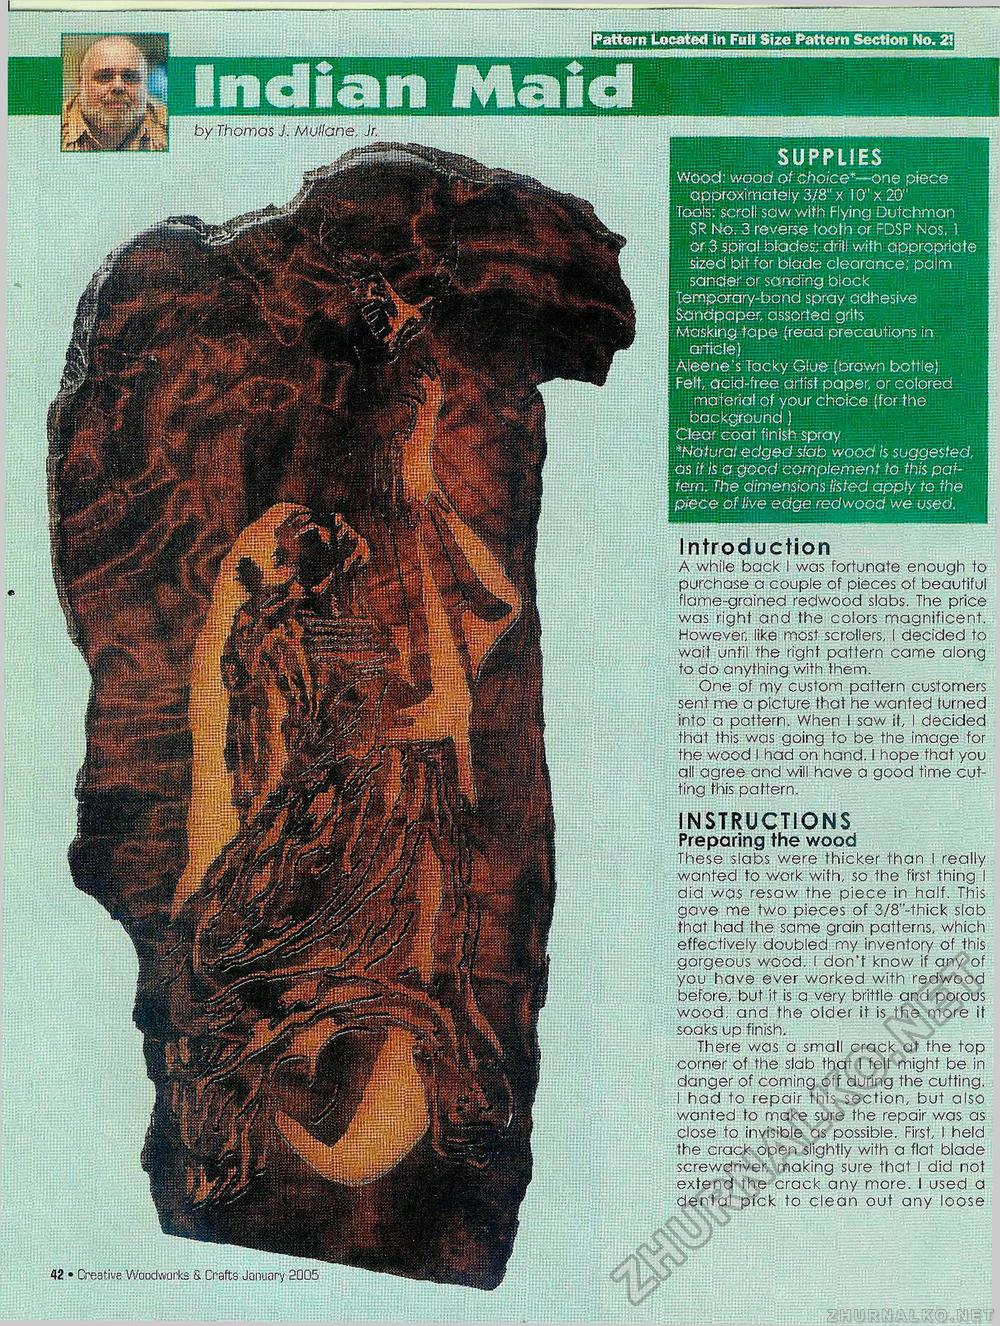
Pattern Located in Full Size Pattern Section No. 2!| Mciid SUPPLIES Wood: wood of choice*—one piece approximately 3/8" x I0"x20" Tools: scroll, saw with Flying Dutchman SR No. 3 reverse tooth or FDSP Nos, 1. or 3 spiral blades; drill with appropriate sized bit for blade clearance; palm sander or sanding block Temporary-bond spray adhesive Sandpaper, assorted grits Masking tape (read precautions in article) Aleene's'Tacky Glue (brown bottle) Felt, acid-free artist paper, or colored material of your choice (for the background ) Clear coat finish spray *Natural edged slab wood is suggested, as it is a good complement to this pattern. The dimensions listed apply to the piece of live edge redwood we used. by Thomas J. Mullane, Jr. Introduction A while back I was fortunate enough to purchase a couple of pieces of beautiful flame-grained redwood slabs. The price was right and the colors magnificent. However, like most scrollers, I decided to wait until the right pattern came along to do anything with them. One of my custom pattern customers sent me a picture that he wanted fumed into a pattern. When I saw it, I decided that this was going to be the image for the wood I had on hand. I hope that you all agree and will have a good time cutting this pattern. INSTRUCTIONS Preparing the wood These slabs were thicker than I really wanted to work with, so the first thing I did was resaw the piece in half. This gave me two pieces of 3/8"-thick slab that had the same grain patterns, which effectively doubled my inventory of this gorgeous wood. I don't know if any of you have ever worked with redwood before, but it is a very brittle and porous wood, and the older it is the more it soaks up finish. There was a small crack at fhe top corner of the slab that I felt might be in danger of coming off during the cutting. I had to repair this section, but also wanted to make sure the repair was as close to invisible as possible. First, I held the crack open slightly with a flat blade screwdriver, making sure that I did not extend the crack any more. I used a dental pick to clean out any loose 42 • Creative Woodworks S. Crafts January 2005 |


