Creative Woodworks & crafts 2005-03, страница 58
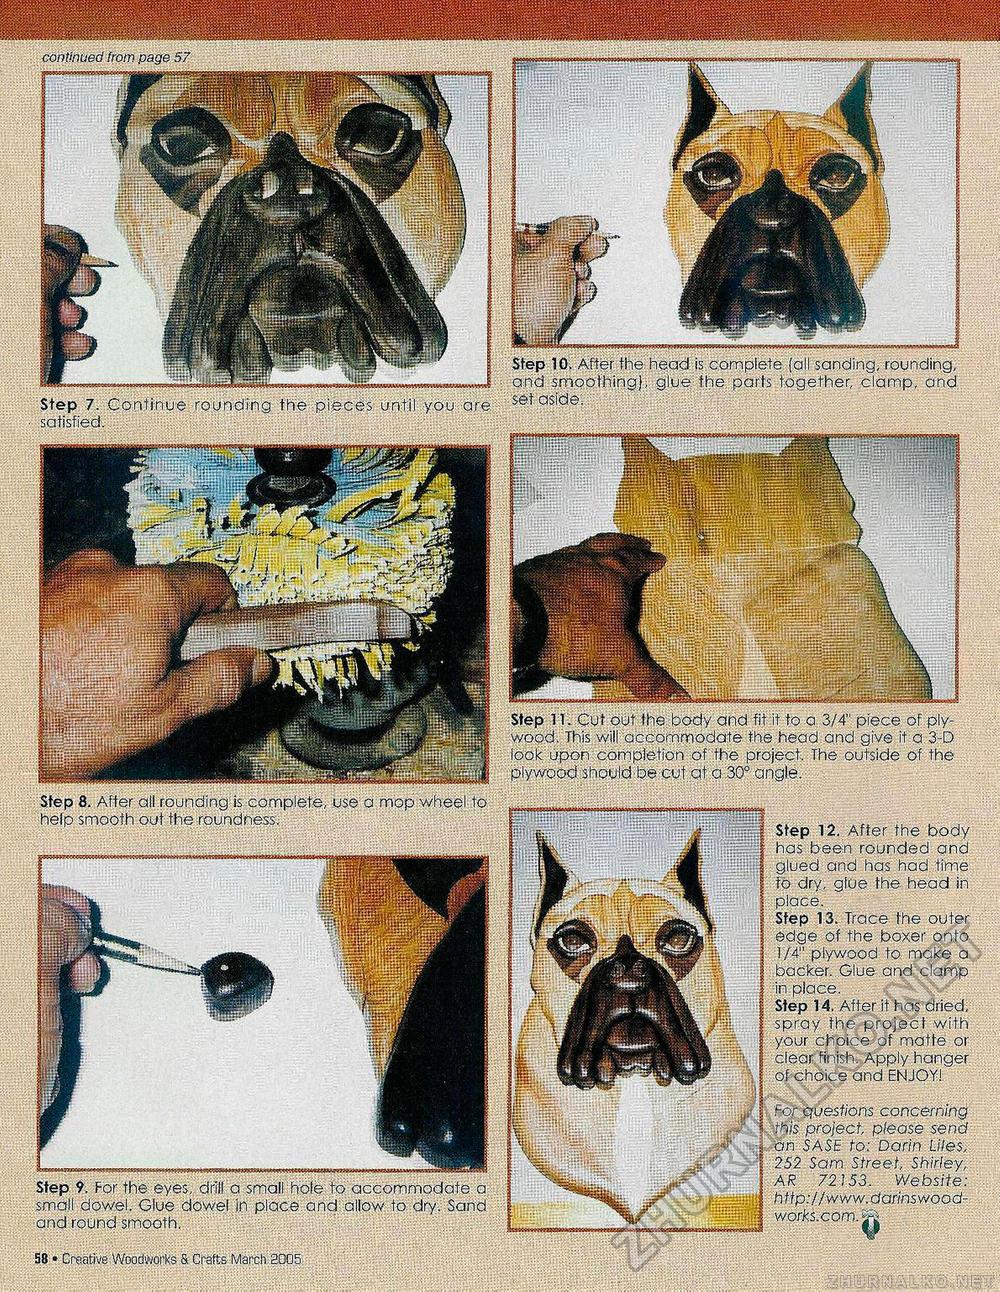
continued from page 57 Step 10. After the head is complete (all sanding, rounding, and smoothing), glue the parts together, clamp, and set aside. Step 7. Continue rounding the pieces until you are satisfied. Step 11. Cut out the body and fit it to a 3/4" piece of plywood. This will accommodate the head and give it a 3-D look upon completion of the project. The outside of the plywood should be cuf at a 30° angle. Step 8. Affer all rounding is complete, use a mop wheel to help smooth out the roundness. Step 12. After the body has been rounded and glued and has had time fO dry, glue the head in place. Step 13. Trace the outer edge of the boxer onto 1/4" plywood to make a backer. Glue and clamp in place. Step 14. After it has dried, spray the project with your choice of matte or clear finish. Apply hanger of choice and ENJOY! for questions concerning this project, please send an SASE to: Darin Liles, 252 Sam Street, Shirley, AR 72153. Website: http: / / www. dar/ns woodworks, com. Step 9. For the eyes, drill a small hole to accommodate a small dowel. Glue dowel in place and allow to dry. Sand and round smooth. 58 * Creative Woodworks 5 Crafts March 2005 |


