Creative Woodworks & crafts 2005-04, страница 77
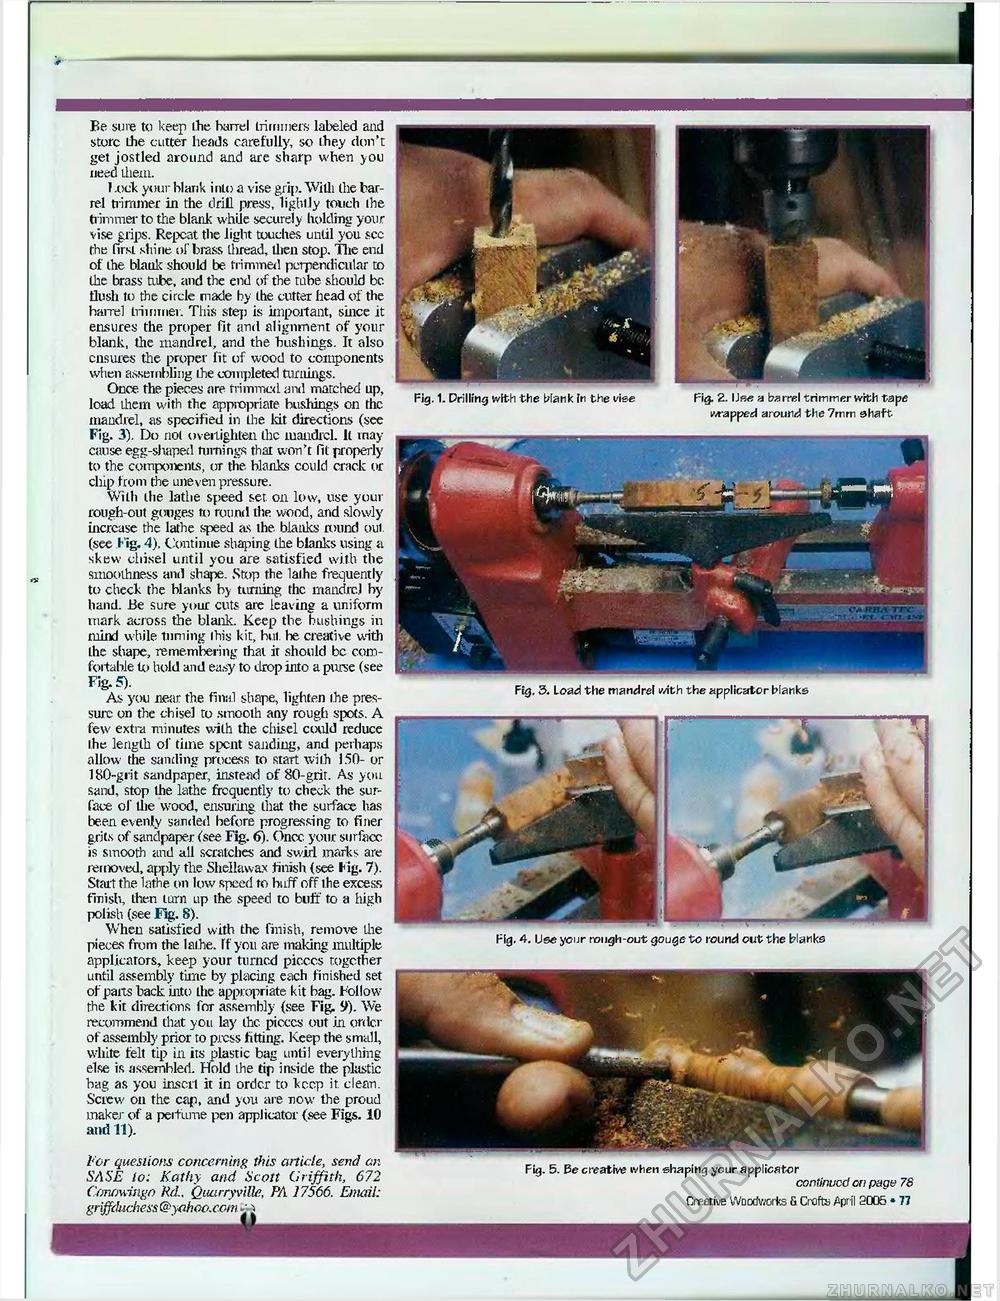
OS ; Fig. 4. Use your rough-out gouge to round out the blanks Be sure to keep ihe barrel trimmers labeled and store the cutter heads carefully, so ihey don't get jostled around and are sharp when you need them. 1 .ock your blank i nto a vise grip. Witli the barrel trimmer in the drill press, lightly touch the trimmer to the blank while securely holding your vise grips. Repeat the light touches until you sec the first shine of brass thread, then stop. The end of the blank should be trimmed perpendicular to the brass tube, and the end of the tube should be flush to the circle made by the cutter head of the barrel trimmer. This step is important, since it ensures the. proper fit and alignment of your blank, the mandrel, and the bushings. It also ensures the proper fit of wood to components when assembling ihe completed turnings. Once the pieces are trimmed and marched up, load them with the appropriate bushings on the mandrel, as specified in the kit directions (see Fig. 3). Do not overtighten the mandrel. It may cause egg-shaped turnings thai won't fit properly to the components, or the blanks could crack or chip from the uneven pressure. With the lathe speed set on low, use your rough-out gouges to round the wood, and slowly increase the lathe speed as the blanks round out (see fig. 4). Continue shaping the blanks using a skew chisel until you are satisfied with the smoothness and shape. Stop the lathe frequently to check the blanks by turning the mandrel by hand. Be sure your cuts are leaving a uniform mark across the blank. Keep the bushings in mind while fuming this kit, but be creative with the shape, remembering that it should be comfortable to hold and easy to drop into a purse (see Fig. 5). As you near the final shape, lighten the pressure on the chisel to smooth any rough spots. A few extra minutes with the chisel could reduce the length of time spent sanding, and perhaps allow the sanding process to start with 150- or 180-grit sandpaper, instead of 80-grit. As you sand, stop the lathe frequently to check the surface of the wood, ensuring that the surface has been evenly sanded before progressing to finer grits of sandpaper (see Fig. 6). Oncc your surfacc is smooth and all scratches and swirl marks are removed, apply tlie Shellawax finish (see Hg. 7). Start the lathe on low speed to buff off the excess finish, then tarn up the speed to buff to a high polish (see Hg. 8). When satisfied with the finish, remove the pieces from the lathe. If you are making multiple applicators, keep your turned picccs together until assembly time by placing each finished set of pairs back into the appropriate kit bag. Follow the kit directions for assembly (see Fig. 9). We recommend that you lay the. picccs out in order of assembly prior to press fitting. Keep the small, white felt tip in its plastic bag until everything else is assembled. Hold the tip inside the plastic bag as you insert it in order to keep it. clean. Screw on the cap, and you are now the proud maker of a perfume pen applicator {see Figs. 10 and 11). lor questions concerning this article, send an SASE lo: Kathy and Scott Griffith, 672 Comwingo Ud„ Quarryvilk, PA 17566. Email: griffduchess@yahoo.com - ^ Fig. 5. Be creative when shaping your applicator continued cri page 78 Creative Woodworks Si Crofts £pril 2005 • 77 Fig. 3. Load the mandrel with the applicator blanks Fig. 1. Drilling ivlth the blank In the vise Fig. 2. Use a barrel trimmer with tape capped around the 7mm shaft |


