Creative Woodworks & crafts 2005-09, страница 34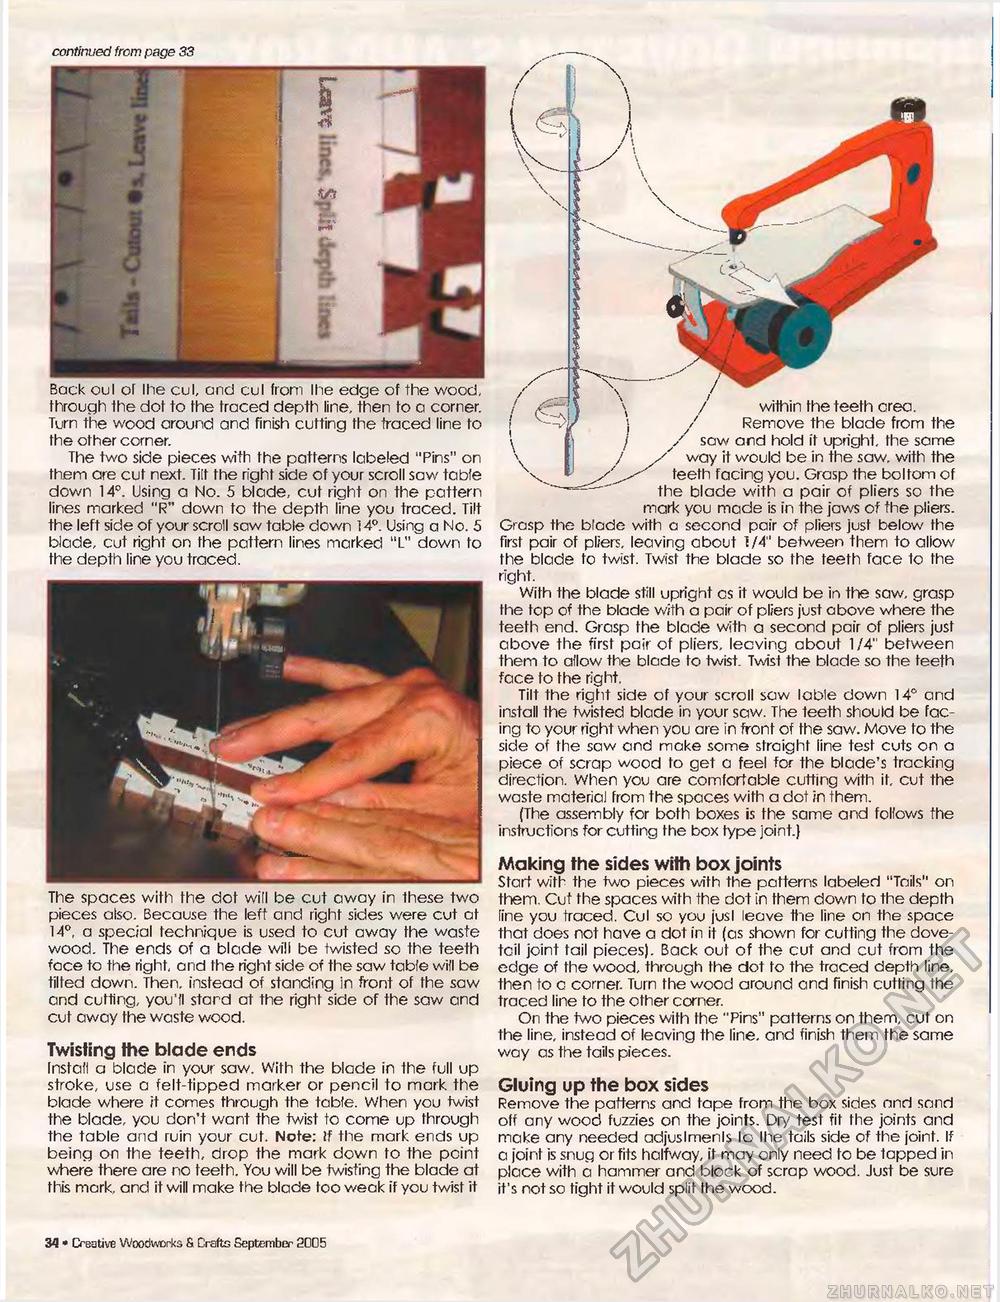
continued from page 33 Bock oul of Ihe cul, and cul from Ihe edge of the wood, through fhe dot to the traced depth line, then to a corner. Turn the wood around and finish cutting the traced line to the other corner. The two side pieces with the patterns labeled "Pins" on them are cut next. Tilt the right side of your scroll saw table down 14°. Using a No. 5 blade, cut right on the pattern lines marked "R" down to the depth line you traced. Tilt the left side of your scroll saw table down 14°. Using a No. 5 blade, cut right on the pattern lines marked "L" down to fhe depth line you traced. The spaces with the dot will be cut away in these two pieces also. Because the left and right sides were cut at 14°, a special technique is used to cut away fhe waste wood. The ends of a blade will be twisted so the teeth face to the right, and the right side of the saw table will be tilted down. Then, instead of standing in front of the saw and cutting, you'll stard at the right side of the saw and cut away the waste wood. Twisting the blade ends Install a blade in your saw. With the blade in the full up stroke, use a felt-tipped marker or pencil to mark the blade where it comes through the tabfe. When you twist the blade, you don't want the twist to come up through the table and ruin your cut. Note: If the mark ends up being on the teeth, drop the mark down to the point where there are no teeth. You will be twisting the blade at this mark, and it will make the blade too weak if you twist it Making the sides with box joints Start with the two pieces with the patterns labeled "Tails" on them. Cut the spaces with the dot in them down to the depth line you traced. Cul so you jusl leave the line on the space that does not have a dot in it (as shown for cutting the dove-tcil joint tail pieces). Back out of the cut and cut from the edge of the wood, through the dot to the traced depth line, then to c corner. Turn the wood around ond finish cutting the traced line to the other corner. On the two pieces with the "Pins" patterns on them, cut on the line, instead of leaving the line, and finish them the same way as the tails pieces. Gluing up the box sides Remove the patterns and tape from the box sides and sand off any wood fuzzies on the joints. Dry test fit the joints and make any needed adjuslmenls lo Ihe tails side of the joint. If a joint is snug or fits halfway, it may only need to be tapped in place with a hammer and block of scrap wood. Just be sure it's not so tight it would split the wood. within the teeth crea. Remove the blade from the \ j y saw and hold it upright, the same > J way it would be in the saw, with the y^- teeth facing you. Grasp the bo I torn of the blade with a pair of pliers so the mark you made is in the jaws of the pliers. Grasp the blade with a second pair of pliers just below the first pair of pliers, leaving about 1/4" between them to allow fhe blade fo twist. Twist the blade so fhe teeth face to fhe right. With the blade still upright cs it would be in the saw, grasp the top of the blade with a pair of pliers just obove where the teeth end. Grasp the blade with a second pair of pliers just above the first pair of pliers, lecving about 1/4" between them to allow the blade to twist. Twisl the blade so the teeth face to the right. Tilt the right side of your scroll saw lable down 14° and install the twisted blade in your saw. The 1eeth should be facing to your right when you are in front of the saw. Move to the side of fhe saw and make some straight line test cuts on a piece of scrap wood to get a feel for the blade's tracking direction. When you are comfortable cutting with it, cut the waste material from the spaces with a dot in them. (The assembly for both boxes is the same and follows the instructions for cutting the box type joint.) M • Creative Woodworks S Drafts September 2005 |


