Creative Woodworks & Crafts-059-1998-Fall, страница 56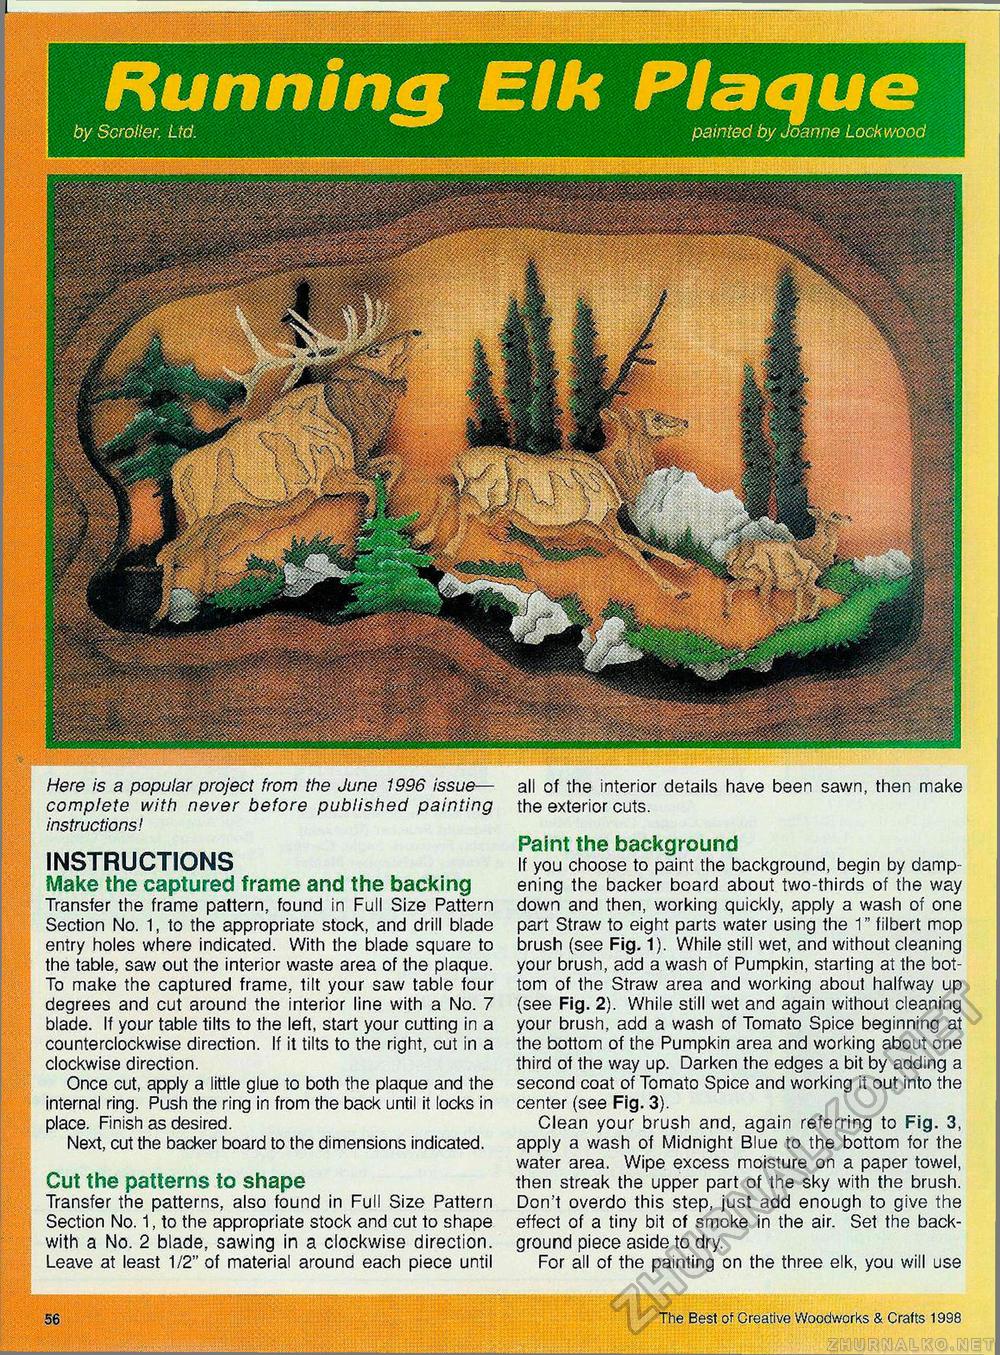
Wmm ., --< Running Elk Plaqueby Scroller; Ltd. painted by Joanne Lockwood all of the interior details have been sawn, then make the exterior cuts. Paint the background If you choose to paint the background, begin by dampening the backer board about two-thirds of the way down and then, working quickly, apply a wash of one part Straw to eight parts water using the 1" filbert mop brush (see Fig. 1). While still wet, and without cleaning your brush, add a wash of Pumpkin, starling at the bottom of the Straw area and working about halfway up (see Fig. 2). While still wet and again without cleaning your brush, add a wash of Tomato Spice beginning at the bottom of the Pumpkin area and working about one third of the way up. Darken the edges a bit by adding a second coat of Tomato Spice and working it out into the center (see Fig. 3). Clean your brush and, again referring to Fig. 3, apply a wash of Midnight Blue to the bottom for the water area. Wipe excess moisture on a paper towel, then streak the upper part of the sky with the brush. Don't overdo this step, just add enough to give the effect of a tiny bit of smoke in the air. Set the background piece aside to dry. For all of the painting on the three elk, you will use INSTRUCTIONS Make the captured frame and the backing Transfer the frame pattern, found in Full Size Pattern Section No. 1, to the appropriate stock, and drill blade entry holes where indicated. With the blade square to the table, saw out the interior waste area of the plaque. To make the captured frame, tilt your saw table four degrees and cut around the interior line with a No. 7 blade. If your table tilts to the left, start your cutting in a counterclockwise direction. If it tilts to the right, cut in a clockwise direction. Once cut, apply a little glue to both the plaque and the internal ring. Push the ring in from the back until it locks in place. Finish as desired. Next, cut the backer board to the dimensions indicated. Cut the patterns to shape Transfer the patterns, also found in Full Size Pattern Section No. 1, to the appropriate stock and cut to shape with a No. 2 blade, sawing in a clockwise direction. Leave at least 1/2" of material around each piece until Here is a popular project from the June 1996 issue— complete with never before published painting instructions! 56 The Best of Creative Woodworks & Crafts 1998 |


