Creative Woodworks & crafts-103-2004-Holiday, страница 40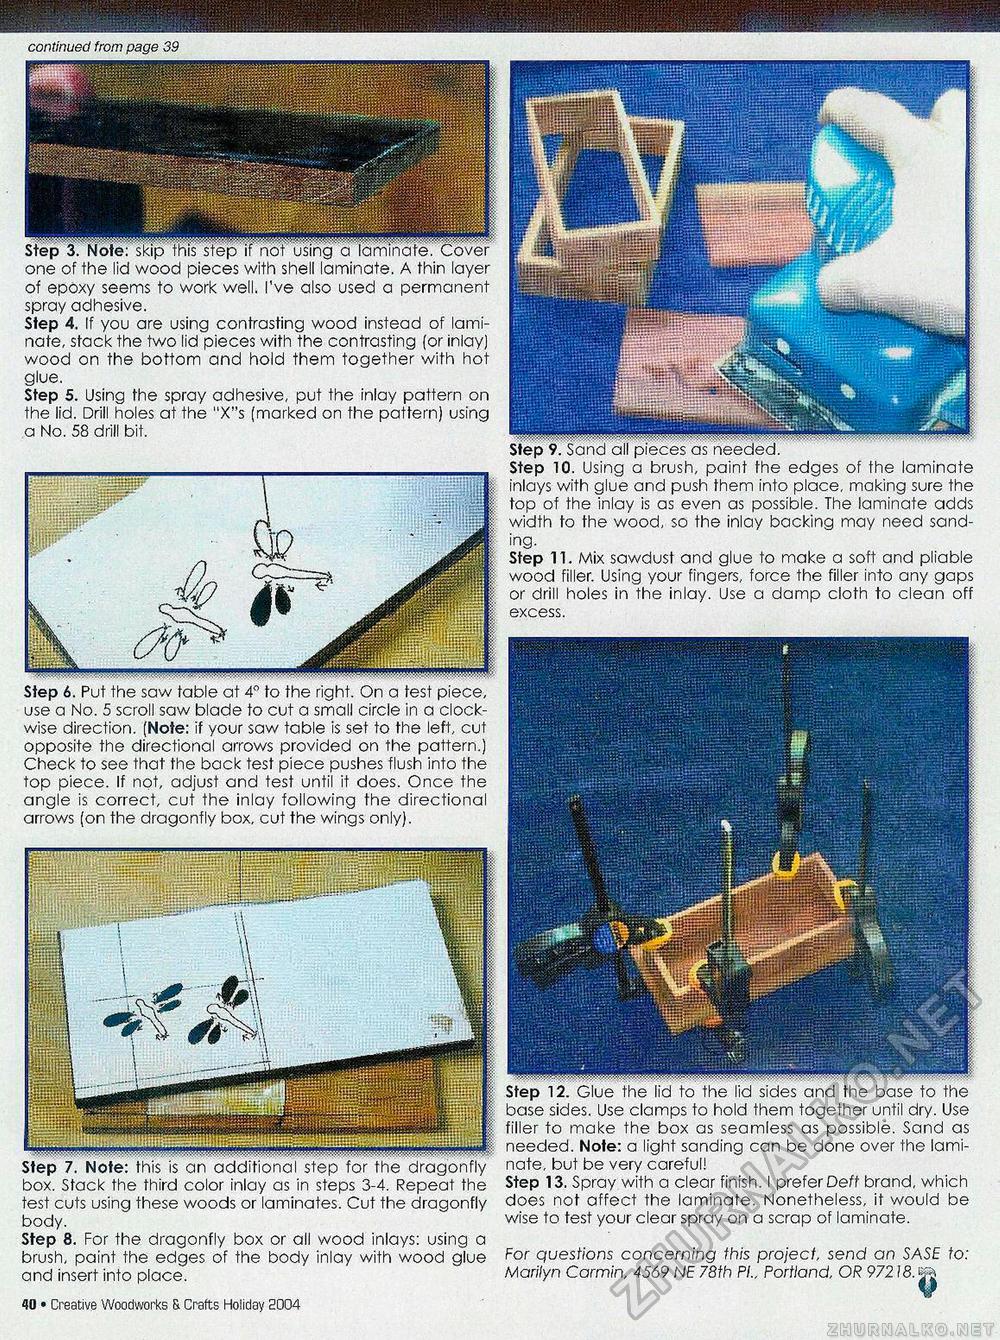
.... continued from page 39 inlays with glue and push them into place, making sure the top of the inlay is as even as possible. The laminate adds width to the wood, so the inlay backing may need sanding. Step 11. Mix sawdust and glue to make a soft and pliable wood filler. Using your fingers, force the filler into any gaps or drill holes in the inlay. Use a damp cloth to clean off excess. filler to make the box as seamless as possible. Sand as needed. Note: a light sanding can be done over the laminate, but be very careful! Step 13, Spray with a clear finish. I prefer Deft brand, which does not affect the laminate. Nonetheless, it would be wise to test your clear spray on a scrap of laminate. For questions concerning this project send an SASE to: Marilyn Carmin, 4569 NE 78th PI., Portland, OR 97218. f* one of the lid wood pieces with shell laminate. A thin layer of epoxy seems to work well. I've also used a permanent spray adhesive. Step 4. If you are using contrasting wood instead of laminate, stack the two lid pieces with the contrasting (or inlay) wood on the bottom and hold them together with hot glue. Step 5. Using the spray adhesive, put the inlay pattern on the lid. Drill holes at the "X"s (marked on the pattern) using a No. 58 drill bit. Step 7. Note: this is an additional step for the dragonfly box. Stack the third color inlay as in steps 3-4. Repeat the test cuts using these woods or laminates. Cut the dragonfly body. Step 8. For the dragonfly box or all wood inlays: using a brush, paint the edges of the body inlay with wood glue and insert into place. Step 6. Put the saw table at 4° to the right. On a test piece, use a No. 5 scroll saw blade to cut a small circle in a clockwise direction. (Note: if your saw table is set to the left, cut opposite the directional arrows provided on the pattern.) Check to see that the back test piece pushes flush into the top piece. If not, adjust and test until it does. Once the angle is correct, cut the inlay following the directional arrows (on the dragonfly box, cut the wings only). Creative Woodworks & Craft:; Holiday 2004 • 15 |


