Creative Woodworks & crafts-111-2005-Holiday, страница 46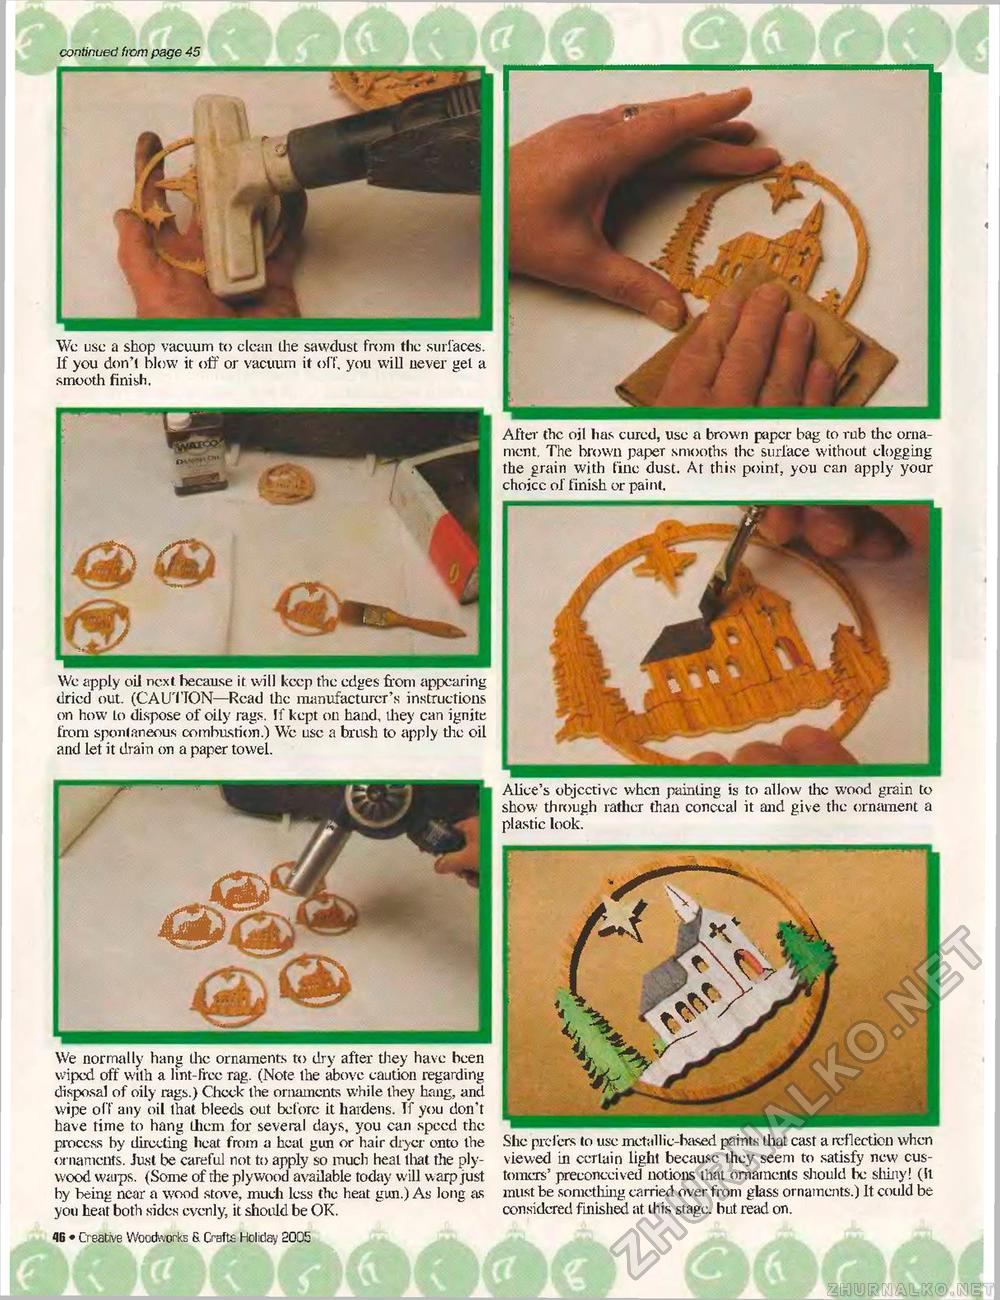
continued from page 45 We use a shop vacuum to clean the sawdust from the surfaces. If you don't blow it off or vacuum it oi l', you will never gel a smooth finish. After the oil has cured, use a brown paper bag to rub the ornament. The brown papeT smooths the surface without clogging the grain with fine dust. At this point, you can apply your choicc of finish or paint. We apply oil next, because it will keep the edges from appearing dried out. (CAUTION—Read the manufacturer's instructions on how to dispose of oily rags. If kept on hand, they can ignite from spontaneous combustion.) Wc use a brush to apply the oil and let it drain on a paper towel. Alice's objcctivc when painting is to allow the wood grain to show through rather than conceal it and give the ornament a plastic look. We normally hang the ornaments to dry after they have been wiped off with a lint-free rag. (Note the above caution regarding disposal of oily rags.) Check the ornaments while they hang, and wipe off any oil that bleeds out before it hardens. If you don't have time to hang them for several days, you can speed the proccss by directing heat from a heat gun or hair dryer onto the ornaments. Just be careful not to apply so much heal that the plywood waips. (Some of rhe plywood available today will warp just by being near a wood stove, much less the heat gun.) As long as you heat both sides evenly, it should be OK. She prefers to use metallic-based paints that cast a reflection when viewed in certain light because they seem to satisfy new customers' preconceived notions that ornaments should be shiny! (It must be something carried over from glass ornaments.) It could be considered finished at this stage, but read on. 4 IB • Creative Woodworks £ Crafts Holiday 2005 |


