Creative Woodworks & crafts-125-2007-Holiday, страница 44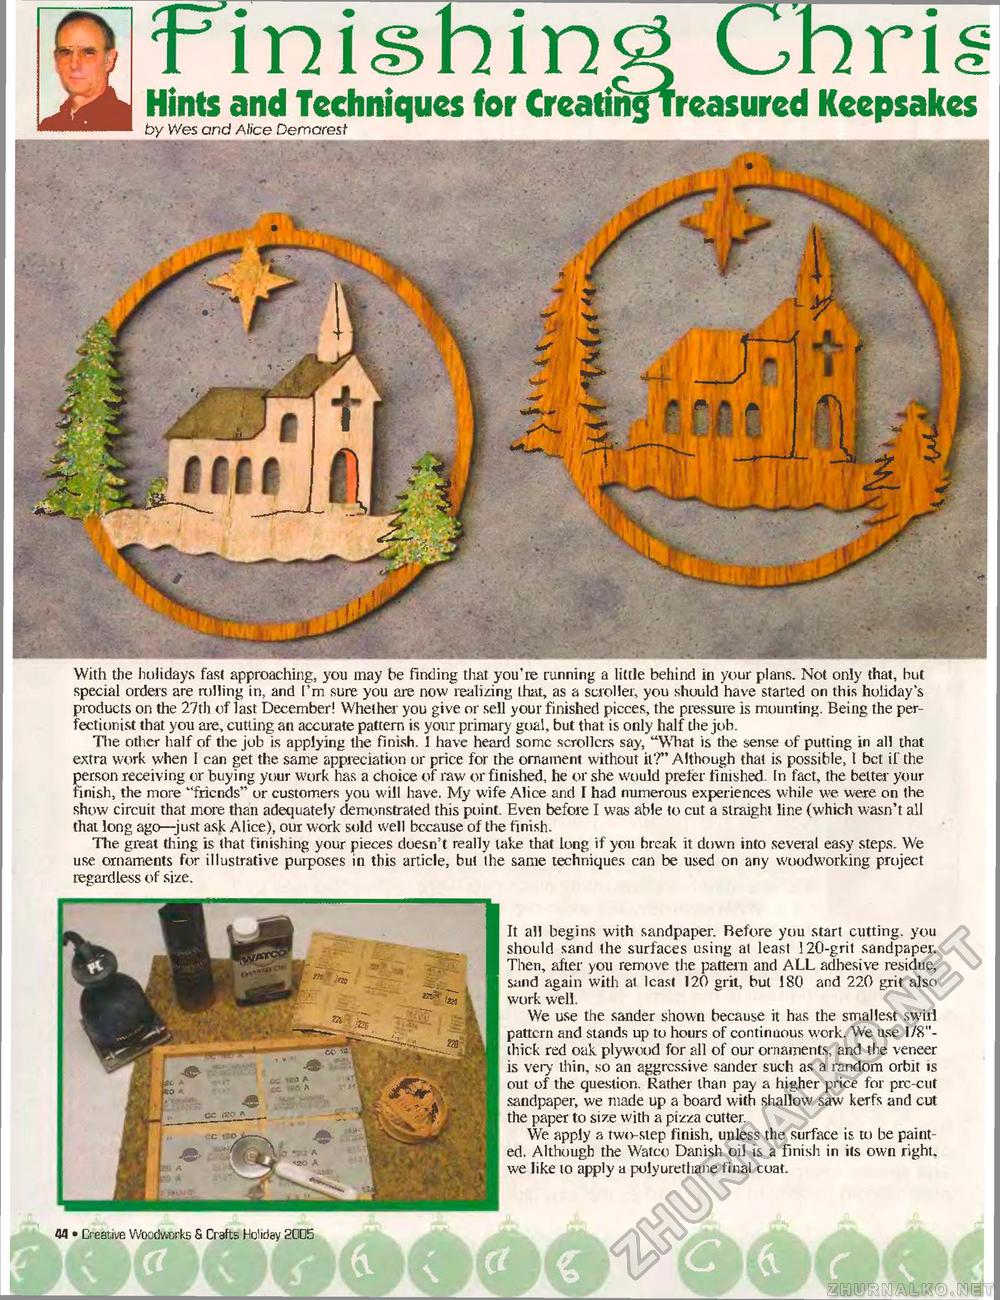
^ finishing ChrisJsJk Hints and Techniques for CreatinsTreasured Keepsakes by Wes and Alice Demarest With the holidays fast approaching, you may be finding that you're running a little behind in your plans. Not only that, hut special orders are rolling in, and I'm sure you are now realizing that, as a scroller, you should have started on this holiday's products on the 27th of last December! Whether you give or sell your finished picces, the pressure is mounting. Being the perfectionist that you are, cutting an accurate pattern is your primary goal, but that is only half the job. The other half of the job is applying the finish. I have heard some scrollcrs say, "What is the sense of putting in all that extra work when I can get the same appreciation or price for the ornament without it'?" Although that is possible, 1 bet if the person receiving or buying your work has a choice of raw or finished, he or she would prefer finished. In fact, the better your finish, the more "friends" or customers you will have. My wife Alice and I had numerous experiences while we. were on the show circuit that more than adequately demonstrated this point. Even before I was able to cut a straight line (which wasn't all that long ago—just ask Alice), our work sold well bccause of the finish. The great thing is that finishing your pieces doesn't really take that long if you break it down into several easy steps. We use ornaments for illustrative purposes in this article, but the same techniques can be used on any woodworking project regardless of size. It all begins with sandpaper. Before you start cutting, you should sand the surfaces using at least 120-grit sandpaper. Then, after you remove the pattern and ALL adhesive residue, sand again with at least 120 grit, but 180 and 220 grit also work well. We use the sander shown because it has the smallest swirl pattern and stands up to hours of continuous work. We use 1/8"-thick red oak plywood for all of our ornaments, and the veneer is very thin, so an aggressive sander such as a random orbit is out of the question. Rather than pay a higher price for prc-cut sandpaper, we made up a board with shallow saw kerfs and cut the paper to size with a pizza cutter. We apply a two-step finish, unless the surface is to be painted. Although the Watco Danish oil is a finish in its own right, we like lo apply a polyurethane final coat. i flfl • Creative Woodworks & Crafts Holiday S005 |


