Creative Woodworks & crafts-125-2007-Holiday, страница 7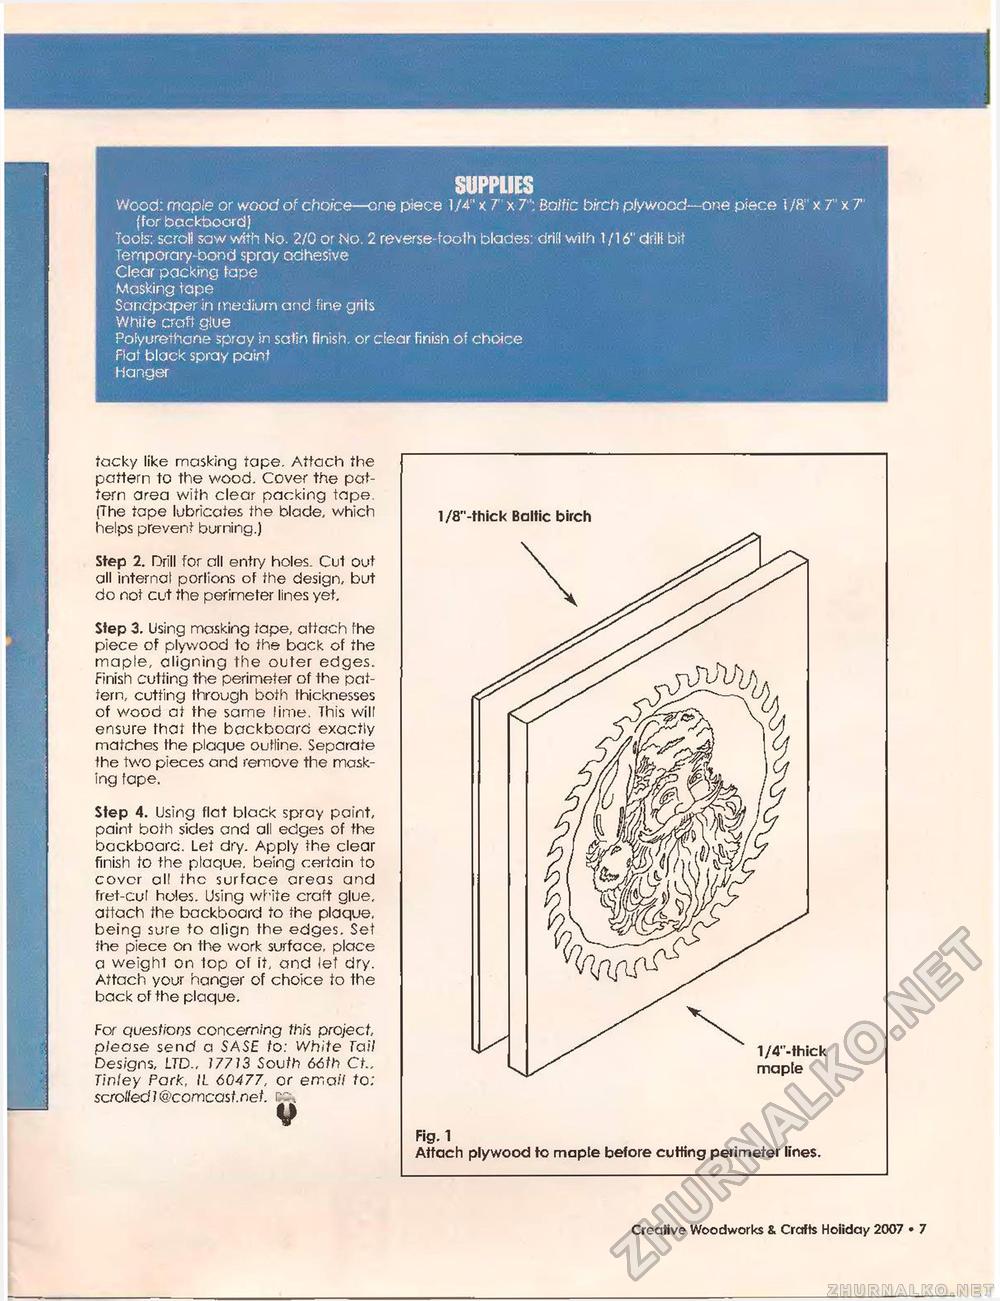
SUPPLIES Wood: maple or wood of choice—one piece 1/4" < 7" x 7": Bo/ft'c birch p/ywood—one piece 1/8" x 7" xT' (for backboard J Tools: scroll saw with No. 2/0 or No. 2 reverse-tooth blades: drill with 1/16" diiH bit Temporary-bond spray adhesive Clear packing tape Masking tape Sandpaper in medium and fine grits White craft glue Polyurethane spray in satin finish, or clear finish of choice Flat black spray paint Hanger tacky like masking tape. Attach the pattern to the wood. Cover the pattern area with clear packing tape. (The tape lubricates the blade, which helps prevent burning.) Step 2. Drill for all entry holes. Cut out all internal portions of the design, but do not cut the perimeter lines yet. Step 3. Using masking tape, attach fhe piece of plywood to the back of the maple, aligning the outer edges. Finish cutting the perimeter of the pattern, cutting through both thicknesses of wood at the same lime. This will ensure that the backboard exactly matches the plaque outline. Separate the two pieces and remove the masking tape. Step 4. Using flat black spray paint, paint both sides and all edges of the backboarc. Let dry. Apply the clear finish to the plaque, being certain to covcr all the surface areas and fret-cul holes. Using white craft glue, attach the backboard to the plaque, being sure to align the edges. Set the piece on the work surface, place a weight on top of it, and let dry. Attach your hanger of choice to the back of the plaque. For questions concern/ng this project, p/ease send a SASE to: White Tai/ Designs, LTD., J77J3 South 66th Ct.. Tinley Pork, IL 60477, or email to; scrolled 1 @comcasl.net. Fig. 1 Attach plywood to maple before cutting perimeter lines. 7 ■ Creative Woodworks S. Crafts Holiday 2007 |


