Creative Woodworks & crafts-125-2007-Holiday, страница 77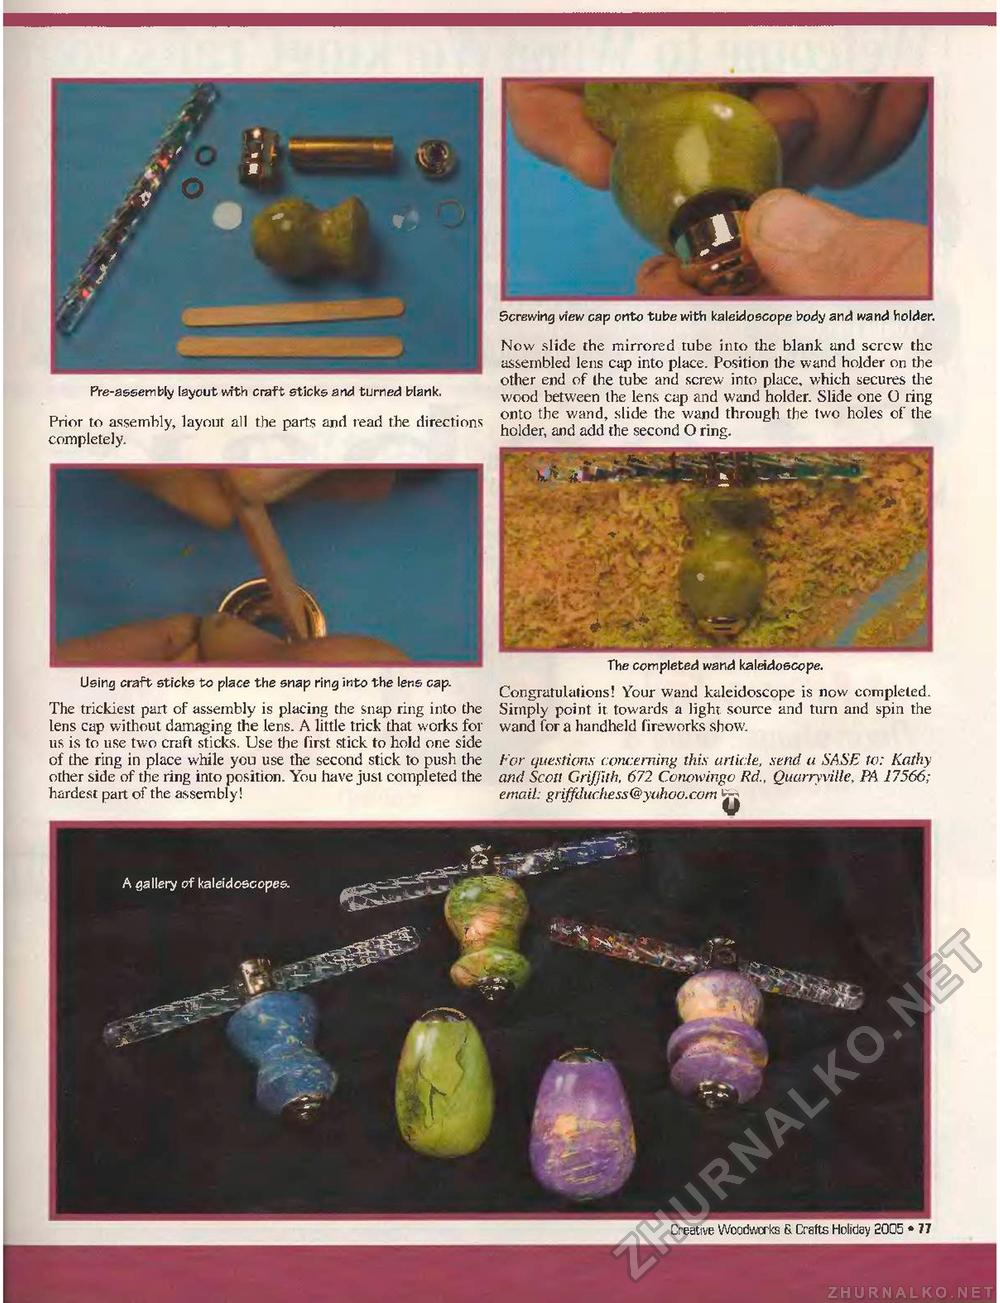
Pre-assembly layout wfth craft sticks and turned blank. Prior to assembly, layout all the parts and read the directions completely. Screwing view cap onto tube with kaleidoscope body and wand holder. Now slide the mirrored tube into the blank and scrcw the assembled lens cap into place. Position the wand holder on the other end of the tube and screw into place, which secures the wood between the lens cap and wand holder. Slide one O ring onto the wand, slide the wand through the two holes of the holder, and add the second O ring. Using craft sticks to place the snap ring into the lens cap. The trickiest part of assembly is placing the snap ring into the lens cap without damaging the lens. A little trick that works for us is to use two craft sticks. Use the first stick to hold one side of the ring in place while you use the second stick to push the other side of the ring into position. You have just completed the hardest part of the assembly! The completed wan A kaleidoscope. Congratulations! Your wand kaleidoscope is now completed. Simply point it towards a light source and turn and spin the wand for a handheld fireworks show. For questions concerning this article, send a SASE to: Kathy and Scott Griffith, 672 Conowingo Rd., Quarryville, PA 17566; email. griffduc.hess@yuhoo.com Jg-o
Creative Woodworks 8, Crafts Holiday 2Q05 • 77 |


