Popular Woodworking 2000-12 № 119, страница 45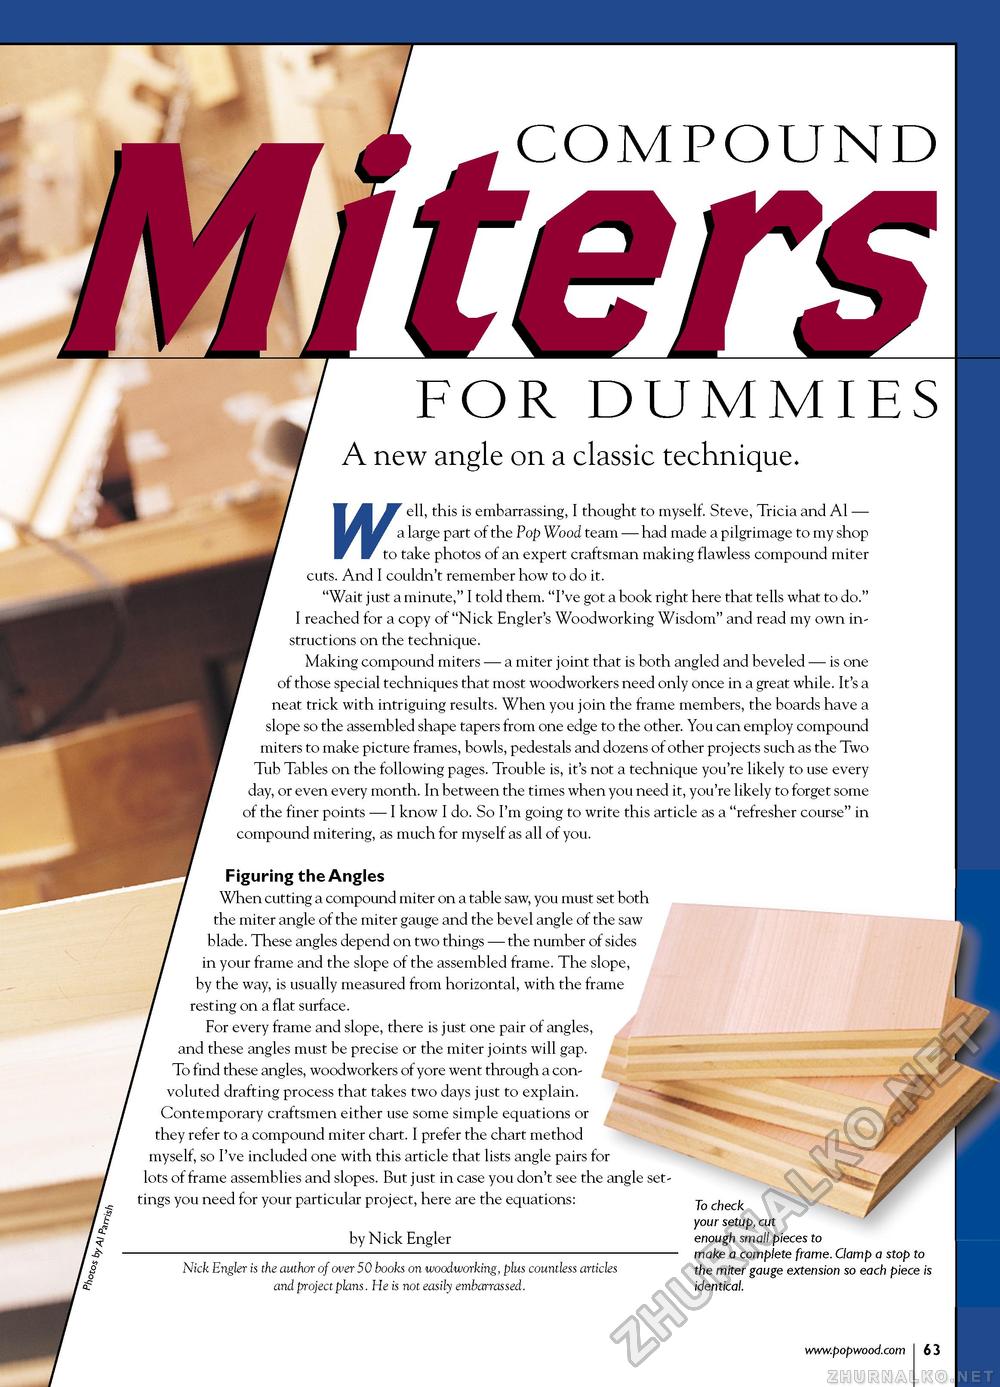
r f P I I M COMPOUND FOR DUMMIES A new angle on a classic technique. V ^M W ell, this is embarrassing, I thought to myself. Steve, Tricia and Al — a large part of the Pop Wood team — had made a pilgrimage to my shop to take photos of an expert craftsman making flawless compound miter cuts. And I couldn't remember how to do it. "Wait just a minute," I told them. "I've got a book right here that tells what to do." I reached for a copy of "Nick Engler's Woodworking Wisdom" and read my own instructions on the technique. Making compound miters — a miter joint that is both angled and beveled — is one of those special techniques that most woodworkers need only once in a great while. It's a neat trick with intriguing results. When you join the frame members, the boards have a slope so the assembled shape tapers from one edge to the other. You can employ compound miters to make picture frames, bowls, pedestals and dozens of other projects such as the Two Tub Tables on the following pages. Trouble is, it's not a technique you're likely to use every day, or even every month. In between the times when you need it, you're likely to forget some of the finer points — I know I do. So I'm going to write this article as a "refresher course" in compound mitering, as much for myself as all of you. Figuring the Angles When cutting a compound miter on a table saw, you must set both the miter angle of the miter gauge and the bevel angle of the saw blade. These angles depend on two things — the number of sides in your frame and the slope of the assembled frame. The slope, by the way, is usually measured from horizontal, with the frame resting on a flat surface. For every frame and slope, there is just one pair of angles, and these angles must be precise or the miter joints will gap. To find these angles, woodworkers of yore went through a convoluted drafting process that takes two days just to explain. - ^ Contemporary craftsmen either use some simple equations or they refer to a compound miter chart. I prefer the chart method myself, so I've included one with this article that lists angle pairs for lots of frame assemblies and slopes. But just in case you don't see the angle settings you need for your particular project, here are the equations: jo check your setup, cut enough small pieces to make a complete frame. Clamp a stop to the miter gauge extension so each piece is identical. Nick Engler is the author of over 50 books on woodworking, plus countless articles and project plans. He is not easily embarrassed. |


