Popular Woodworking 2001-02 № 120, страница 70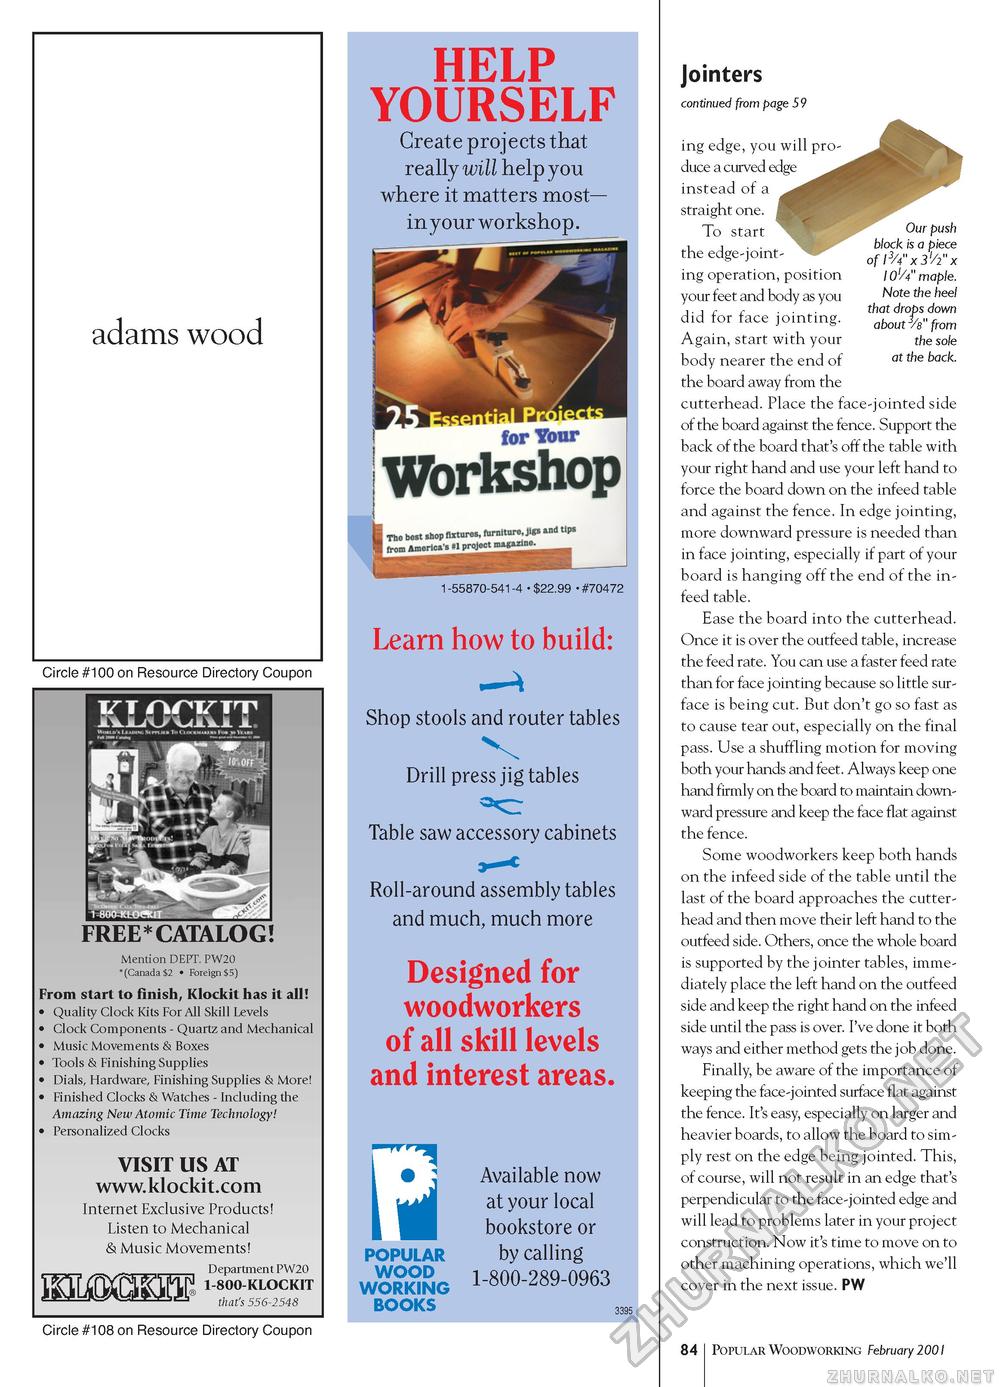
adams wood Circle #100 on Resource Directory Coupon FREE*CATALOG! Mention DEPT. PW20 *(Canada $2 • Foreign $5) From start to finish, Klockit has it all! • Quality Clock Kits For All Skill Levels • Clock Components - Quartz and Mechanical • Music Movements & Boxes • Tools & Finishing Supplies • Dials, Hardware, Finishing Supplies & More! • Finished Clocks & Watches - Including the Amazing New Atomic Time Technology! • Personalized Clocks VISIT US AT Internet Exclusive Products! Listen to Mechanical & Music Movements! m«B Department PW20 1-800-KLOCKIT that's 556-2548 HELP YOURSELF Create projects that really will help you where it matters most— in your workshop. Workshop I The b0« shop tan*""* Wlnd 1-55870-541-4 • $22.99 • #70472 Learn how to build: Shop stools and router tables Drill press jig tables Table saw accessory cabinets Roll-around assembly tables and much, much more Designed for woodworkers of all skill levels and interest areas. POPULAR WOOD WORKING BOOKS Available now at your local bookstore or by calling 1-800-289-0963 3395 Jointers continued from page 59 ing edge, you will produce a curved edge instead of a straight one. To start I Our push , , . . block is a piece the edge-joint- of l3A"x3'/i"x ing operation, position 10'A" maple. your feet and body as you Note the heel ,. , . . . that drops down did for face ]°inting. about V from Again, start with your the sole body nearer the end of at the back■ the board away from the cutterhead. Place the face-jointed side of the board against the fence. Support the back of the board that's off the table with your right hand and use your left hand to force the board down on the infeed table and against the fence. In edge jointing, more downward pressure is needed than in face jointing, especially if part of your board is hanging off the end of the in- feed table. Ease the board into the cutterhead. Once it is over the outfeed table, increase the feed rate. You can use a faster feed rate than for face jointing because so little surface is being cut. But don't go so fast as to cause tear out, especially on the final pass. Use a shuffling motion for moving both your hands and feet. Always keep one hand firmly on the board to maintain downward pressure and keep the face flat against the fence. Some woodworkers keep both hands on the infeed side of the table until the last of the board approaches the cutter-head and then move their left hand to the outfeed side. Others, once the whole board is supported by the jointer tables, immediately place the left hand on the outfeed side and keep the right hand on the infeed side until the pass is over. I've done it both ways and either method gets the job done. Finally, be aware of the importance of keeping the face-jointed surface flat against the fence. It's easy, especially on larger and heavier boards, to allow the board to simply rest on the edge being jointed. This, of course, will not result in an edge that's perpendicular to the face-jointed edge and will lead to problems later in your project construction. Now it's time to move on to other machining operations, which we'll cover in the next issue. PW Circle #108 on Resource Directory Coupon 84 Popular Woodworking February 2001 |


