Popular Woodworking 2001-12 № 125, страница 29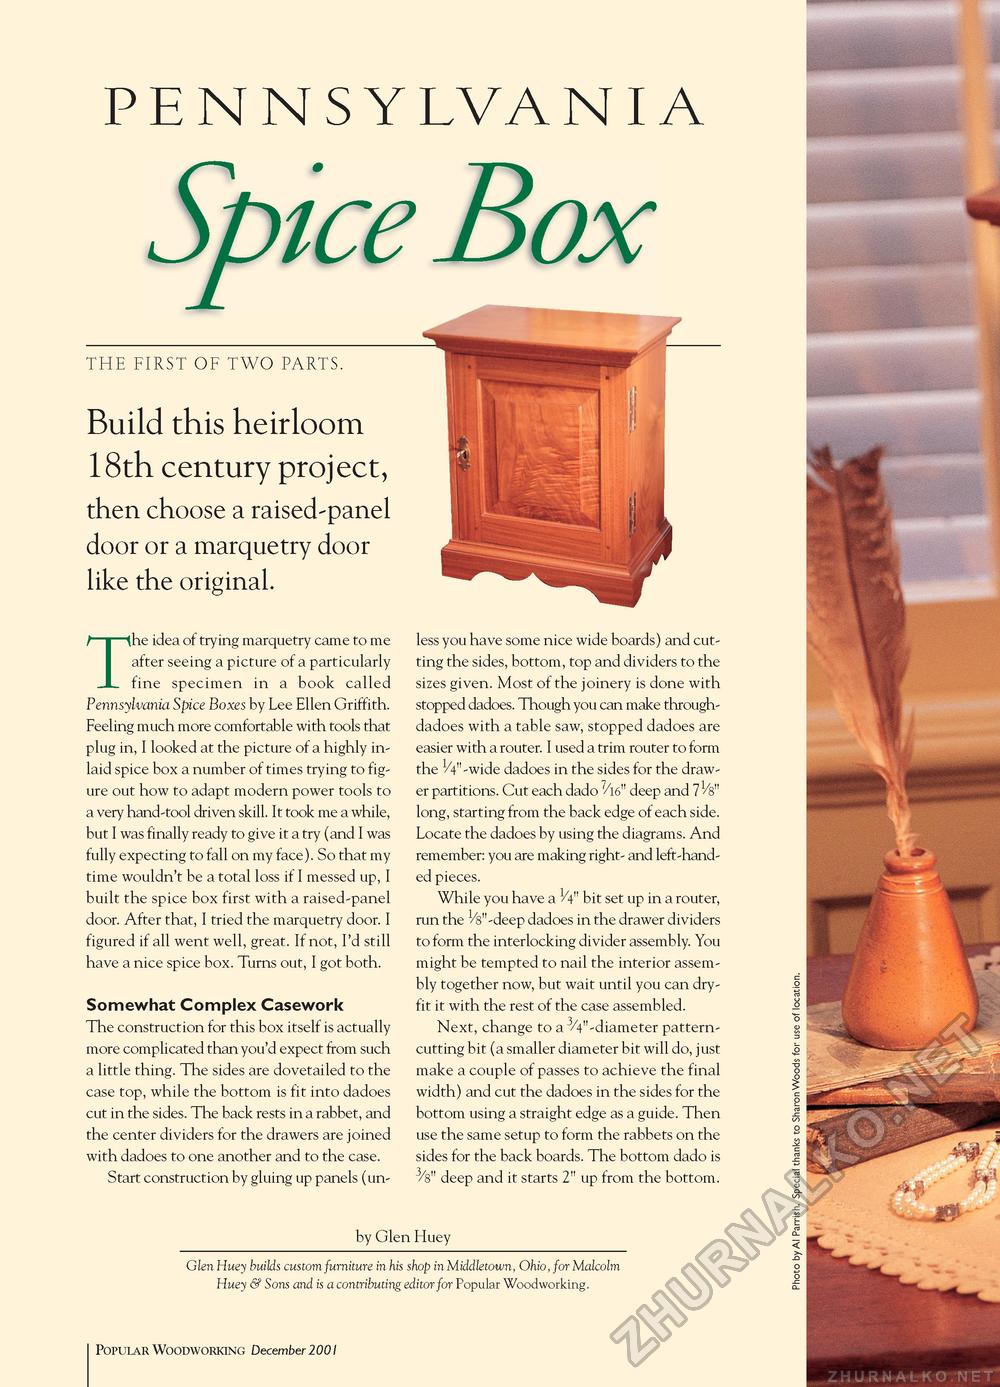
P E N N S Y LV A NIA Build this heirloom 18 th century project, then choose a raised-panel door or a marquetry door like the original. The idea of trying marquetry came to me after seeing a picture of a particularly fine specimen in a book called Pennsylvania Spice Boxes by Lee Ellen Griffith. Feeling much more comfortable with tools that plug in, I looked at the picture of a highly inlaid spice box a number of times trying to figure out how to adapt modern power tools to a very hand-tool driven skill. It took me a while, but I was finally ready to give it a try (and I was fully expecting to fall on my face). So that my time wouldn't be a total loss if I messed up, I built the spice box first with a raised-panel door. After that, I tried the marquetry door. I figured if all went well, great. If not, I'd still have a nice spice box. Turns out, I got both. Somewhat Complex Casework The construction for this box itself is actually more complicated than you'd expect from such a little thing. The sides are dovetailed to the case top, while the bottom is fit into dadoes cut in the sides. The back rests in a rabbet, and the center dividers for the drawers are joined with dadoes to one another and to the case. Start construction by gluing up panels (un- less you have some nice wide boards) and cutting the sides, bottom, top and dividers to the sizes given. Most of the joinery is done with stopped dadoes. Though you can make through-dadoes with a table saw, stopped dadoes are easier with a router. I used a trim router to form the V4" -wide dadoes in the sides for the drawer partitions. Cut each dado 7/l6" deep and 71/8" long, starting from the back edge of each side. Locate the dadoes by using the diagrams. And remember: you are making right- and left-handed pieces. While you have a 1/4" bit set up in a router, run the Vo" -deep dadoes in the drawer dividers to form the interlocking divider assembly. You might be tempted to nail the interior assembly together now, but wait until you can dry-fit it with the rest of the case assembled. Next, change to a 3/4"-diameter pattern-cutting bit (a smaller diameter bit will do, just make a couple of passes to achieve the final width) and cut the dadoes in the sides for the bottom using a straight edge as a guide. Then use the same setup to form the rabbets on the sides for the back boards. The bottom dado is 3/8" deep and it starts 2" up from the bottom. by Glen Huey Glen Huey builds custom furniture in his shop in Middletown, Ohio, for Malcolm Huey & Sons and is a contributing editor for Popular Woodworking. 29 Popular Woodworking December 2001 |


