Popular Woodworking 2003-06 № 134, страница 66
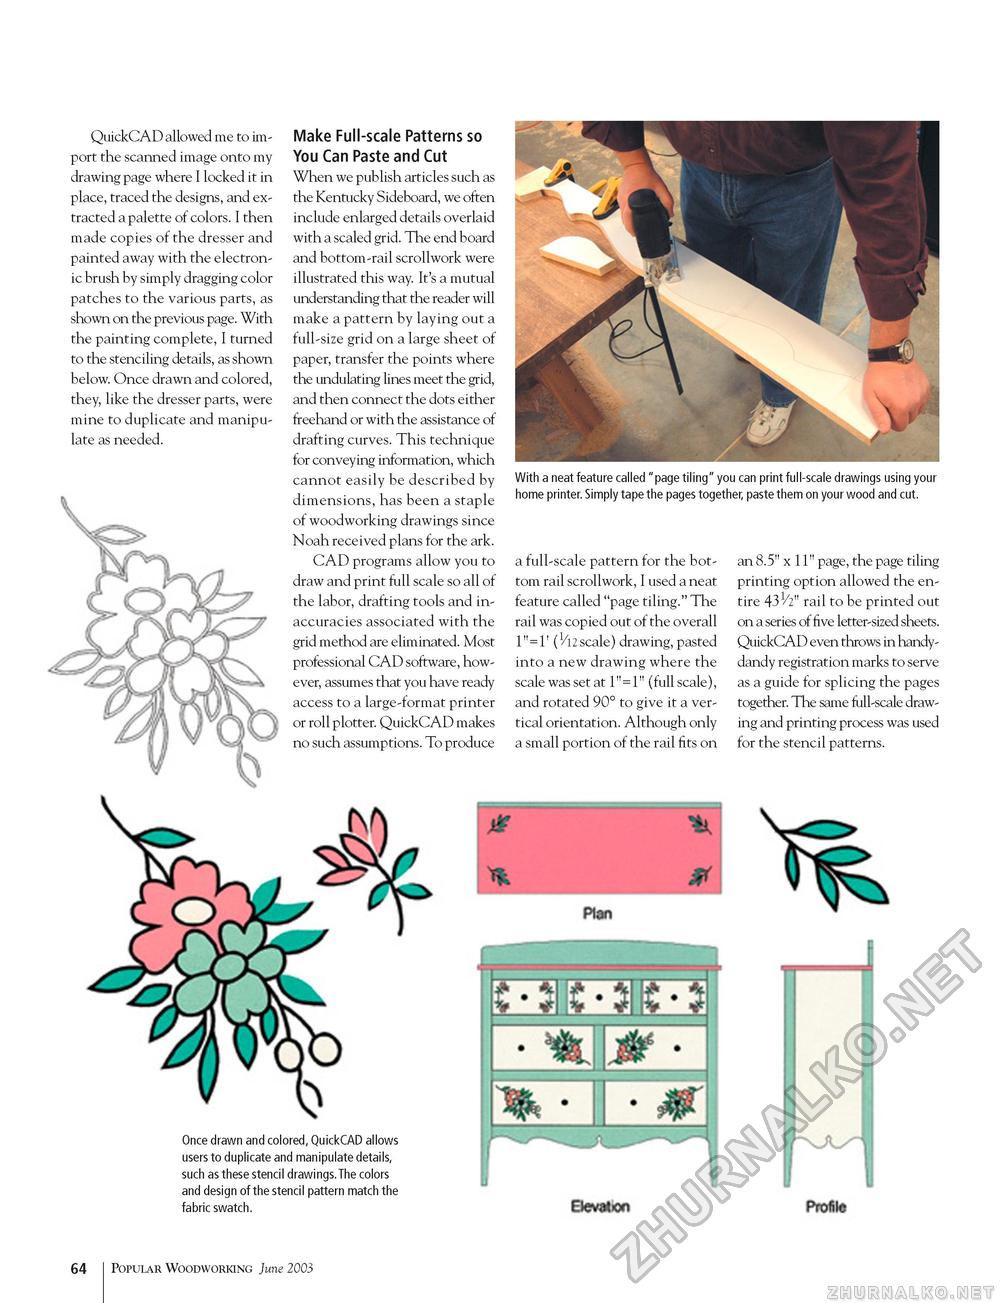
QuickCAD allowed me to import the scanned image onto my drawing page where I locked it in place, traced the designs, and extracted a palette of colors. I then made copies of the dresser and painted away with the electronic brush by simply dragging color patches to the various parts, as shown on the previous page. With the painting complete, I turned to the stenciling details, as shown below. Once drawn and colored, they, like the dresser parts, were mine to duplicate and manipulate as needed. Make Full-scale Patterns so You Can Paste and Cut When we publish articles such as the Kentucky Sideboard, we often include enlarged details overlaid with a scaled grid. The end board and bottom-rail scrollwork were illustrated this way. It's a mutual understanding that the reader will make a pattern by laying out a full-size grid on a large sheet of paper, transfer the points where the undulating lines meet the grid, and then connect the dots either freehand or with the assistance of drafting curves. This technique for conveying information, which cannot easily be described by dimensions, has been a staple of woodworking drawings since Noah received plans for the ark. CAD programs allow you to draw and print full scale so all of the labor, drafting tools and inaccuracies associated with the grid method are eliminated. Most professional CAD software, however, assumes that you have ready access to a large-format printer or roll plotter. QuickCAD makes no such assumptions. To produce With a neat feature called "page tiling" you can print full-scale drawings using your home printer. Simply tape the pages together, paste them on your wood and cut. a full-scale pattern for the bottom rail scrollwork, I used a neat feature called "page tiling." The rail was copied out of the overall 1" = 1' (1/l2 scale) drawing, pasted into a new drawing where the scale was set at 1" = 1" (full scale), and rotated 90° to give it a vertical orientation. Although only a small portion of the rail fits on an 8.5" x 11" page, the page tiling printing option allowed the entire rail to be printed out on a series of five letter-sized sheets. QuickCAD even throws in handy-dandy registration marks to serve as a guide for splicing the pages together. The same full-scale drawing and printing process was used for the stencil patterns. Once drawn and colored, QuickCAD allows users to duplicate and manipulate details, such as these stencil drawings.The colors and design of the stencil pattern match the fabric swatch. 64 Popular Woodworking June 2003 |


