Popular Woodworking 2003-08 № 135, страница 85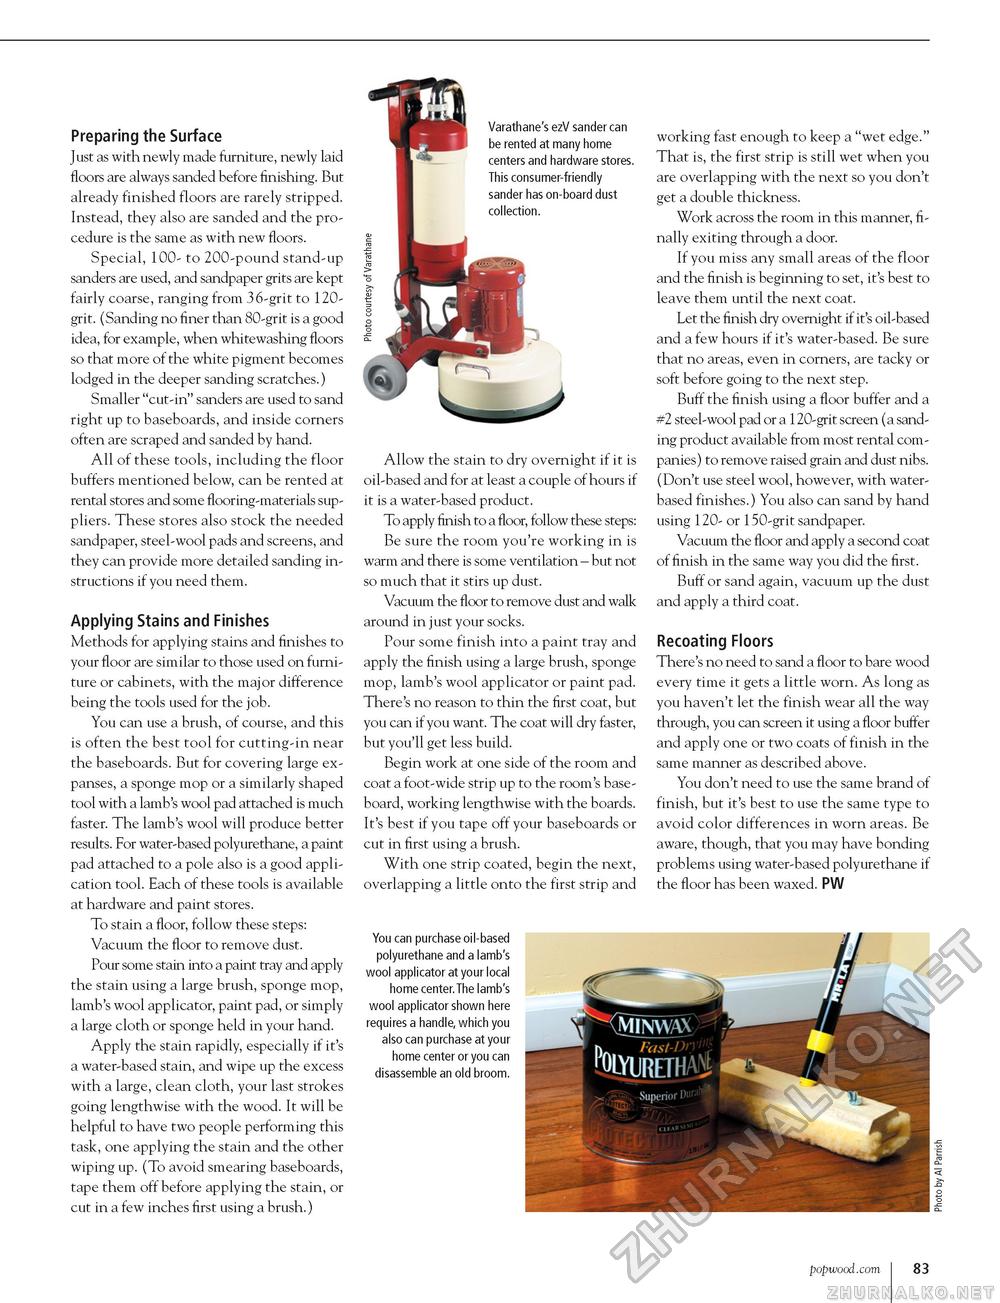
Preparing the Surface Just as with newly made furniture, newly laid floors are always sanded before finishing. But already finished floors are rarely stripped. Instead, they also are sanded and the procedure is the same as with new floors. Special, 100- to 200-pound stand-up sanders are used, and sandpaper grits are kept fairly coarse, ranging from 36-grit to 120-grit. (Sanding no finer than 80-grit is a good idea, for example, when whitewashing floors so that more of the white pigment becomes lodged in the deeper sanding scratches.) Smaller "cut-in" sanders are used to sand right up to baseboards, and inside corners often are scraped and sanded by hand. All of these tools, including the floor buffers mentioned below, can be rented at rental stores and some flooring-materials suppliers. These stores also stock the needed sandpaper, steel-wool pads and screens, and they can provide more detailed sanding instructions if you need them. Applying Stains and Finishes Methods for applying stains and finishes to your floor are similar to those used on furniture or cabinets, with the major difference being the tools used for the job. You can use a brush, of course, and this is often the best tool for cutting-in near the baseboards. But for covering large expanses, a sponge mop or a similarly shaped tool with a lamb's wool pad attached is much faster. The lamb's wool will produce better results. For water-based polyurethane, a paint pad attached to a pole also is a good application tool. Each of these tools is available at hardware and paint stores. To stain a floor, follow these steps: Vacuum the floor to remove dust. Pour some stain into a paint tray and apply the stain using a large brush, sponge mop, lamb's wool applicator, paint pad, or simply a large cloth or sponge held in your hand. Apply the stain rapidly, especially if it's a water-based stain, and wipe up the excess with a large, clean cloth, your last strokes going lengthwise with the wood. It will be helpful to have two people performing this task, one applying the stain and the other wiping up. (To avoid smearing baseboards, tape them off before applying the stain, or cut in a few inches first using a brush.) Varathane's ezV sander can be rented at many home centers and hardware stores. This consumer-friendly sander has on-board dust Allow the stain to dry overnight if it is oil-based and for at least a couple of hours if it is a water-based product. To apply finish to a floor, follow these steps: Be sure the room you're working in is warm and there is some ventilation - but not so much that it stirs up dust. Vacuum the floor to remove dust and walk around in just your socks. Pour some finish into a paint tray and apply the finish using a large brush, sponge mop, lamb's wool applicator or paint pad. There's no reason to thin the first coat, but you can if you want. The coat will dry faster, but you'll get less build. Begin work at one side of the room and coat a foot-wide strip up to the room's baseboard, working lengthwise with the boards. It's best if you tape off your baseboards or cut in first using a brush. With one strip coated, begin the next, overlapping a little onto the first strip and You can purchase oil-based polyurethane and a lamb's wool applicator at your local home center.The lamb's wool applicator shown here requires a handle, which you also can purchase at your home center or you can disassemble an old broom. working fast enough to keep a "wet edge." That is, the first strip is still wet when you are overlapping with the next so you don't get a double thickness. Work across the room in this manner, finally exiting through a door. If you miss any small areas of the floor and the finish is beginning to set, it's best to leave them until the next coat. Let the finish dry overnight if it's oil-based and a few hours if it's water-based. Be sure that no areas, even in corners, are tacky or soft before going to the next step. Buff the finish using a floor buffer and a #2 steel-wool pad or a 120-grit screen (a sanding product available from most rental companies) to remove raised grain and dust nibs. (Don't use steel wool, however, with water-based finishes.) You also can sand by hand using 120- or 150-grit sandpaper. Vacuum the floor and apply a second coat of finish in the same way you did the first. Buff or sand again, vacuum up the dust and apply a third coat. Recoating Floors There's no need to sand a floor to bare wood every time it gets a little worn. As long as you haven't let the finish wear all the way through, you can screen it using a floor buffer and apply one or two coats of finish in the same manner as described above. You don't need to use the same brand of finish, but it's best to use the same type to avoid color differences in worn areas. Be aware, though, that you may have bonding problems using water-based polyurethane if the floor has been waxed. PW www.popwood.com 83 |


