Popular Woodworking 2003-10 № 136, страница 63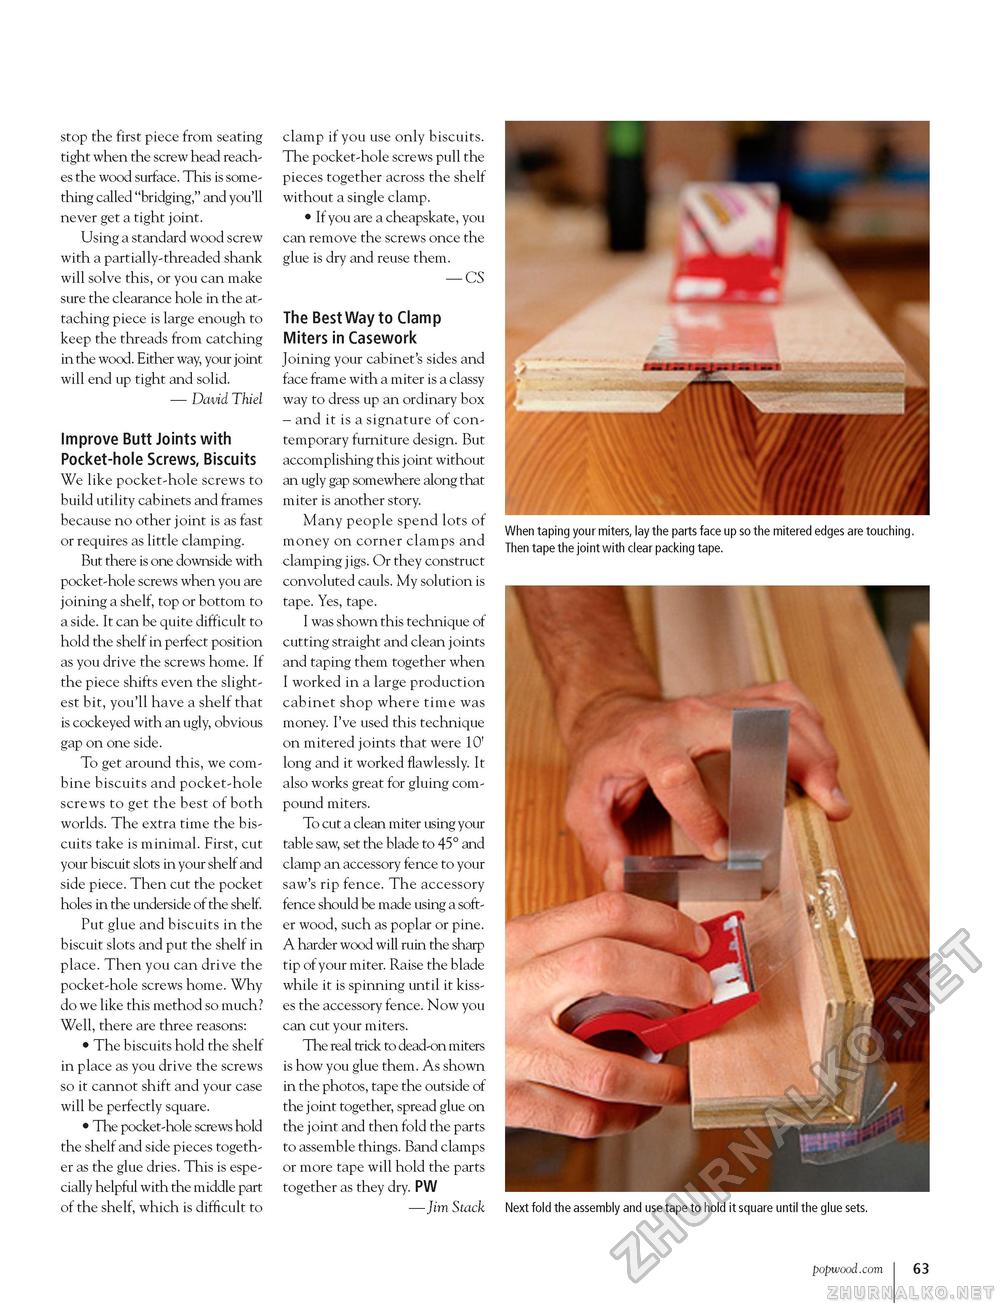
stop the first piece from seating tight when the screw head reaches the wood surface. This is something called "bridging," and you'll never get a tight joint. Using a standard wood screw with a partially-threaded shank will solve this, or you can make sure the clearance hole in the attaching piece is large enough to keep the threads from catching in the wood. Either way, your joint will end up tight and solid. — David Thiel Improve Butt Joints with Pocket-hole Screws, Biscuits We like pocket-hole screws to build utility cabinets and frames because no other joint is as fast or requires as little clamping. But there is one downside with pocket-hole screws when you are joining a shelf, top or bottom to a side. It can be quite difficult to hold the shelf in perfect position as you drive the screws home. If the piece shifts even the slightest bit, you'll have a shelf that is cockeyed with an ugly, obvious gap on one side. To get around this, we combine biscuits and pocket-hole screws to get the best of both worlds. The extra time the biscuits take is minimal. First, cut your biscuit slots in your shelf and side piece. Then cut the pocket holes in the underside of the shelf. Put glue and biscuits in the biscuit slots and put the shelf in place. Then you can drive the pocket-hole screws home. Why do we like this method so much? Well, there are three reasons: • The biscuits hold the shelf in place as you drive the screws so it cannot shift and your case will be perfectly square. • The pocket-hole screws hold the shelf and side pieces together as the glue dries. This is especially helpful with the middle part of the shelf, which is difficult to clamp if you use only biscuits. The pocket-hole screws pull the pieces together across the shelf without a single clamp. • If you are a cheapskate, you can remove the screws once the glue is dry and reuse them. — CS The Best Way to Clamp Miters in Casework Joining your cabinet's sides and face frame with a miter is a classy way to dress up an ordinary box - and it is a signature of contemporary furniture design. But accomplishing this joint without an ugly gap somewhere along that miter is another story. Many people spend lots of money on corner clamps and clamping jigs. Or they construct convoluted cauls. My solution is tape. Yes, tape. I was shown this technique of cutting straight and clean joints and taping them together when I worked in a large production cabinet shop where time was money. I've used this technique on mitered joints that were 10' long and it worked flawlessly. It also works great for gluing compound miters. To cut a clean miter using your table saw, set the blade to 45° and clamp an accessory fence to your saw's rip fence. The accessory fence should be made using a softer wood, such as poplar or pine. A harder wood will ruin the sharp tip of your miter. Raise the blade while it is spinning until it kisses the accessory fence. Now you can cut your miters. The real trick to dead-on miters is how you glue them. As shown in the photos, tape the outside of the joint together, spread glue on the joint and then fold the parts to assemble things. Band clamps or more tape will hold the parts together as they dry. PW —Jim Stack When taping your miters, lay the parts face up so the mitered edges are touching. Then tape the joint with clear packing tape. Next fold the assembly and use tape to hold it square until the glue sets. popwood.com 63 |


