Popular Woodworking 2004-02 № 139, страница 103
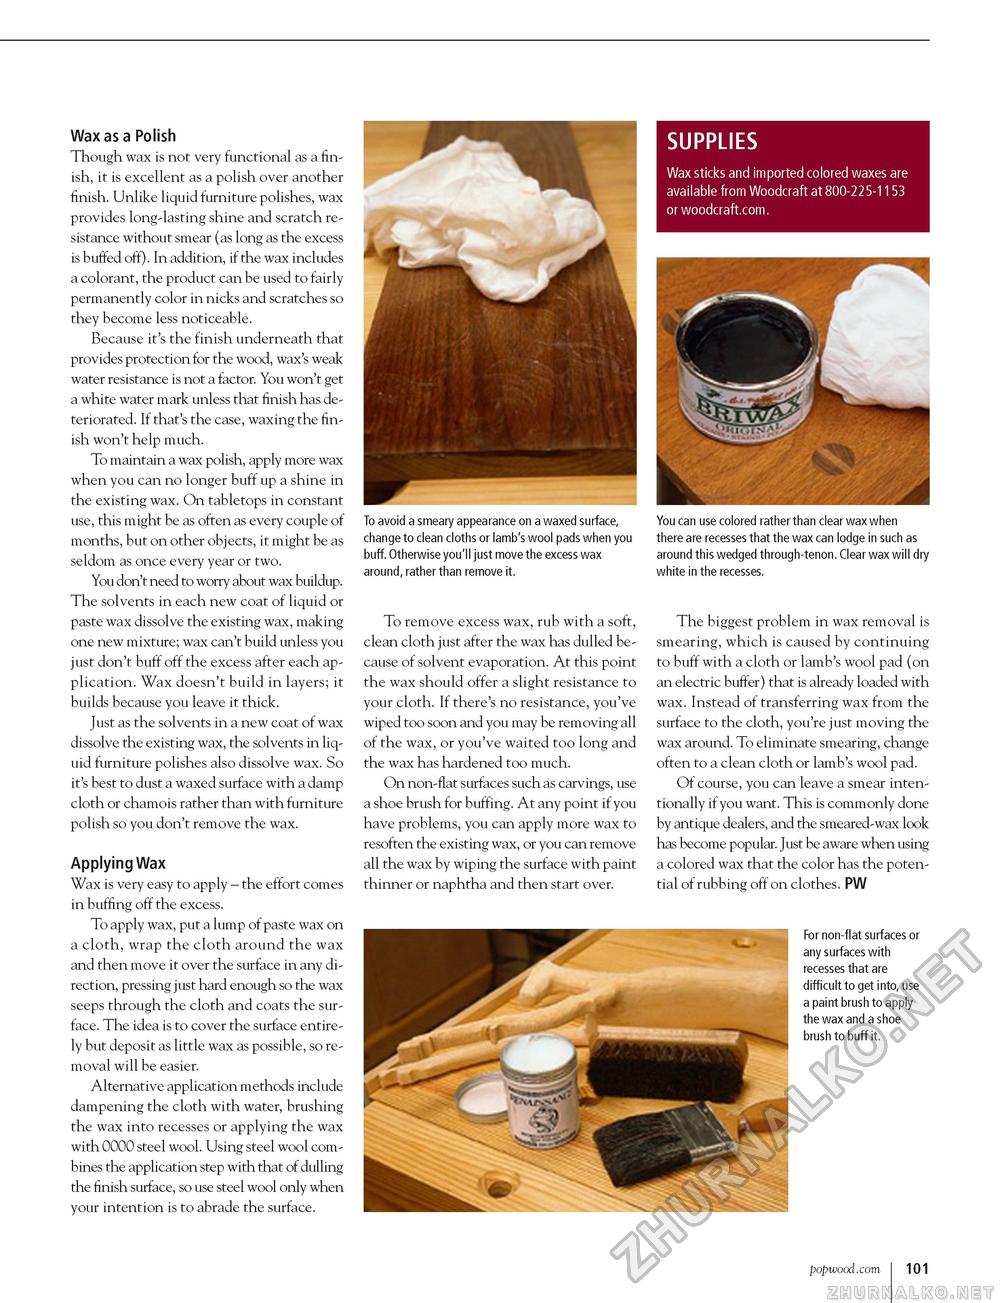
SUPPLIES Wax sticks and imported colored waxes are available from Woodcraft at 800-225-1153 or woodcraft.com. Wax as a Polish Though wax is not very functional as a finish, it is excellent as a polish over another finish. Unlike liquid furniture polishes, wax provides long-lasting shine and scratch resistance without smear (as long as the excess is buffed off). In addition, if the wax includes a colorant, the product can be used to fairly permanently color in nicks and scratches so they become less noticeable. Because it's the finish underneath that provides protection for the wood, wax's weak water resistance is not a factor. You won't get a white water mark unless that finish has deteriorated. If that's the case, waxing the finish won't help much. To maintain a wax polish, apply more wax when you can no longer buff up a shine in the existing wax. On tabletops in constant use, this might be as often as every couple of months, but on other objects, it might be as seldom as once every year or two. You don't need to worry about wax buildup. The solvents in each new coat of liquid or paste wax dissolve the existing wax, making one new mixture; wax can't build unless you just don't buff off the excess after each application. Wax doesn't build in layers; it builds because you leave it thick. Just as the solvents in a new coat of wax dissolve the existing wax, the solvents in liquid furniture polishes also dissolve wax. So it's best to dust a waxed surface with a damp cloth or chamois rather than with furniture polish so you don't remove the wax. Applying Wax Wax is very easy to apply - the effort comes in buffing off the excess. To apply wax, put a lump of paste wax on a cloth, wrap the cloth around the wax and then move it over the surface in any direction, pressing just hard enough so the wax seeps through the cloth and coats the surface. The idea is to cover the surface entirely but deposit as little wax as possible, so removal will be easier. Alternative application methods include dampening the cloth with water, brushing the wax into recesses or applying the wax with 0000 steel wool. Using steel wool combines the application step with that of dulling the finish surface, so use steel wool only when your intention is to abrade the surface. To avoid a smeary appearance on a waxed surface, change to clean cloths or lamb's wool pads when you buff. Otherwise you'll just move the excess wax around, rather than remove it. You can use colored rather than clear wax when there are recesses that the wax can lodge in such as around this wedged through-tenon. Clear wax will dry white in the recesses. To remove excess wax, rub with a soft, clean cloth just after the wax has dulled because of solvent evaporation. At this point the wax should offer a slight resistance to your cloth. If there's no resistance, you've wiped too soon and you may be removing all of the wax, or you've waited too long and the wax has hardened too much. On non-flat surfaces such as carvings, use a shoe brush for buffing. At any point if you have problems, you can apply more wax to resoften the existing wax, or you can remove all the wax by wiping the surface with paint thinner or naphtha and then start over. The biggest problem in wax removal is smearing, which is caused by continuing to buff with a cloth or lamb's wool pad (on an electric buffer) that is already loaded with wax. Instead of transferring wax from the surface to the cloth, you're just moving the wax around. To eliminate smearing, change often to a clean cloth or lamb's wool pad. Of course, you can leave a smear intentionally if you want. This is commonly done by antique dealers, and the smeared-wax look has become popular. Just be aware when using a colored wax that the color has the potential of rubbing off on clothes. PW For non-flat surfaces or any surfaces with recesses that are difficult to get into, use a paint brush to apply the wax and a shoe brush to buff it. popwood.com 101 |


