Popular Woodworking 2004-10 № 143, страница 22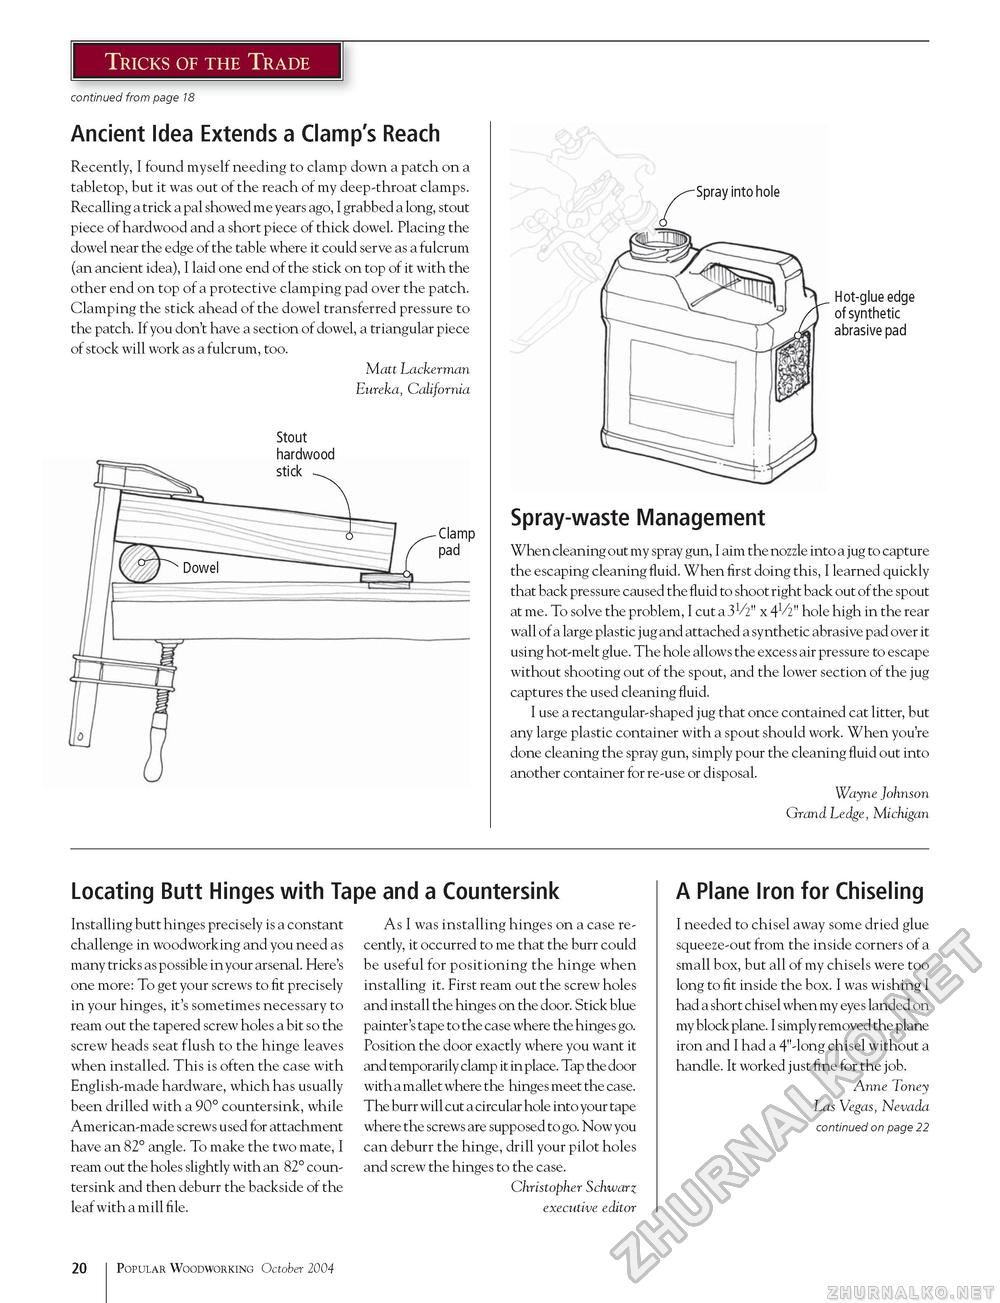
Tricks of the Trade continued from page 18 Ancient Idea Extends a Clamp's Reach Recently, I found myself needing to clamp down a patch on a tabletop, but it was out of the reach of my deep-throat clamps. Recalling a trick a pal showed me years ago, I grabbed a long, stout piece of hardwood and a short piece of thick dowel. Placing the dowel near the edge of the table where it could serve as a fulcrum (an ancient idea), I laid one end of the stick on top of it with the other end on top of a protective clamping pad over the patch. Clamping the stick ahead of the dowel transferred pressure to the patch. If you don't have a section of dowel, a triangular piece of stock will work as a fulcrum, too. Matt Lackerman Eureka, California Stout hardwood Clamp pad Spray into hole Hot-glue edge of synthetic abrasive pad Spray-waste Management When cleaning out my spray gun, I aim the nozzle into a jug to capture the escaping cleaning fluid. When first doing this, I learned quickly that back pressure caused the fluid to shoot right back out of the spout at me. To solve the problem, I cut a 3V2" x 41/2" hole high in the rear wall of a large plastic jug and attached a synthetic abrasive pad over it using hot-melt glue. The hole allows the excess air pressure to escape without shooting out of the spout, and the lower section of the jug captures the used cleaning fluid. I use a rectangular-shaped jug that once contained cat litter, but any large plastic container with a spout should work. When you're done cleaning the spray gun, simply pour the cleaning fluid out into another container for re-use or disposal. Wayne Johnson Grand Ledge, Michigan Locating Butt Hinges with Tape and a Countersink Installing butt hinges precisely is a constant challenge in woodworking and you need as many tricks as possible in your arsenal. Here's one more: To get your screws to fit precisely in your hinges, it's sometimes necessary to ream out the tapered screw holes a bit so the screw heads seat flush to the hinge leaves when installed. This is often the case with English-made hardware, which has usually been drilled with a 90° countersink, while American-made screws used for attachment have an 82° angle. To make the two mate, I ream out the holes slightly with an 82° countersink and then deburr the backside of the leaf with a mill file. As I was installing hinges on a case recently, it occurred to me that the burr could be useful for positioning the hinge when installing it. First ream out the screw holes and install the hinges on the door. Stick blue painter's tape to the case where the hinges go. Position the door exactly where you want it and temporarily clamp it in place. Tap the door with a mallet where the hinges meet the case. The burr will cut a circular hole into your tape where the screws are supposed to go. Now you can deburr the hinge, drill your pilot holes and screw the hinges to the case. Christopher Schwarz executive editor A Plane Iron for Chiseling I needed to chisel away some dried glue squeeze-out from the inside corners of a small box, but all of my chisels were too long to fit inside the box. I was wishing I had a short chisel when my eyes landed on my block plane. I simply removed the plane iron and I had a 4"-long chisel without a handle. It worked just fine for the job. Anne Toney Las Vegas, Nevada continued on page 22 20 Popular Woodworking October 2004 |


