Popular Woodworking 2004-12 № 145, страница 86
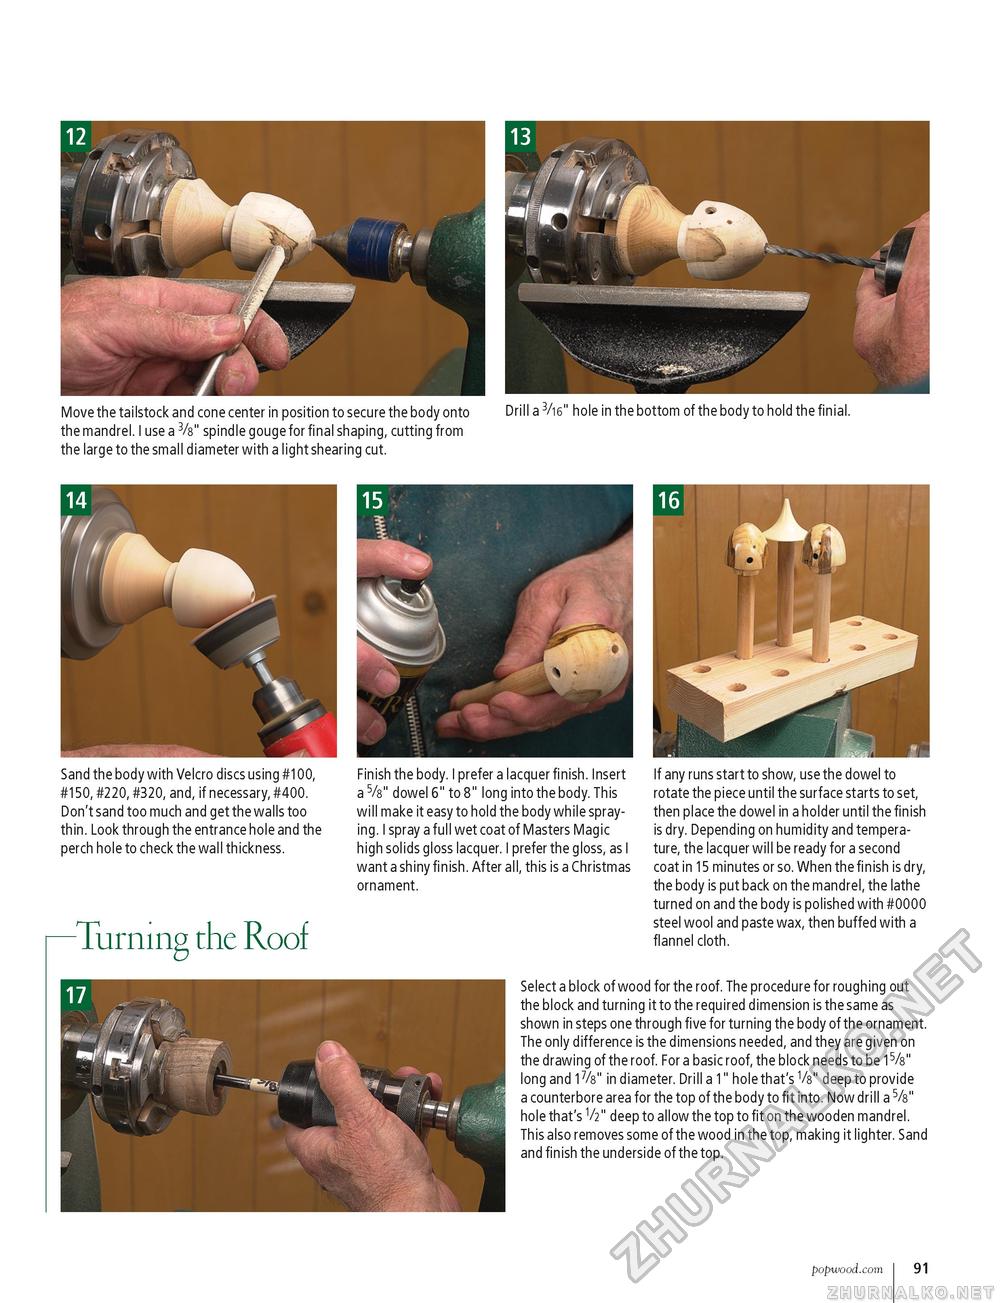
Move the tailstock and cone center in position to secure the body onto the mandrel. I use a 3/s" spindle gouge for final shaping, cutting from the large to the small diameter with a light shearing cut. Drill a 3/16" hole in the bottom of the body to hold the finial. Sand the body with Velcro discs using #100, #150, #220, #320, and, if necessary, #400. Don't sand too much and get the walls too thin. Look through the entrance hole and the perch hole to check the wall thickness. Turning the Roof Finish the body. I prefer a lacquer finish. Insert a 5/s" dowel 6" to 8" long into the body. This will make it easy to hold the body while spraying. I spray a full wet coat of Masters Magic high solids gloss lacquer. I prefer the gloss, as I want a shiny finish. After all, this is a Christmas ornament. If any runs start to show, use the dowel to rotate the piece until the surface starts to set, then place the dowel in a holder until the finish is dry. Depending on humidity and temperature, the lacquer will be ready for a second coat in 15 minutes or so. When the finish is dry, the body is put back on the mandrel, the lathe turned on and the body is polished with #0000 steel wool and paste wax, then buffed with a fl annel cloth. Select a block of wood for the roof. The procedure for roughing out the block and turning it to the required dimension is the same as shown in steps one through five for turning the body of the ornament. The only difference is the dimensions needed, and they are given on the drawing of the roof. For a basic roof, the block needs to be 15/s" long and 17/s" in diameter. Drill a 1" hole that's Vs" deep to provide a counterbore area for the top of the body to fit into. Now drill a 5/s" hole that's V2" deep to allow the top to fit on the wooden mandrel. This also removes some of the wood in the top, making it lighter. Sand and finish the underside of the top. popwood.com 101 |


