Popular Woodworking 2005-02 № 146, страница 103
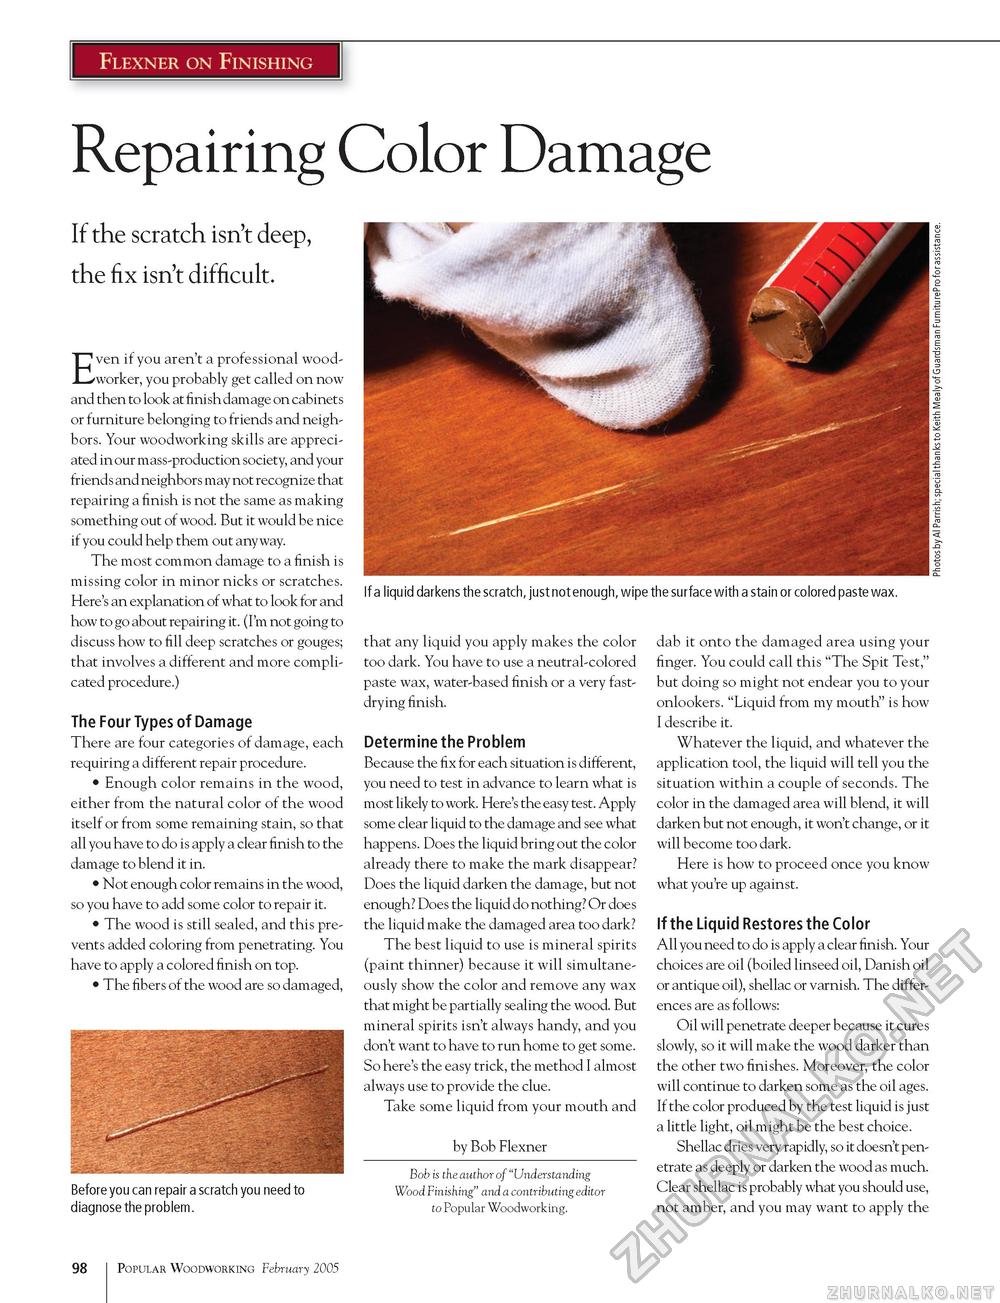
Flexner on Finishing Repairing Color Damage If the scratch isn't deep, the fix isn't difficult. Even if you aren't a professional woodworker, you probably get called on now and then to look at finish damage on cabinets or furniture belonging to friends and neighbors. Your woodworking skills are appreciated in our mass-production society, and your friends and neighbors may not recognize that repairing a finish is not the same as making something out of wood. But it would be nice if you could help them out anyway. The most common damage to a finish is missing color in minor nicks or scratches. Here's an explanation of what to look for and how to go about repairing it. (I'm not going to discuss how to fill deep scratches or gouges; that involves a different and more complicated procedure.) The Four Types of Damage There are four categories of damage, each requiring a different repair procedure. • Enough color remains in the wood, either from the natural color of the wood itself or from some remaining stain, so that all you have to do is apply a clear finish to the damage to blend it in. • Not enough color remains in the wood, so you have to add some color to repair it. • The wood is still sealed, and this prevents added coloring from penetrating. You have to apply a colored finish on top. • The fibers of the wood are so damaged, If a liquid darkens the scratch, just not enough, wipe the surface with a stain or colored paste wax. Before you can repair a scratch you need to diagnose the problem. that any liquid you apply makes the color too dark. You have to use a neutral-colored paste wax, water-based finish or a very fast-drying finish. Determine the Problem Because the fix for each situation is different, you need to test in advance to learn what is most likely to work. Here's the easy test. Apply some clear liquid to the damage and see what happens. Does the liquid bring out the color already there to make the mark disappear? Does the liquid darken the damage, but not enough? Does the liquid do nothing? Or does the liquid make the damaged area too dark? The best liquid to use is mineral spirits (paint thinner) because it will simultaneously show the color and remove any wax that might be partially sealing the wood. But mineral spirits isn't always handy, and you don't want to have to run home to get some. So here's the easy trick, the method I almost always use to provide the clue. Take some liquid from your mouth and by Bob Flexner Bob is the author of "Understanding Wood Finishing" and a contributing editor to Popular Woodworking. dab it onto the damaged area using your finger. You could call this "The Spit Test," but doing so might not endear you to your onlookers. "Liquid from my mouth" is how I describe it. Whatever the liquid, and whatever the application tool, the liquid will tell you the situation within a couple of seconds. The color in the damaged area will blend, it will darken but not enough, it won't change, or it will become too dark. Here is how to proceed once you know what you're up against. If the Liquid Restores the Color All you need to do is apply a clear finish. Your choices are oil (boiled linseed oil, Danish oil or antique oil), shellac or varnish. The differences are as follows: Oil will penetrate deeper because it cures slowly, so it will make the wood darker than the other two finishes. Moreover, the color will continue to darken some as the oil ages. If the color produced by the test liquid is just a little light, oil might be the best choice. Shellac dries very rapidly, so it doesn't penetrate as deeply or darken the wood as much. Clear shellac is probably what you should use, not amber, and you may want to apply the 98 Popular Woodworking February 2005 |


