Popular Woodworking 2006-08 № 156, страница 63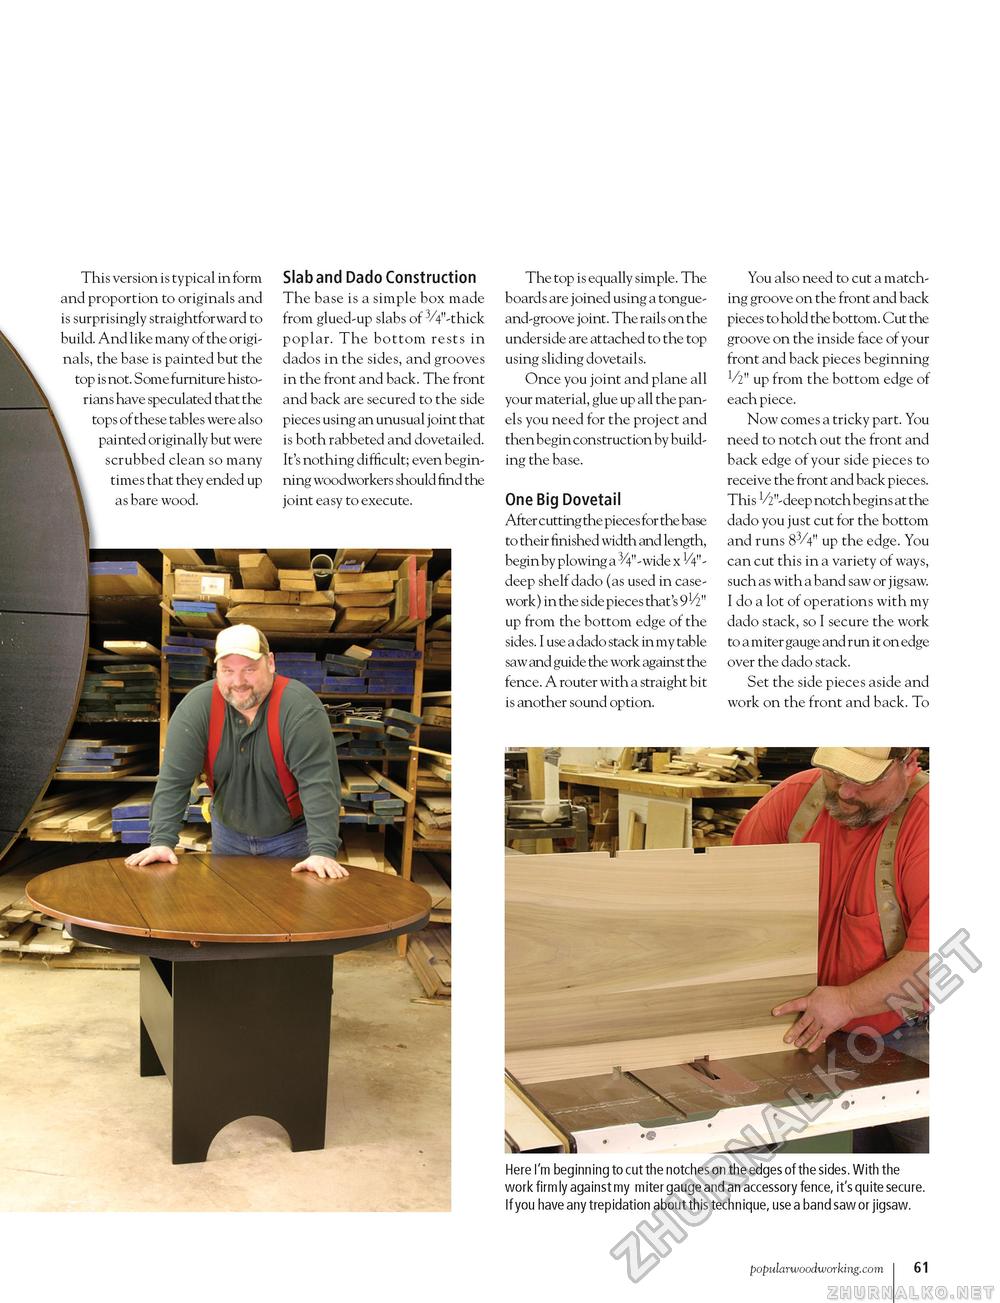
This version is typical in form and proportion to originals and is surprisingly straightforward to build. And like many of the originals, the base is painted but the top is not. Some furniture historians have speculated that the tops of these tables were also painted originally but were scrubbed clean so many times that they ended up as bare wood. Slab and Dado Construction The base is a simple box made from glued-up slabs of 3/4"-thick poplar. The bottom rests in dados in the sides, and grooves in the front and back. The front and back are secured to the side pieces using an unusual joint that is both rabbeted and dovetailed. It's nothing difficult; even beginning woodworkers should find the joint easy to execute. The top is equally simple. The boards are joined using a tongue -and-groove joint. The rails on the underside are attached to the top using sliding dovetails. Once you joint and plane all your material, glue up all the panels you need for the project and then begin construction by building the base. One Big Dovetail After cutting the pieces for the base to their finished width and length, begin by plowing a 3/4"-wide x V4"-deep shelf dado (as used in casework) in the side pieces that's 9V2" up from the bottom edge of the sides. I use a dado stack in my table saw and guide the work against the fence. A router with a straight bit is another sound option. You also need to cut a matching groove on the front and back pieces to hold the bottom. Cut the groove on the inside face of your front and back pieces beginning 1/2" up from the bottom edge of each piece. Now comes a tricky part. You need to notch out the front and back edge of your side pieces to receive the front and back pieces. This V2"-deep notch begins at the dado you just cut for the bottom and runs 83/4" up the edge. You can cut this in a variety of ways, such as with a band saw or j igsaw. I do a lot of operations with my dado stack, so I secure the work to a miter gauge and run it on edge over the dado stack. Set the side pieces aside and work on the front and back. To Here I'm beginning to cut the notches on the edges of the sides. With the work firm ly against my miter gauge and an accessory fence, it's quite secure. If you have any trepidation about this technique, use a band saw or jigsaw. popularwoodworking.com I 61 |


