19 - Clamp Storage System, страница 31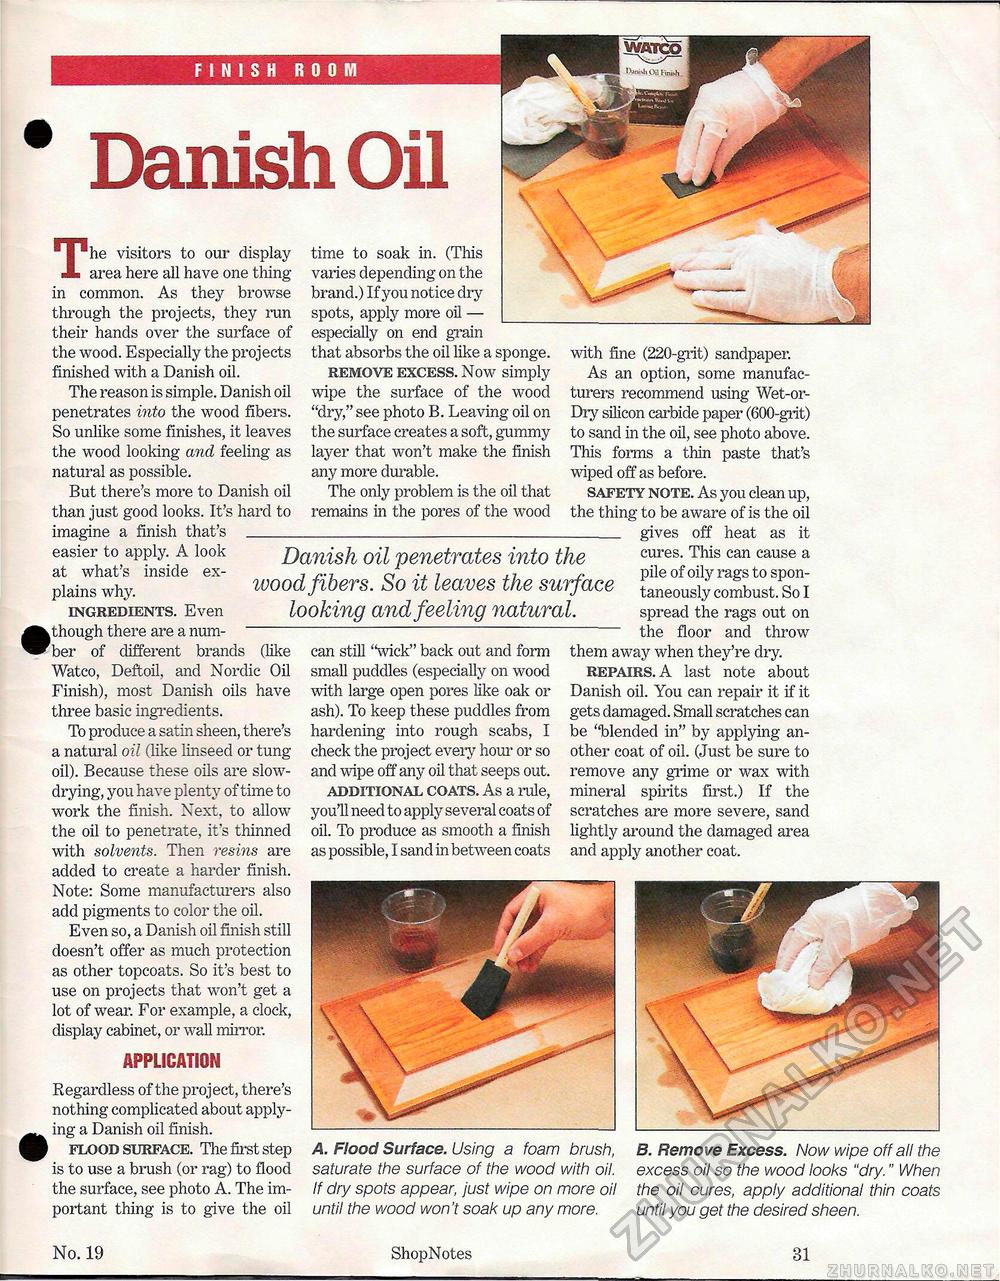
FINISH ROOM Danish Oil The visitors to our display area here all have one thing in common. As they browse through the projects, they run their hands over the surface of the wood. Especially the projects finished with a Danish oil. The reason is simple. Danish oil penetrates into the wood fibers. So unlike some finishes, it leaves the wood looking and feeling as natural as possible. But there's more to Danish oil than just good looks. It's hard to imagine a finish that's _ easier to apply. A look at what's inside explains why. ingredients. Even k though there are a number of different brands (like Watco, Deftoil, and Nordic Oil Finish), most Danish oils have three basic ingredients. To produce a satin sheen, there's a natural oil (like linseed or tung oil). Because these oils are slow-drying, you have plenty of time to work the finish. Next, to allow the oil to penetrate, it's thinned with solvents. Then resins are added to create a harder finish. Note: Some manufacturers also add pigments to color the oil. Even so, a Danish oil finish still doesn't offer as much protection as other topcoats. So it's best to use on projects that won't get a lot of wear. For example, a clock, display cabinet, or wall mirror. APPLICATION Regardless of the project, there's nothing complicated about applying a Danish oil finish. I flood surface. The first step is to use a brush (or rag) to flood the surface, see photo A. The important thing is to give the oil time to soak in. (This varies depending on the brand.) If you notice dry spots, apply more oil — especially on end grain that absorbs the oil like a sponge. remove excess. Now simply wipe the surface of the wood "dry," see photo B. Leaving oil on the surface creates a soft, gummy layer that won't make the finish any more durable. The only problem is the oil that remains in the pores of the wood Danish oil penetrates into the ivood fibers. So it leaves the surface looking and feeling natural. can still "wick" back out and form small puddles (especially on wood with large open pores like oak or ash). To keep these puddles from hardening into rough scabs, I check the project every hour or so and wipe off any oil that seeps out. additional coats. As a rule, you'll need to apply several coats of oil. To produce as smooth a finish as possible, I sand in between coats with fine (220-grit) sandpaper. As an option, some manufacturers recommend using Wet-or-Dry silicon carbide paper (600-grit) to sand in the oil, see photo above. This forms a thin paste that's "wiped off as before. safety note. As you clean up, the thing to be aware of is the oil _ gives off heat as it cures. This can cause a pile of oily rags to spontaneously combust. So I spread the rags out on the floor and throw them away when they're dry. repairs. A last note about Danish oil. You can repair it if it gets damaged. Small scratches can be "blended in" by applying another coat of oil. (Just be sure to remove any grime or wax with mineral spirits first.) If the scratches are more severe, sand lightly around the damaged area and apply another coat. A. Flood Surface. Using a foam brush, saturate the surface of the wood with oil. If dry spots appear, just wipe on more oil until the wood won't soak up any more. B. Remove Excess. Now wipe off all the excess oil so the wood looks "dry." When the oil cures, apply additional thin coats until you get the desired sheen. No. 19 ShopNotes 31 |


