86, страница 41
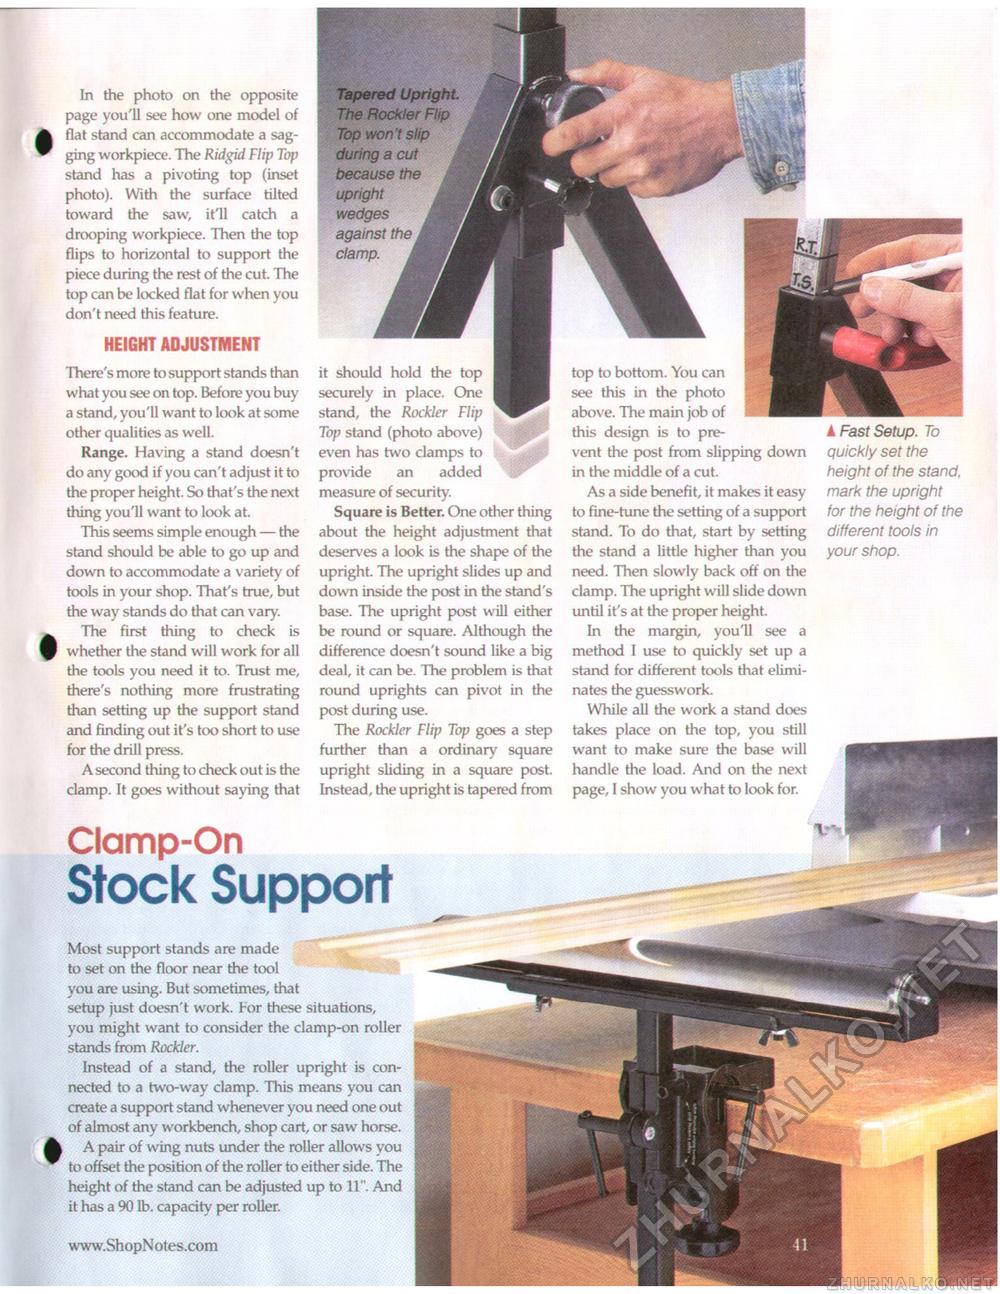
In the photo on the opposite page you'll see how one model of £ flat stand can accommodate a sag-^ ging workpiece. The Ridgid Flip Top stand has a pivoting top (inset photo). With the surface tilted toward the saw, it'll catch a drooping workpiece. Then the top flips to horizontal to support the piece during the rest of the cut. The top can be locked flat for when you don't need this feature. HEIGHT ADJUSTMENT There's more to support stands than what you see on top. Before you buy a stand, you'll want to look at some other qualities as well. Range. Having a stand doesn't do any good if you can't adjust it to the proper height. So that's the next thing you'll want to look at. This seems simple enough — the stand should be able to go up and down to accommodate a variety of tools in your shop. That's true, but the way stands do that can vary. ^ The first thing to check is ^ whether the stand will work for all the tools you need it to. Trust me, there's nothing more frustrating than setting up the support stand and finding out it's too short to use for the drill press. A second thing to check out is the clamp. It goes without saying that Clamp-OnStock SupportTapered Upright The Rockier Flip Top won't slip during a cut because the upright wedges against the \ clamp. I it should hold the top securely in place. One stand, the Rockier Flip Top stand (photo above) even has two clamps to provide an added measure of security. Square is Better. One other thing about the height adjustment that deserves a look is the shape of the upright. The upright slides up and down inside the post in the stand's base. The upright post will either be round or square. Although the difference doesn't sound like a big deal, it can be. The problem is that round uprights can pivot in the post during use. The Rockier Flip Top goes a step further than a ordinary square upright sliding in a square post. Instead, the upright is tapered from top to bottom. You can see this in the photo above. The main job of this design is to prevent the post from slipping down in the middle of a cut. As a side benefit, it makes it easy to fine-tune the setting of a support stand. To do that, start by setting the stand a little higher than you need. Then slowly back off on the clamp. The upright will slide down until it's at the proper height. In the margin, you'll see a method I use to quickly set up a stand for different tools that eliminates the guesswork. While all the work a stand does takes place on the top, you still want to make sure the base will handle the load. And on the next page, I show you what to look for. I Fast Setup. To quickly set the height of the stand, mark the upright for the height of the different tools in your shop. Most support stands are made to set on the floor near the tool you are using. But sometimes, that setup just doesn't work. For these situations, you might want to consider the clamp-on roller stands from Rockier. Instead of a stand, the roller upright is connected to a two-way clamp. This means you can create a support stand whenever you need one out of almost any workbench, shop cart, or saw horse. A pair of wing nuts under the roller allows you to offset the position of the roller to either side. The height of the stand can be adjusted up to 11". And it has a 90 lb. capacity per roller. |


