Woodworker's Journal 101-Projects-for-Woodworkers, страница 157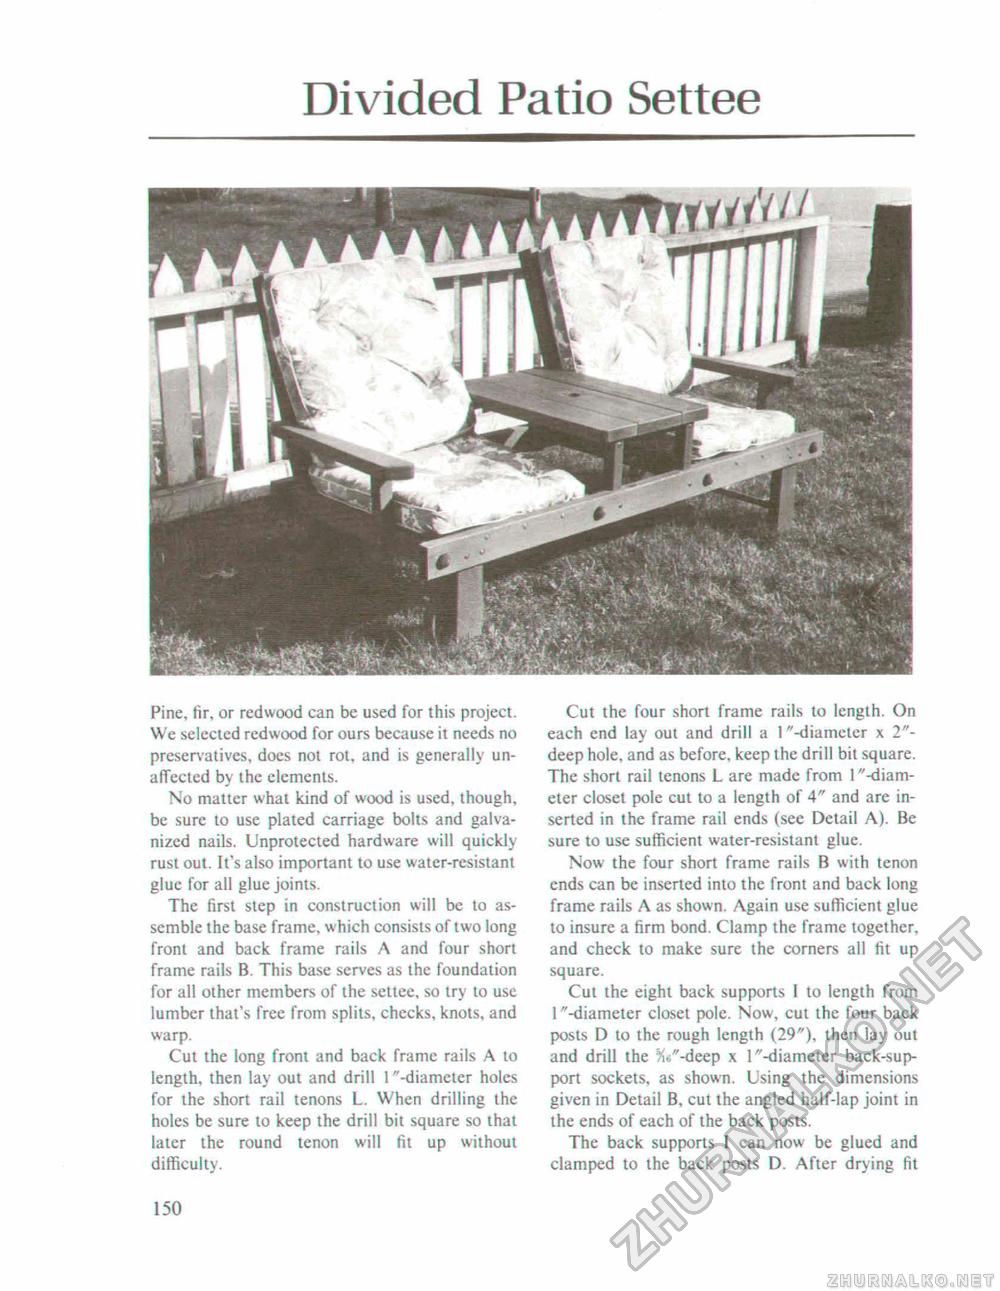
Divided Patio SetteePine, fir, or redwood can be used for this project. We selected redwood for ours because it needs no preservatives, does not rot. and is generally unaffected by the elements. No matter what kind of wood is used, though, be sure to use plated carriage bolts and galvanized nails. Unprotected hardware will quickly rust out. It's also important to use water-resistant glue for all glue joints. The first step in construction will be to assemble the base frame, which consists of two long front and back frame rails A and four short frame rails B. This base serves as the foundation for all other members of the settee, so try to use lumber that's free from splits, checks, knots, and warp. Cut the long front and back frame rails A to length, then lay out and drill 1 "-diameter holes for the short rail tenons L. When drilling the holes be sure to keep the drill bit square so that later the round tenon will fit up without difficulty. Cut the four short frame rails to length. On each end lay out and drill a 1 "-diameter x 2"-deep hole, and as before, keep the drill bit square. The short rail tenons L are made from I "-diameter closet pole cut to a length of 4" and are inserted in the frame rail ends (see Detail A). Be sure to use sufficient water-resistant glue. Now the four short frame rails B with tenon ends can be inserted into the front and back long frame rails A as shown. Again use sufficient glue to insure a firm bond. Clamp the frame together, and check to make sure the corners all fit up square. Cut the eight back supports I to length from 1 "-diameter closet pole. Now, cut the four back posts D to the rough length (29"), then lay out and drill the >U"-deep x 1 "-diameter back-support sockets, as shown. Using the dimensions given in Detail B, cut the angled half-lap joint in the ends of each of the back posts. The back supports I can now be glued and clamped to the back posts D. After drying fit 150 |


