Woodworker's Journal 101-Projects-for-Woodworkers, страница 163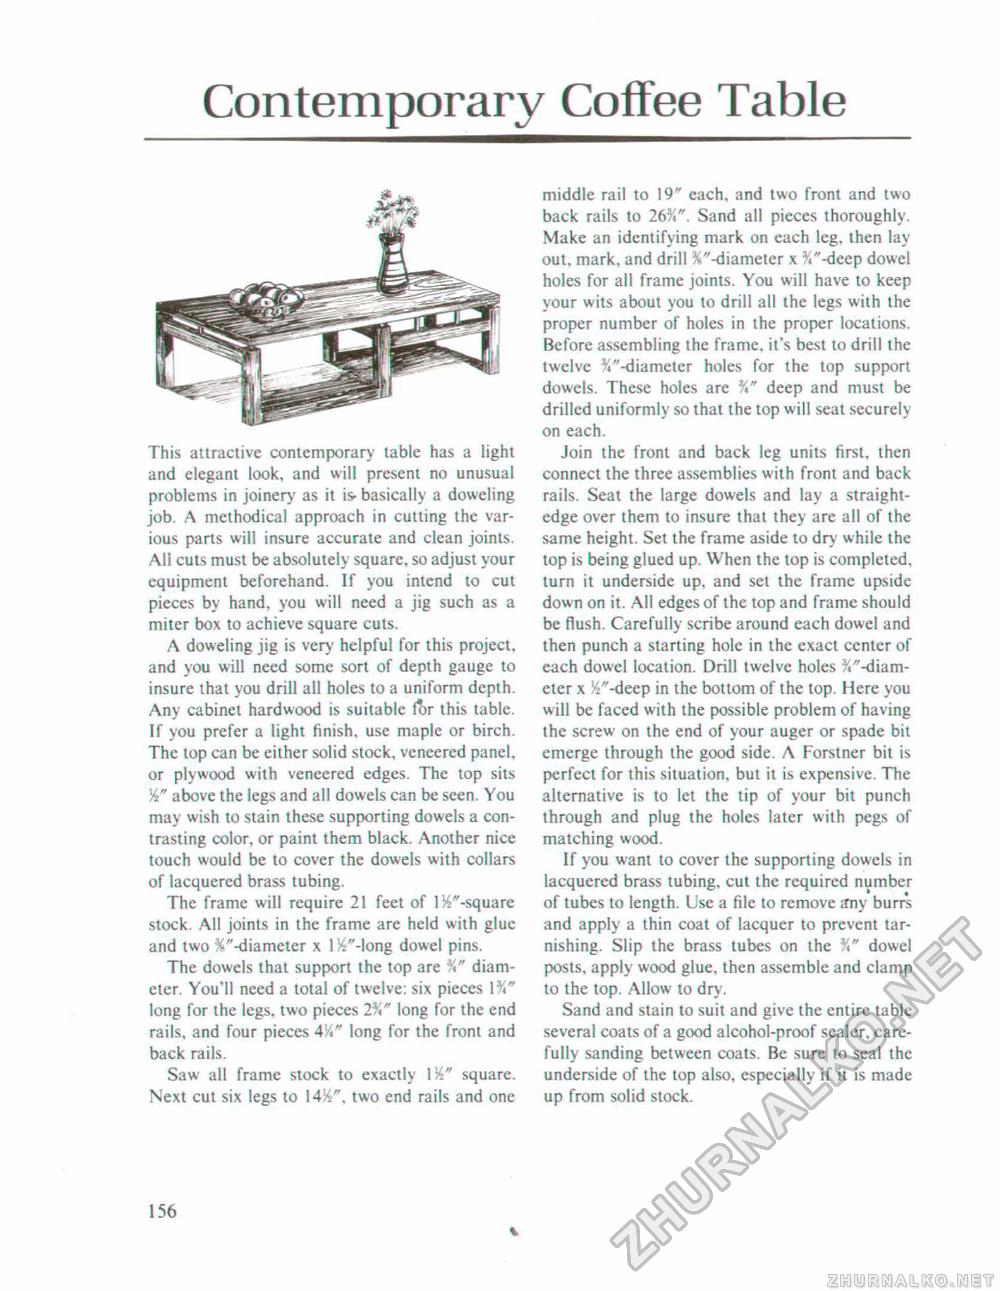
Contemporary Coffee TableThis attractive contemporary' table has a light and elegant look, and will present no unusual problems in joinery as it is- basically a doweling job. A methodical approach in cutting the various parts will insure accurate and clean joints. All cuts must be absolutely square, so adjust your equipment beforehand. If you intend to cut pieces by hand, you will need a jig such as a miter box to achieve square cuts. A doweling jig is very helpful for this project, and you will need some sort of depth gauge to insure that you drill all holes to a uniform depth. Any cabinet hardwood is suitable for this table. If you prefer a light finish, use maple or birch. The top can be either solid stock, veneered panel, or plywood with veneered edges. The top sits W above the legs and all dowels can be seen. You may wish to stain these supporting dowels a contrasting color, or paint them black. Another nice touch would be to cover the dowels with collars of lacquered brass tubing. The frame will require 21 feet of 1 ^"-square stock. All joints in the frame are held with glue and two ^"-diameter x 154"-long dowel pins. The dowels that support the top are diameter. You'll need a total of twelve: six pieces long for the legs, two pieces 2%" long for the end rails, and four pieces A1/," long for the front and back rails. Saw all frame stock to exactly square. Next cut six legs to 1414", two end rails and one middle rail to 19" each, and two front and two back rails to 26%". Sand all pieces thoroughlv. Make an identifying mark on each leg. then lay out. mark, and drill ^"-diameter x %"-deep dowel holes for all frame joints. You will have to keep your wits about you to drill all the legs with the proper number of holes in the proper locations. Before assembling the frame, it's best to drill the twelve ^"-diameter holes for the top support dowels. These holes are %" deep and must be drilled uniformly so that the top will seat securely on each. Join the front and back leg units first, then connect the three assemblies with front and back rails. Seat the large dowels and lay a straightedge over them to insure that they are all of the same height. Set the frame aside to dry while the top is being glued up. When the top is completed, turn it underside up. and set the frame upside down on it. All edges of the top and frame should be flush. Carefully scribe around each dowel and then punch a starting hole in the exact center of each dowel location. Drill twelve holes %"-diam-eter x J4"-deep in the bottom of the top. Here you will be faced with the possible problem of having the screw on the end of your auger or spade bit emerge through the good side. A Forstner bit is perfect for this situation, but it is expensive. The alternative is to let the tip of your bit punch through and plug the holes later with pegs of matching wood. If you want to cover the supporting dowels in lacquered brass tubing, cut the required number of tubes to length. Use a file to remove Etny burrs and apply a thin coat of lacquer to prevent tarnishing. Slip the brass tubes on the %" dowel posts, apply wood glue, then assemble and clamp to the top. Allow to dry. Sand and stain to suit and give the entire table several coats of a good alcohol-proof sealer, carefully sanding between coats. Be sure to seal the underside of the top also, especially if it is made up from solid stock. 156 |


