Woodworker's Journal 101-Projects-for-Woodworkers, страница 93
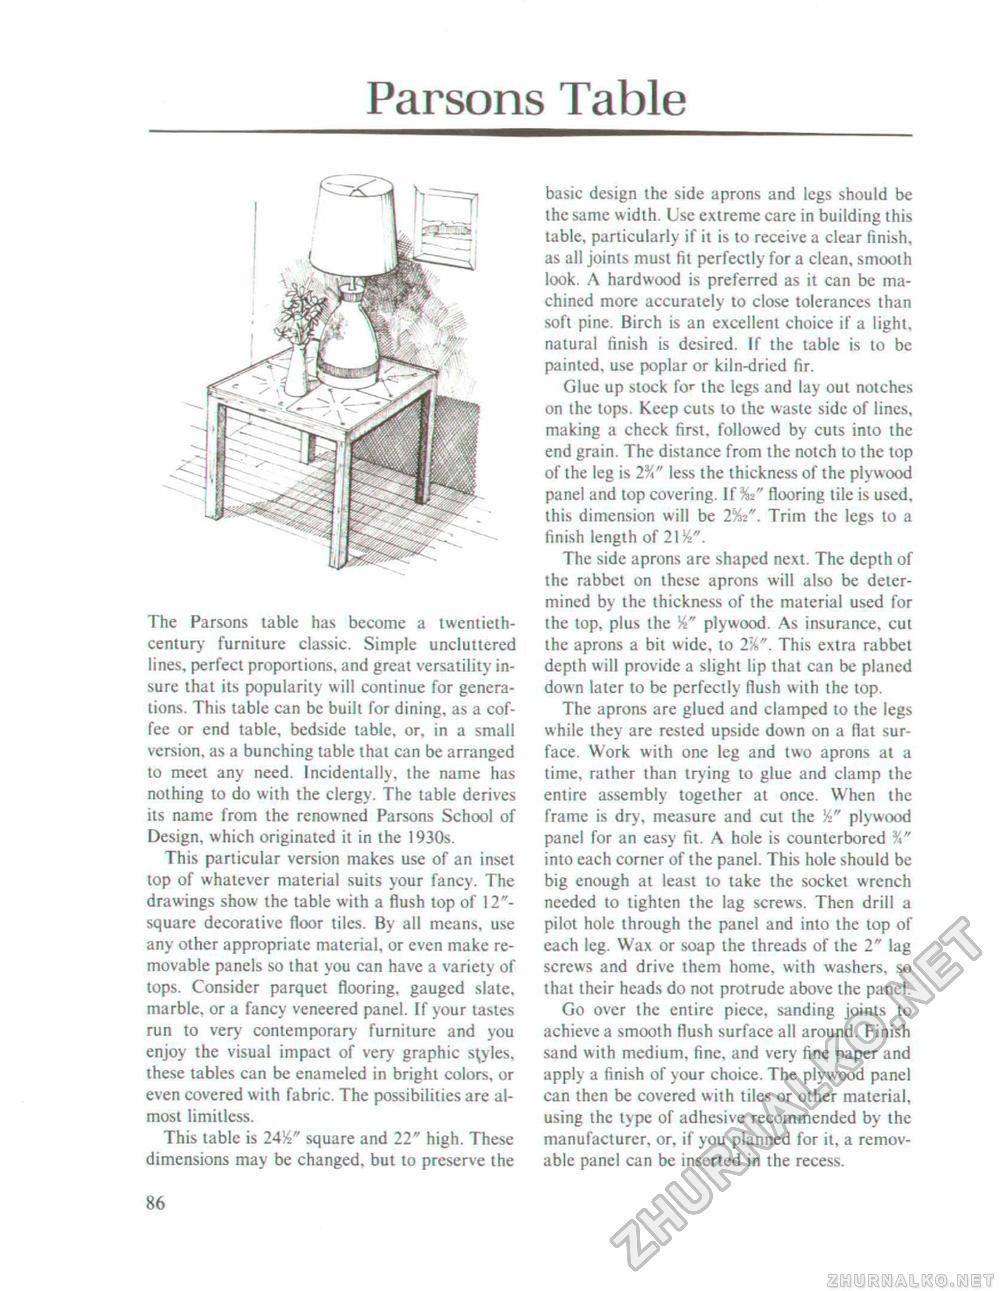
Parsons TableThe Parsons tabic has become a twentieth-century furniture classic. Simple uncluttered lines, perfect proportions, and great versatility insure that its popularity will continue for generations. This table can be built for dining, as a coffee or end table, bedside table, or. in a small version, as a bunching table that can be arranged to meet any need. Incidentally, the name has nothing to do with the clergy. The table derives its name from the renowned Parsons School of Design, which originated it in the 1930s. This particular version makes use of an inset top of whatever material suits your fancy. The drawings show the table with a flush top of 12"-square decorative floor tiles. By all means, use any other appropriate material, or even make removable panels so that you can have a variety of tops. Consider parquet flooring, gauged slate, marble, or a fancy veneered panel. If your tastes run to very contemporary furniture and you enjoy the visual impact of very graphic styles, these tables can be enameled in bright colors, or even covered with fabric. The possibilities are almost limitless. This table is 24&" square and 22" high. These dimensions may be changed, but to preserve the basic design the side aprons and legs should be the same width. Use extreme care in building this table, particularly if it is to receive a clear finish, as all joints must fit perfectly for a clean, smooth look. A hardwood is preferred as it can be machined more accurately to close tolerances than soft pine. Birch is an excellent choice if a light, natural finish is desired. If the table is to be painted, use poplar or kiln-dried fir. Glue up stock for the legs and lay out notches on the tops. Keep cuts to the waste side of lines, making a check first, followed by cuts into the end grain. The distance from the notch to the top of the leg is 2%" less the thickness of the plywood panel and top covering. lf%i" flooring tile is used, this dimension will be 2%i". Trim the legs to a finish length of 2156". The side aprons are shaped next. The depth of the rabbet on these aprons will also be determined by the thickness of the material used for the top, plus the plywood. As insurance, cut the aprons a bit wide, to 2%". This extra rabbet depth will provide a slight lip that can be planed down later to be perfectly flush with the top. The aprons are glued and clamped to the legs while they are rested upside down on a flat surface. Work with one leg and two aprons at a time, rather than trying to giue and clamp the entire assembly together at once. When the frame is dry. measure and cut the plywood panel for an easy fit. A hole is counterbored %" into each corner of the panel. This hole should be big enough at least to take the socket wrench needed to tighten the lag screws. Then drill a pilot hole through the panel and into the top of each leg. Wax or soap the threads of the 2" lag screws and drive them home, with washers, so that their heads do not protrude above the panel. Go over the entire piece, sanding joints to achieve a smooth flush surface all around. Finish sand with medium, fine, and very fine paper and apply a finish of your choice. The plywood panel can then be covered with tiles or other material, using the type of adhesive recommended by the manufacturer, or, if you planned for it, a removable pane! can be inserted in the recess. 86 |


