Woodworker's Journal 1984-8-5, страница 48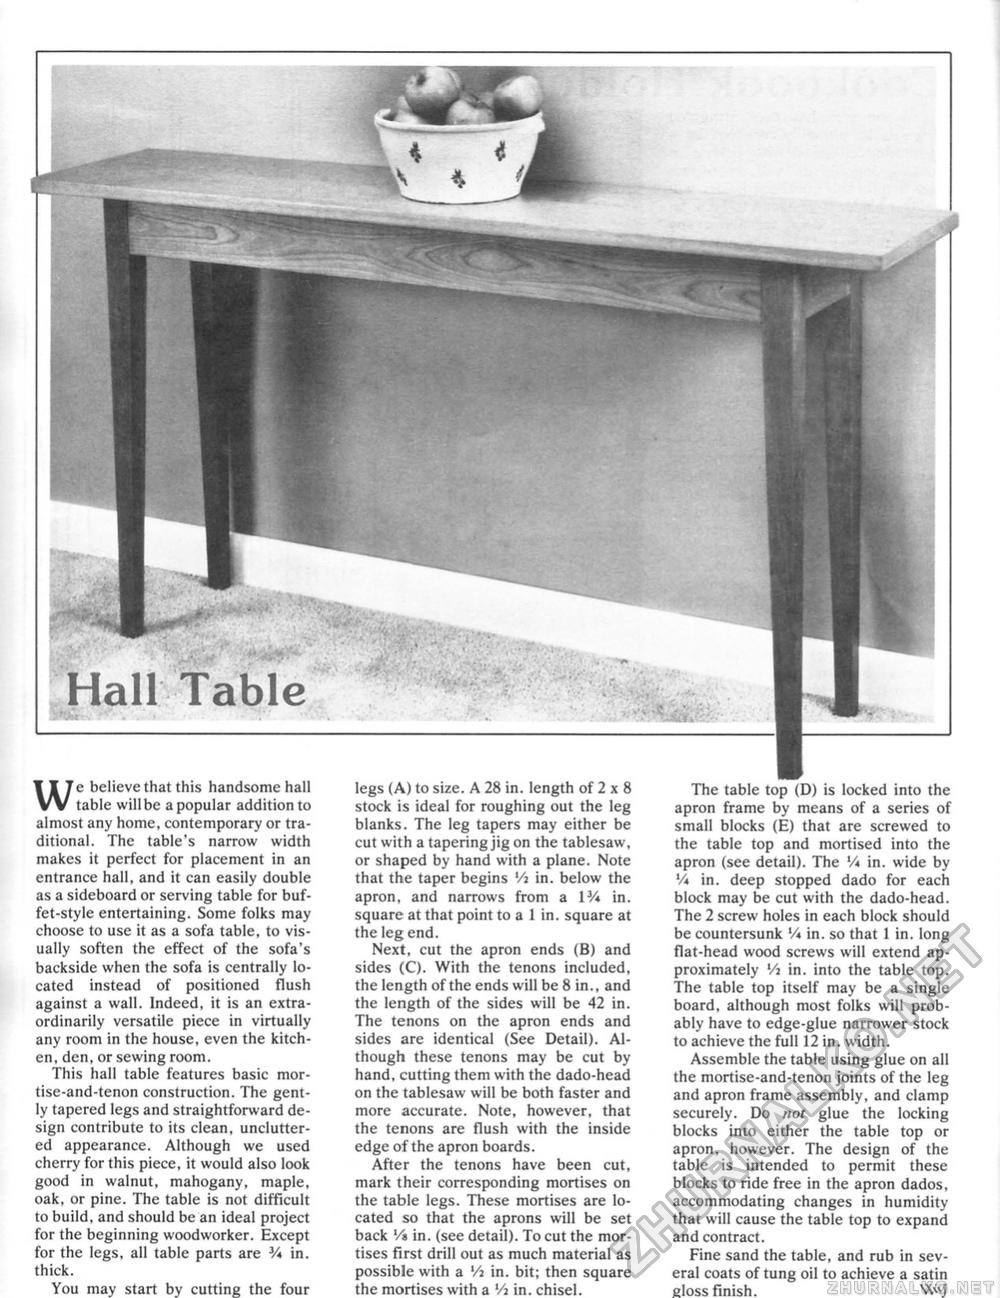
We believe that this handsome hall table will be a popular addition to almost any home, contemporary or traditional. The table's narrow width makes it perfect for placement in an entrance hall, and it can easily double as a sideboard or serving table for buffet-style entertaining. Some folks may choose to use it as a sofa table, to visually soften the effect of the sofa's backside when the sofa is centrally located instead of positioned flush against a wall. Indeed, it is an extraordinarily versatile piece in virtually any room in the house, even the kitchen, den, or sewing room. This hall table features basic mor-tise-and-tenon construction. The gently tapered legs and straightforward design contribute to its clean, uncluttered appearance. Although we used cherry for this piece, it would also look good in walnut, mahogany, maple, oak, or pine. The table is not difficult to build, and should be an idea! project for the beginning woodworker. Except for the legs, all table parts are % in. thick. You may start by cutting the four legs (A) to size. A 28 in. length of 2 x 8 stock is ideal for roughing out the leg blanks. The leg tapers may either be cut with a tapering jig on the tablesaw, or shaped by hand with a plane. Note that the taper begins Vi in. below the apron, and narrows from a IV* in. square at that point to a 1 in. square at the leg end. Next, cut the apron ends (B) and sides (C). With the tenons included, the length of the ends will be 8 in., and the length of the sides will be 42 in. The tenons on the apron ends and sides are identical (See Detail). Although these tenons may be cut by hand, cutting them with the dado-head on the tablesaw wilt be both faster and more accurate. Note, however, that the tenons are flush with the inside edge of the apron boards. After the tenons have been cut, mark their corresponding mortises on the table legs. These mortises are located so that the aprons will be set back V* in. (see detail). To cut the mortises first drill out as much material as possible with a Vi in. bit; then square the mortises with a Vi in. chisel. The table top (D) is locked into the apron frame by means of a series of small blocks (E) that are screwed to the table top and mortised into the apron (see detail). The Vi in. wide by Vi in. deep stopped dado for each block may be cut with the dado-head. The 2 screw holes in each block should be countersunk Vi in. so that 1 in. long fiat-head wood screws will extend approximately Vt in. into the table top. The table top itself may be a single board, although most folks will probably have to edge-glue narrower stock to achieve the full 12 in. width. Assemble the table using glue on all the mortise-and-tenon joints of the leg and apron frame assembly, and clamp securely. Do not glue the locking blocks into either the table top or apron, however. The design of the table is intended to permit these blocks to ride free in the apron dados, accommodating changes in humidity that will cause the table top to expand and contract. Fine sand the table, and rub in several coats of tung oil to achieve a satin eloss finish, W\J |


