Woodworker's Journal 1985-9-3, страница 42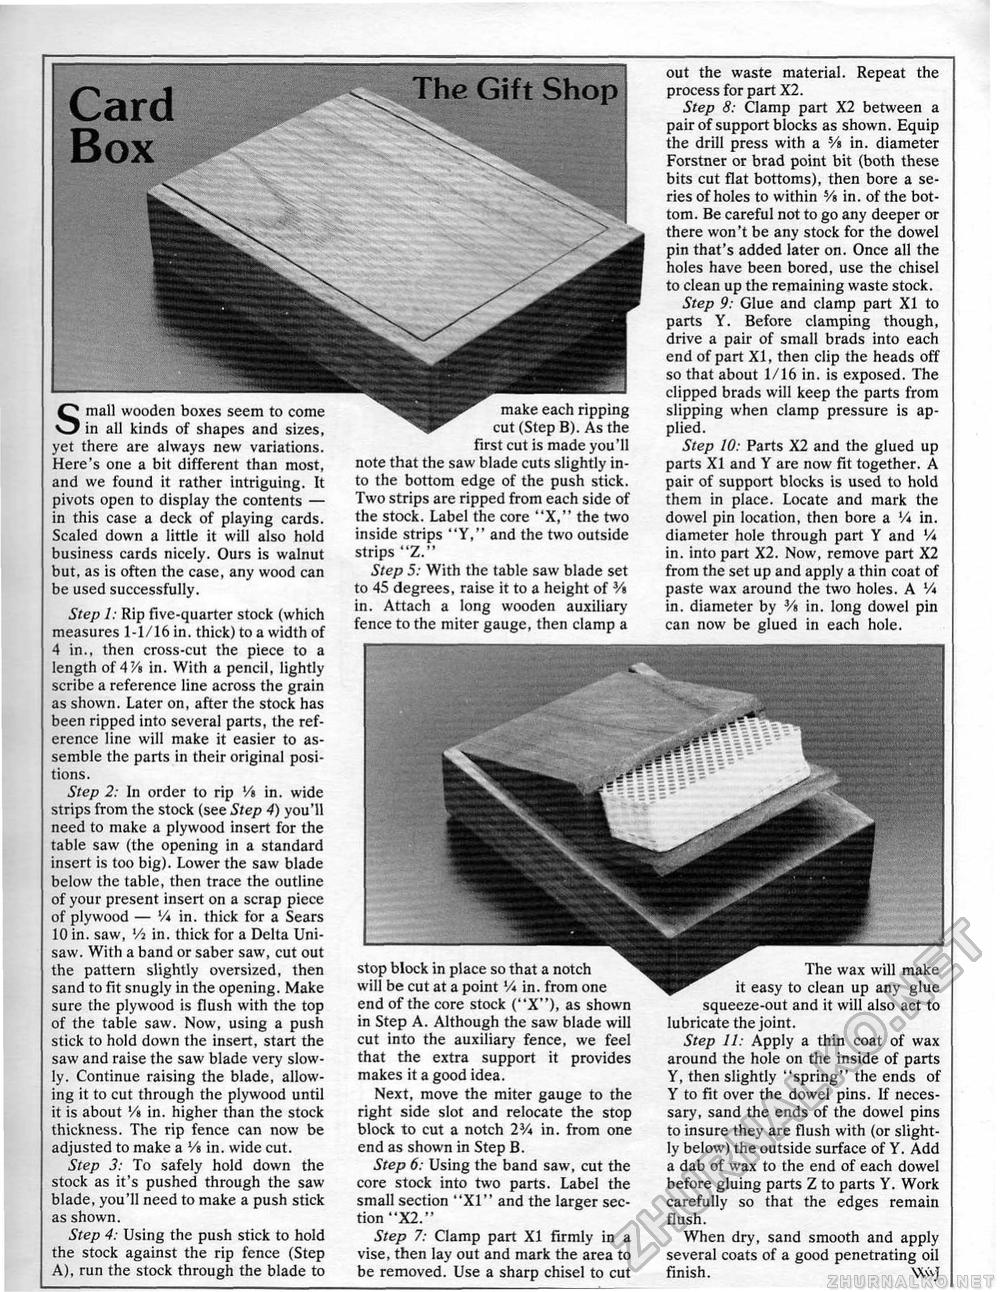
Small wooden boxes seem to come in all kinds of shapes and sizes, yet there are always new variations. Here's one a bit different than most, and we found it rather intriguing. It pivots open to display the contents — in this case a deck of playing cards. Scaled down a little it will also hold business cards nicely. Ours is walnut but, as is often the case, any wood can be used successfully. Step 1: Rip five-quarter stock (which measures 1-1/16 in. thick) to a width of 4 in., then cross-cut the piece to a length of 4'/s in. With a pencil, lightly scribe a reference line across the grain as shown. Later on, after the stock has been ripped into several parts, the reference line will make it easier to assemble the parts in their original positions. Step 2: In order to rip V» in. wide strips from the stock (see Step 4) you'll need to make a plywood insert for the table saw (the opening in a standard insert is too big), Lower the saw blade below the table, then trace the outline of your present insert on a scrap piece of plywood — V« in. thick for a Sears 10 in. saw, Vi in. thick for a Delta Uni-saw. With a band or saber saw, cut out the pattern slightly oversized, then sand to fit snugly in the opening. Make sure the plywood is flush with the top of the table saw. Now, using a push stick to hold down the insert, start the saw and raise the saw blade very slowly. Continue raising the blade, allowing it to cut through the plywood until it is about '/« in. higher than the stock thickness. The rip fence can now be adjusted to make a Vs in. wide cut. Step 3: To safely hold down the stock as it's pushed through the saw-blade, you'll need to make a push stick as shown. Step 4: Using the push stick to hold the stock against the rip fence (Step A), run the stock through the blade to out the waste material. Repeat the process for part X2. Step 8: Clamp part X2 between a pair of support blocks as shown. Equip the drill press with a Vs in. diameter Forstner or brad point bit (both these bits cut flat bottoms), then bore a series of holes to within Vs in. of the bottom. Be careful not to go any deeper or there won't be any stock for the dowel pin that's added later on. Once all the holes have been bored, use the chisel to clean up the remaining waste stock. Step 9: Giue and clamp part XI to parts Y. Before clamping though, drive a pair of small brads into each end of part XI, then clip the heads off so that about 1/16 in. is exposed. The clipped brads will keep the parts from slipping when clamp pressure is applied. Step 10: Parts X2 and the glued up parts XI and Y are now fit together. A pair of support blocks is used to hold them in place. Locate and mark the dowel pin location, then bore a Vi in. diameter hole through part Y and V* in. into part X2. Now, remove part X2 from the set up and apply a thin coat of paste wax around the two holes. A V* in. diameter by Vi in. long dowel pin can now be glued in each hole, The Gift Shop make each ripping cut (Step B). As the first cut is made you'll note that the saw blade cuts slightly into the bottom edge of the push stick. Two strips are ripped from each side of the stock. Label the core "X," the two inside strips "Y," and the two outside strips "Z." Step 5: With the table saw blade set to 45 degrees, raise it to a height of Vt in. Attach a long wooden auxiliary' fence to the miter gauge, then ciamp a stop block in place so that a notch will be cut at a point Vi in. from one end of the core stock ("X"), as shown in Step A. Although the saw blade will cut into the auxiliary fence, we feel that the extra support it provides makes it a good idea. Next, move the miter gauge to the right side slot and relocate the stop block to cut a notch 2V* in. from one end as shown in Step B. Step 6: Using the band saw, cut the core stock into two parts. Label the small section "XI" and the larger section "X2." Step 7: Clamp part XI firmly in a vise, then lay out and mark the area to be removed. Use a sharp chisel to cut The wax will make it easy to clean up any glue squeeze-out and it will also act to lubricate the joint. Step 11: Apply a thin coat of wax around the hole on the inside of parts Y, then slightly "spring" the ends of Y to fit over the dowel pins. If necessary, sand the ends of the dowel pins to insure they are flush with (or slightly below) the outside surface of Y. Add a dab of wax to the end of each dowel before gluing parts Z to parts Y. Work carefully so that the edges remain flush. When dry, sand smooth and apply several coats of a good penetrating oil finish, \\v\j |


