Woodworker's Journal 2004 Spring, страница 14
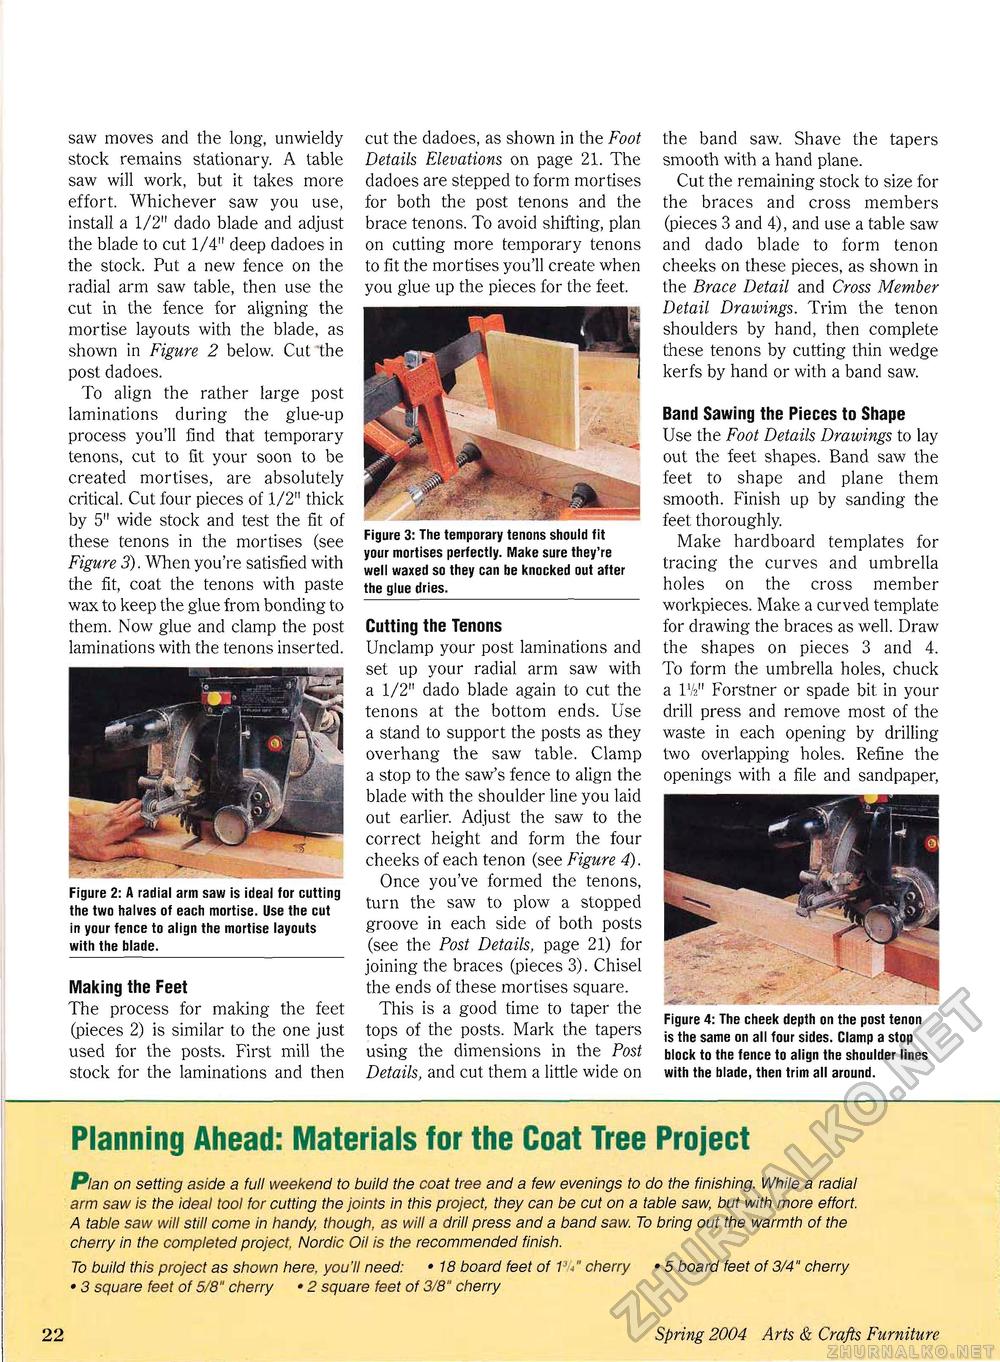
saw moves and the long, unwieldy stock remains stationary. A table saw will work, but it takes more effort. Whichever saw you use, install a 1/2" dado blade and adjust the blade to cut 1/4" deep dadoes in the stock. Put a new fence on the radial arm saw table, then use the cut in the fence for aligning the mortise layouts with the blade, as shown in Figure 2 below. Cut the post dadoes. To align the rather large post laminations during the glue-up process you'll find that temporary tenons, cut to fit your soon to be created mortises, are absolutely critical. Cut four pieces of 1/2" thick by 5" wide stock and test the fit of these tenons in the mortises (see Figure 3). When you're satisfied with the fit, coat the tenons with paste wax to keep the glue from bonding to them. Now glue and clamp the post laminations with the tenons inserted. Figure 2: A radial arm saw is ideal for cutting the two halves of each mortise. Use the cut in your fence to align the mortise layouts with the blade. Making the Feet The process for making the feet (pieces 2) is similar to the one just used for the posts. First mill the stock for the laminations and then cut the dadoes, as shown in the Foot Details Elevations on page 21. The dadoes are stepped to form mortises for both the post tenons and the brace tenons. To avoid shifting, plan on cutting more temporary tenons to fit the mortises you'll create when you glue up the pieces for the feet. Figure 3: The temporary tenons should fit your mortises perfectly. Make sure they're well waxed so they can be knocked out after the glue dries. Cutting the Tenons Unclamp your post laminations and set up your radial arm saw with a 1/2" dado blade again to cut the tenons at the bottom ends. Use a stand to support the posts as they overhang the saw table. Clamp a stop to the saw's fence to align the blade with the shoulder line you laid out earlier. Adjust the saw to the correct height and form the four cheeks of each tenon (see Figure 4). Once you've formed the tenons, turn the saw to plow a stopped groove in each side of both posts (see the Post Details, page 21) for joining the braces (pieces 3). Chisel the ends of these mortises square. This is a good time to taper the tops of the posts. Mark the tapers using the dimensions in the Post Details, and cut them a little wide on the band saw. Shave the tapers smooth with a hand plane. Cut the remaining stock to size for the braces and cross members (pieces 3 and 4), and use a table saw and dado blade to form tenon cheeks on these pieces, as shown in the Brace Detail and Cross Member Detail Drawings. Trim the tenon shoulders by hand, then complete these tenons by cutting thin wedge kerfs by hand or with a band saw. Band Sawing the Pieces to Shape Use the Foot Details Drawings to lay out the feet shapes. Band saw the feet to shape and plane them smooth. Finish up by sanding the feet thoroughly. Make hardboard templates for tracing the curves and umbrella holes on the cross member workpieces. Make a curved template for drawing the braces as well. Draw the shapes on pieces 3 and 4. To form the umbrella holes, chuck a IV211 Forstner or spade bit in your drill press and remove most of the waste in each opening by drilling two overlapping holes. Refine the openings with a file and sandpaper, Figure 4: The cheek depth on the post tenon is the same on all four sides. Clamp a stop block to the fence to align the shoulder lines with the blade, then trim all around. Planning Ahead: Materials for the Coat Tree ProjectPlan on setting aside a full weekend to build the coat tree and a few evenings to do the finishing. While a radial arm saw is the ideal tool for cutting the joints in this project, they can be cut on a table saw, but with more effort. A table saw will still come in handy, though, as will a drill press and a band saw. To bring out the warmth of the cherry in the completed project, Nordic Oil is the recommended finish. To build this project as shown here, you'll need: • 18 board feet of cherry • 5 board feet of 3/4" cherry • 3 square feet of 5/8" cherry • 2 square feet of 3/8" cherry 10 Spring 2004 Arts & Crafts Furniture |


