Woodworker's Journal 2004 Spring, страница 64
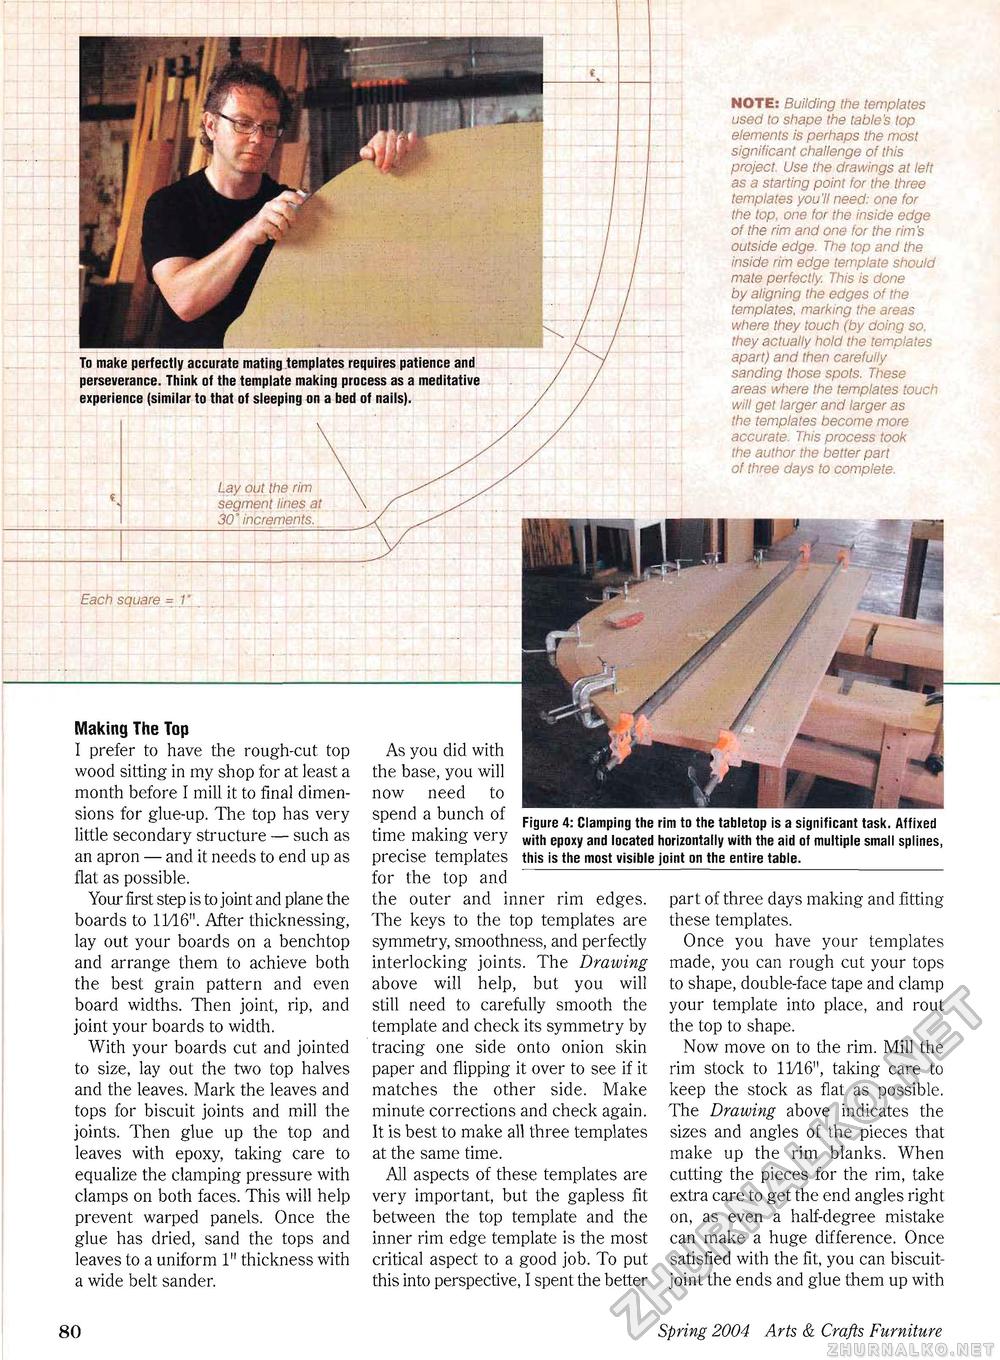
To make perfectly accurate mating templates requires patience and perseverance. Think of the template making process as a meditative experience (similar to that of sleeping on a bed of nails). Lay out the rim segment lines a! 30' increments. NOTE: Building the templates used to shape the table's lop elements Is perhaps the most Significant challenge of this project. Use the drawings at left as a starting point for the three templates you'll need: one for the top. one for the inside edge of the rim and one for the rim Is outside edge. The top and the inside rim edge template should mate perfectly. 'I his is done by aligning the edges of 'he templates, marking the areas where they touch (by doing so. they actually nolci the temoiates apart) and then carefully sanding those spots. These areas where the templates touch will get larger and larger as the templates become more accurate. This process took the author the better part of three days to complete Each square = J" Making The Top I prefer to have the rough-cut top wood sitting in my shop for at least a month before I mill it to final dimensions for glue-up. The top has very little secondary structure — such as an apron — and it needs to end up as flat as possible. Your first step is to joint and plane the boards to 11/16". After thicknessing, lay out your boards on a benchtop and arrange them to achieve both the best grain pattern and even board widths. Then joint, rip, and joint your boards to width. With your boards cut and jointed to size, lay out the two top halves and the leaves. Mark the leaves and tops for biscuit joints and mill the joints. Then glue up the top and leaves with epoxy, taking care to equalize the clamping pressure with clamps on both faces. This will help prevent warped panels. Once the glue has dried, sand the tops and leaves to a uniform 1" thickness with a wide belt sander. Figure 4: Clamping the with epoxy and located this is the most visible As you did with the base, you will now need to spend a bunch of time making very precise templates for the top and the outer and inner rim edges. The keys to the top templates are symmetry, smoothness, and perfectly interlocking joints. The Drawing above will help, but you will still need to carefully smooth the template and check its symmetry by tracing one side onto onion skin paper and flipping it over to see if it matches the other side. Make minute corrections and check again. It is best to make all three templates at the same time. All aspects of these templates are very important, but the gapless fit between the top template and the inner rim edge template is the most critical aspect to a good job. To put this into perspective, I spent the better rim to the tabletop is a significant task. Affixed horizontally with the aid of multiple small splines, joint on the entire table. part of three days making and fitting these templates. Once you have your templates made, you can rough cut your tops to shape, double-face tape and clamp your template into place, and rout the top to shape. Now move on to the rim. Mill the rim stock to 1M6", taking care to keep the stock as flat as possible. The Drawing above indicates the sizes and angles of the pieces that make up the rim blanks. When cutting the pieces for the rim, take extra care to get the end angles right on, as even a half-degree mistake can make a huge difference. Once satisfied with the fit, you can biscuit-joint the ends and glue them up with 10 Spring 2004 Arts & Crafts Furniture |


