Woodworker's Journal 2004 Spring, страница 66
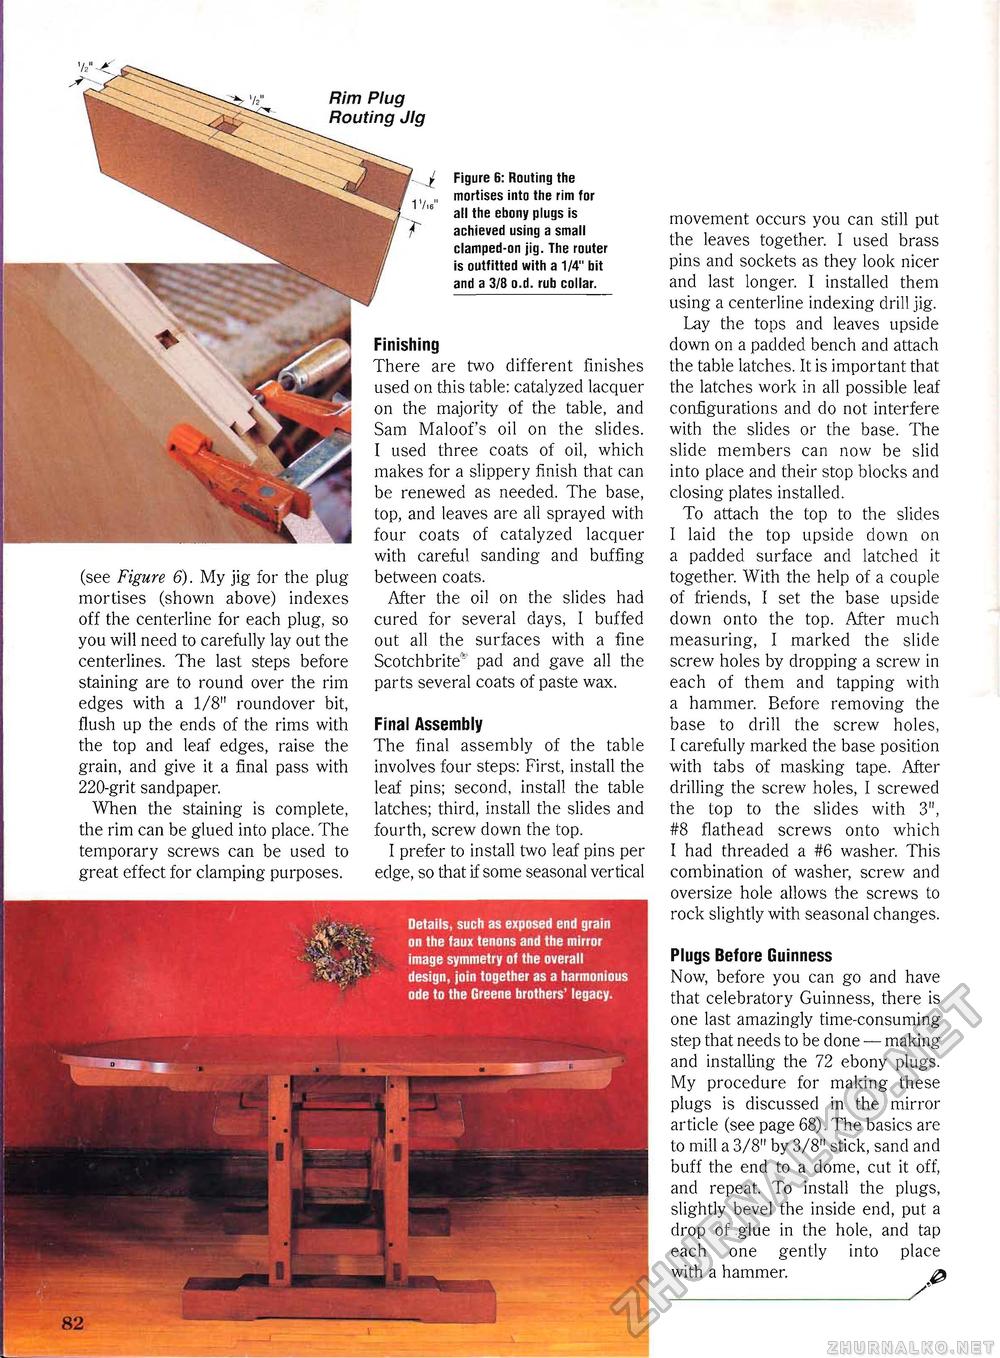
Rim Plug Routing Jig movement occurs you can still put the leaves together. I used brass pins and sockets as they look nicer and last longer. I installed them using a centerline indexing drill jig. Lay the tops and leaves upside down on a padded bench and attach the table latches. It is important that the latches work in all possible leaf configurations and do not interfere with the slides or the base. The slide members can now be slid into place and their stop blocks and closing plates installed. To attach the top to the slides I laid the top upside down on a padded surface and latched it together. With the help of a couple of friends, I set the base upside down onto the top. After much measuring, I marked the slide screw holes by dropping a screw in each of them and tapping with a hammer. Before removing the base to drill the screw holes, I carefully marked the base position with tabs of masking tape. After drilling the screw holes, I screwed the top to the slides with 3", #8 flathead screws onto which I had threaded a #6 washer. This combination of washer, screw and oversize hole allows the screws to rock slightly with seasonal changes. Figure 6: Routing the mortises into the rim for all the ebony plugs is achieved using a small clamped-on jig. The router is outfitted with a 1/4" bit and a 3/8 o.d. rub collar. (see Figure 6). My jig for the plug mortises (shown above) indexes off the centerline for each plug, so you will need to carefully lay out the centerlines. The last steps before staining are to round over the rim edges with a 1/8" roundover bit, flush up the ends of the rims with the top and leaf edges, raise the grain, and give it a final pass with 220-grit sandpaper. When the staining is complete, the rim can be glued into place. The temporary screws can be used to great effect for clamping purposes. Finishing There are two different finishes used on this table: catalyzed lacquer on the majority of the table, and Sam Maloof's oil on the slides. I used three coats of oil, which makes for a slippery finish that can be renewed as needed. The base, top, and leaves are all sprayed with four coats of catalyzed lacquer with careful sanding and buffing between coats. After the oil on the slides had cured for several days, I buffed out all the surfaces with a fine Scotchbriter! pad and gave all the parts several coats of paste wax. Final Assembly The final assembly of the table involves four steps: First, install the leaf pins; second, install the table latches; third, install the slides and fourth, screw down the top. I prefer to install two leaf pins per edge, so that if some seasonal vertical Details, such as exposed end grain on the faux tenons and the mirror image symmetry of the overall design, join together as 3 harmonious ode to the Greene brothers1 legacy. Plugs Before Guinness Now, before you can go and have that celebratory Guinness, there is one last amazingly time-consuming step that needs to be done — making and installing the 72 ebony plugs. My procedure for making these plugs is discussed in the mirror article (see page 68). The basics are to mill a 3/8" by 3/8" stick, sand and buff the end to a dome, cut it off, and repeat. To install the plugs, slightly bevel the inside end, put a drop of glue in the hole, and tap each one gently into place with a hammer. _________/ |


