Woodworker's Journal 2008-32-6, страница 55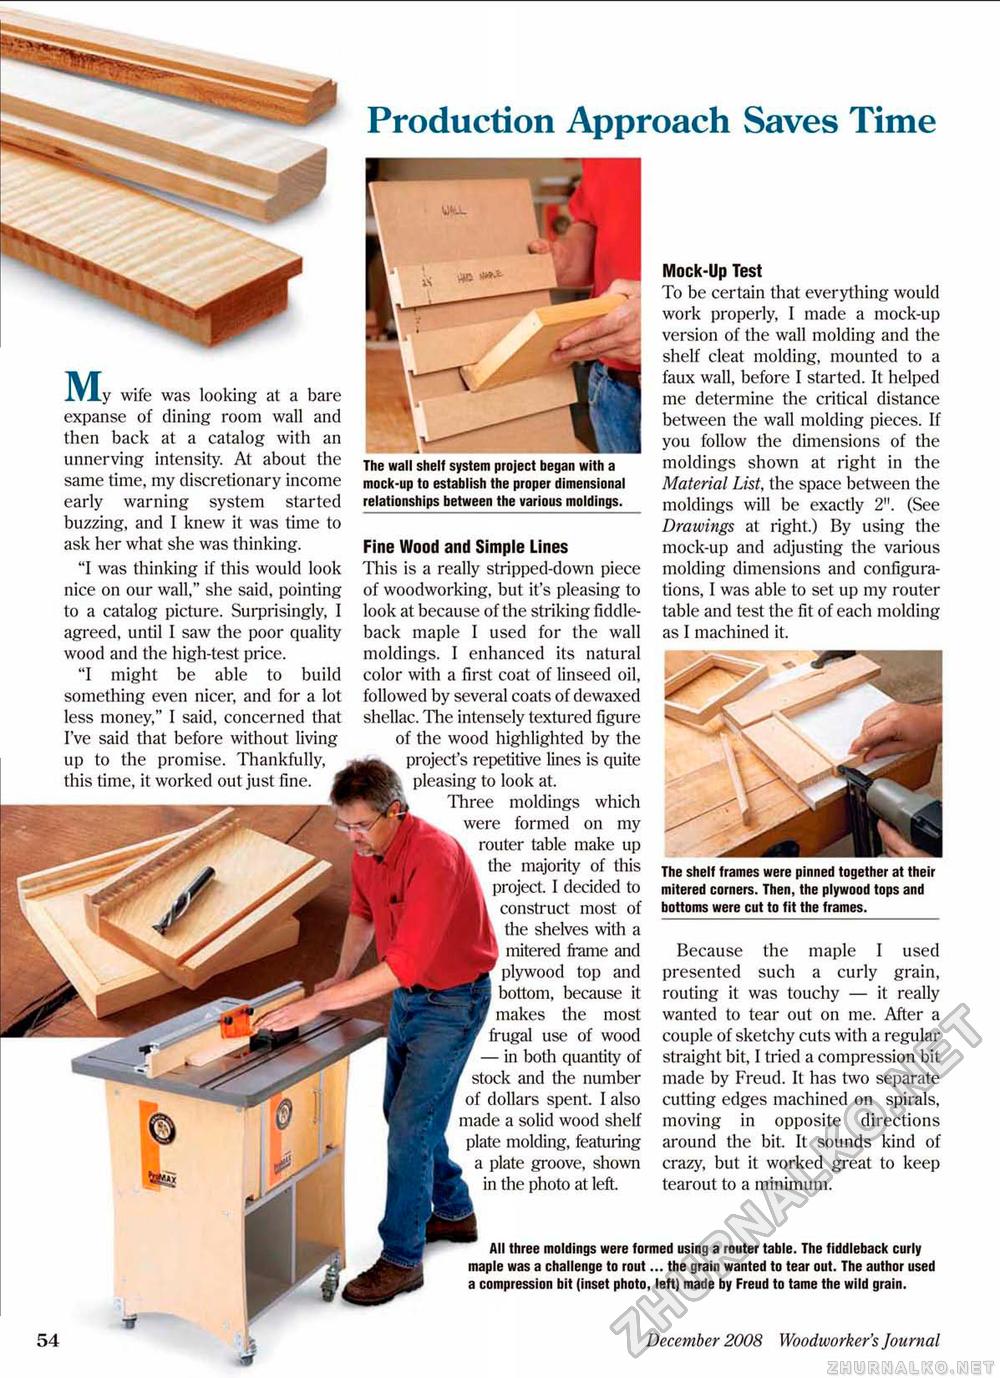
Production Approach Saves Time Because the maple I used presented such a curly grain, routing it was touchy — it really wanted to tear out on me. After a couple of sketchy cuts with a regular straight bit, I tried a compression bit made by Freud. It has two separate cutting edges machined on spirals, moving in opposite directions around the bit. It sounds kind of crazy, but it worked great to keep tearout to a minimum. All three moldings were formed using a router table. The fiddleback curly maple was a challenge to root... the grain wanted to tear out. The author used a compression bit (Inset photo, left) made by Freud to tame the wild grain. 55 December 2008 Woodworker's Journal M y wife was looking at a bare expanse of dining room wall and then back at a catalog with an unnerving intensity. At about the same time, my discretionary income early warning system started buzzing, and I knew it was time to ask her what she was thinking. "I was thinking if this would look nice on our wall," she said, pointing to a catalog picture. Surprisingly, I agreed, until I saw the poor quality wood and the high-test price. "I might be able to build something even nicer, and for a lot less money," I said, concerned that I've said that before without living up to the promise. Thankfully, this time, it worked out just fine. The wall shelf system project began with a mock-up to establish the proper dimensional relationships between the various moldings. Fine Wood and Simple Lines This is a really stripped-down piece of woodworking, but it's pleasing to look at because of the striking fiddle-back maple I used for the wall moldings. I enhanced its natural color with a first coat of linseed oil, followed by several coats of dewaxed shellac. The intensely textured figure of the wood highlighted by the project's repetitive lines is quite pleasing to look at. Three moldings which were formed on my router table make up the majority of this project. I decided to construct most of the shelves with a mitered frame and plywood top and bottom, because it makes the most frugal use of wood — in both quantity of stock and the number of dollars spent. I also made a solid wood shelf plate molding, featuring a plate groove, shown in the photo at left. Mock-Up Test To be certain that everything would work properly, I made a mock-up version of the wall molding and the shelf cleat molding, mounted to a faux wall, before I started. It helped me determine the critical distance between the wall molding pieces. If you follow the dimensions of the moldings shown at right in the Material List, the space between the moldings will be exactly 2". (See Drawings at right.) By using the mock-up and adjusting the various molding dimensions and configurations, 1 was able to set up my router table and test the fit of each molding as I machined it. The shelf frames were pinned together at their mitered corners. Then, the plywood tops and bottoms were cut to fit the frames. |


