Woodworker's Journal Pine-Desk-Organizer, страница 6
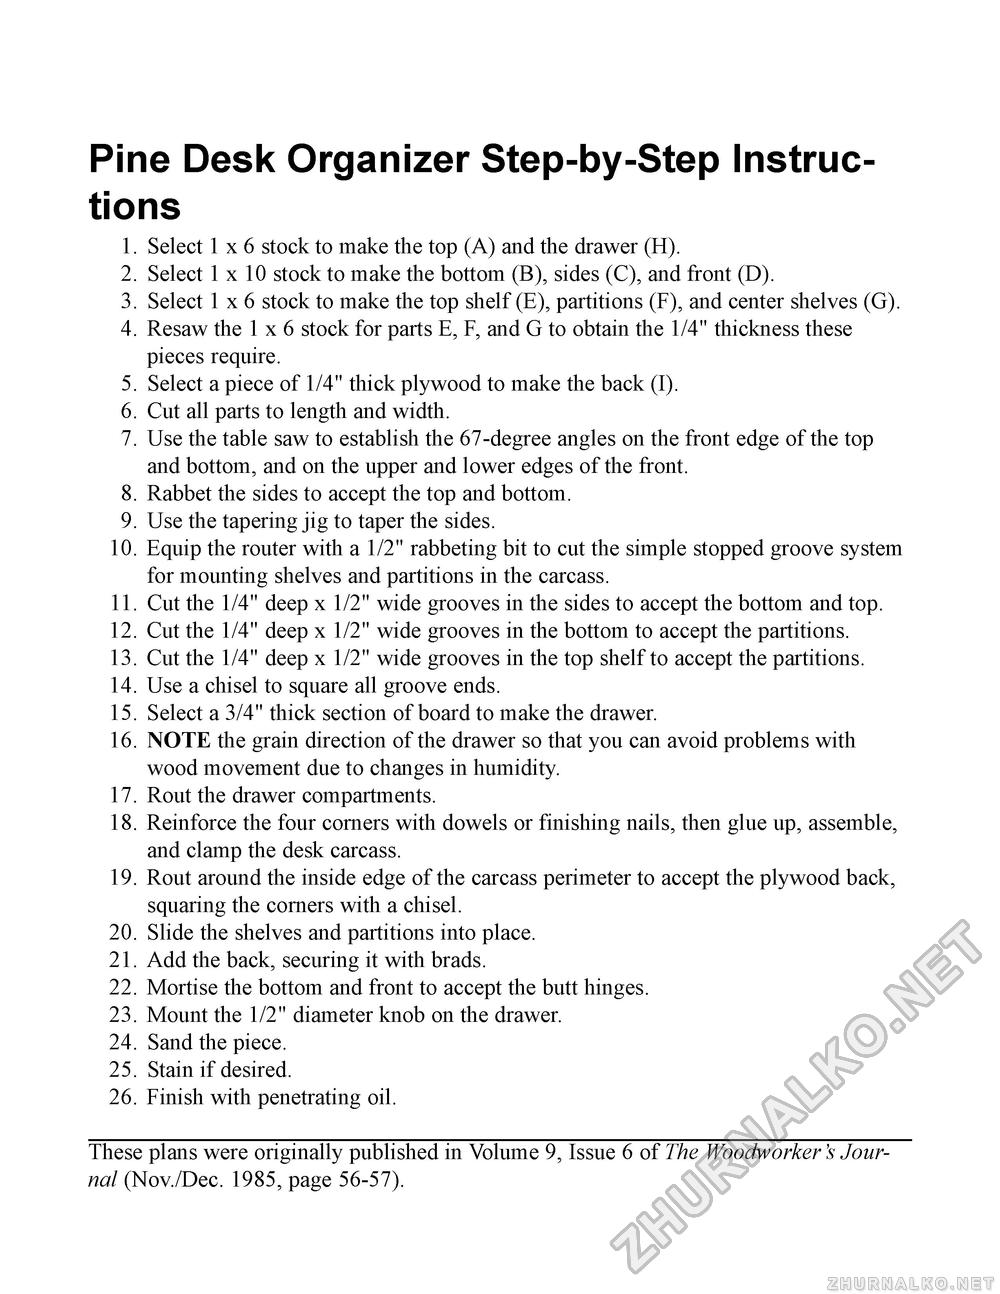
Pine Desk Organizer Step-by-Step Instructions1. Select 1 x 6 stock to make the top (A) and the drawer (H). 2. Select 1 x 10 stock to make the bottom (B), sides (C), and front (D). 3. Select 1 x 6 stock to make the top shelf (E), partitions (F), and center shelves (G). 4. Resaw the 1 x 6 stock for parts E, F, and G to obtain the 1/4" thickness these pieces require. 5. Select a piece of 1/4" thick plywood to make the back (I). 6. Cut all parts to length and width. 7. Use the table saw to establish the 67-degree angles on the front edge of the top and bottom, and on the upper and lower edges of the front. 8. Rabbet the sides to accept the top and bottom. 9. Use the tapering jig to taper the sides. 10. Equip the router with a 1/2" rabbeting bit to cut the simple stopped groove system for mounting shelves and partitions in the carcass. 11. Cut the 1/4" deep x 1/2" wide grooves in the sides to accept the bottom and top. 12. Cut the 1/4" deep x 1/2" wide grooves in the bottom to accept the partitions. 13. Cut the 1/4" deep x 1/2" wide grooves in the top shelf to accept the partitions. 14. Use a chisel to square all groove ends. 15. Select a 3/4" thick section of board to make the drawer. 16. NOTE the grain direction of the drawer so that you can avoid problems with wood movement due to changes in humidity. 17. Rout the drawer compartments. 18. Reinforce the four corners with dowels or finishing nails, then glue up, assemble, and clamp the desk carcass. 19. Rout around the inside edge of the carcass perimeter to accept the plywood back, squaring the corners with a chisel. 20. Slide the shelves and partitions into place. 21. Add the back, securing it with brads. 22. Mortise the bottom and front to accept the butt hinges. 23. Mount the 1/2" diameter knob on the drawer. 24. Sand the piece. 25. Stain if desired. 26. Finish with penetrating oil. These plans were originally published in Volume 9, Issue 6 of The Woodworker's Journal (Nov./Dec. 1985, page 56-57). |


