Creative Woodworks & crafts 1997-12, страница 38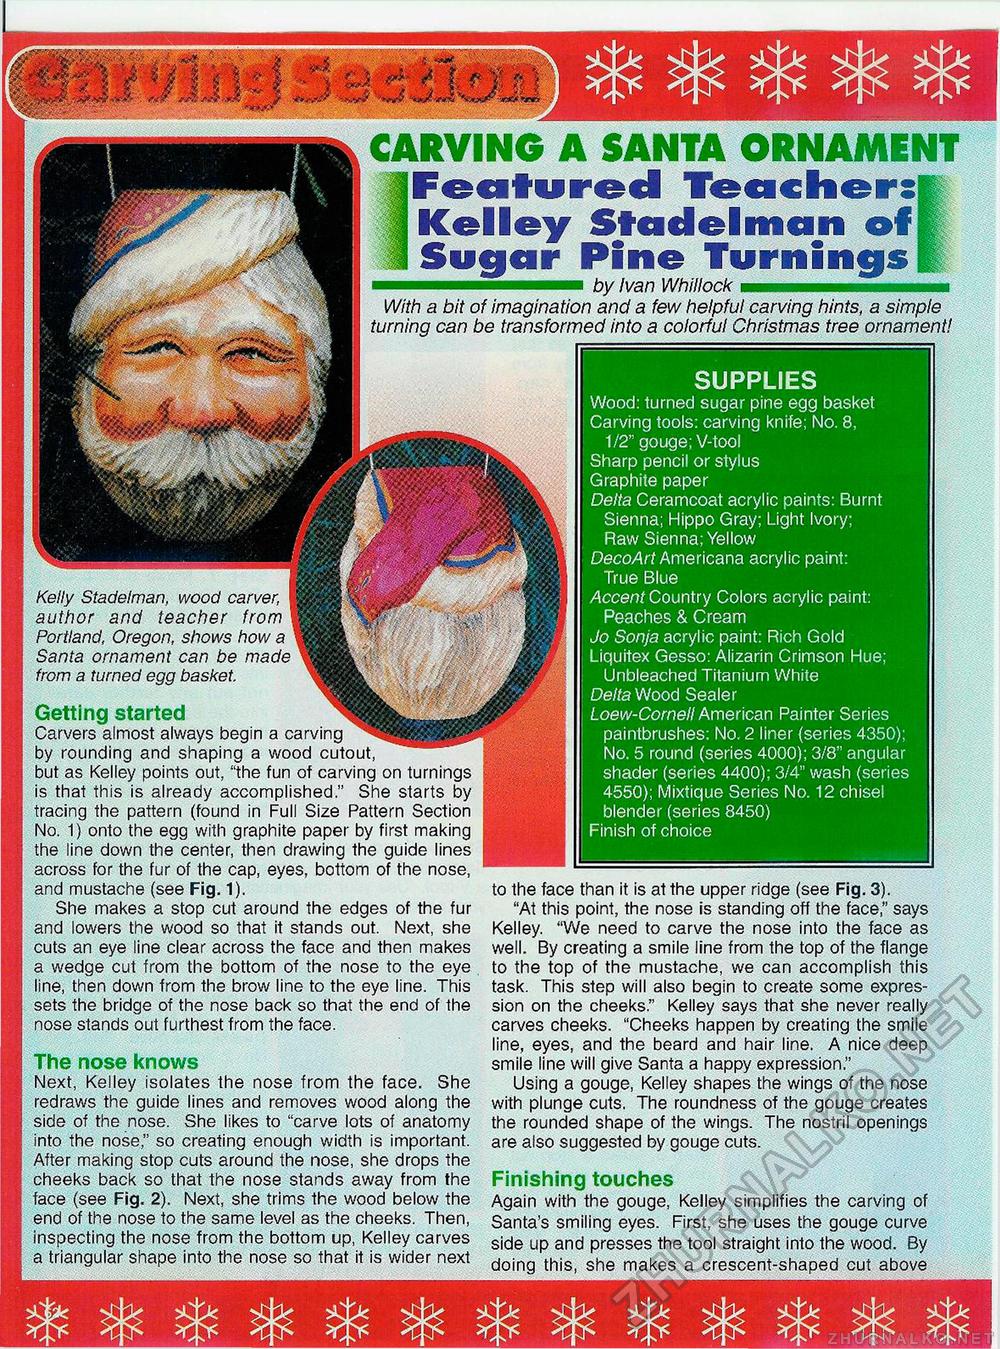
SUPPLIES Wood: turned sugar pine egg basket Carving tools: carving knife; No. 8, 1/2" gouge; V-tool Sharp pencil or stylus Graphite paper Delta Ceramcoat acrylic paints: Burnt Sienna; Hippo Gray; Light Ivory; Raw Sienna; Yellow DecoArt Americana acrylic paint: True Blue Accent Country Colors acrylic paint: Peaches & Cream Jo Sonja acrylic paint: Rich Gold Liquitex Gesso: Alizarin Crimson Hue; Unbleached Titanium White Delta Wood Sealer Loew-Cornell American Painter Series paintbrushes: No. 2 liner {series 4350); No. 5 round (series 4000); 3/8" angular shader (series 4400); 3/4" wash (series 4550); Mixtique Series No. 12 chisel blender (series 8450) Finish of choice man Sugar Pine Turnings by Ivan Whillock With a bit of imagination and a few helpful carving hints, a simple turning can be transformed into a colorful Christmas tree ornament! Kelly Stadelman, wood carver, author and teacher from Portland, Oregon, shows how a Santa ornament can be made from a turned egg basket. The nose knows Next, Kelley isolates the nose from the face. She redraws the guide lines and removes wood along the side of the nose. She likes to "carve lots of anatomy into the nose," so creating enough width is important. After making stop cuts around the nose, she drops the cheeks back so that the nose stands away from the face (see Fig. 2). Next, she trims the wood below the end of the nose to the same level as the cheeks. Then, inspecting the nose from the bottom up, Kelley carves a triangular shape into the nose so that it is wider next to the face than it is at the upper ridge (see Fig. 3). "At this point, the nose is standing off the face," says Kelley. "We need to carve the nose into the face as well. By creating a smile line from the top of the flange to the top of the mustache, we can accomplish this task. This step will also begin to create some expression on the cheeks." Kelley says that she never really carves cheeks. "Cheeks happen by creating the smile line, eyes, and the beard and hair line. A nice deep smile line will give Santa a happy expression." Using a gouge, Kelley shapes the wings of the nose with plunge cuts. The roundness of the gouge creates the rounded shape of the wings. The nostril openings are also suggested by gouge cuts. Finishing touches Again with the gouge, Kelley simplifies the carving of Santa's smiling eyes. First, she uses the gouge curve side up and presses the tool straight into the wood. By doing this, she makes a crescent-shaped cut above Getting started Carvers almost always begin a carving by rounding and shaping a wood cutout, but as Kelley points out, "the fun of carving on turnings is that this is already accomplished." She starts by tracing the pattern (found in Full Size Pattern Section No. 1) onto the egg with graphite paper by first making the line down the center, then drawing the guide lines across for the fur of the cap, eyes, bottom of the nose, and mustache (see Fig. 1). She makes a stop cut around the edges of the fur and lowers the wood so that it stands out. Next, she cuts an eye line clear across the face and then makes a wedge cut from the bottom of the nose to the eye line, then down from the brow line to the eye line. This sets the bridge of the nose back so that the end of the nose stands out furthest from the face. |


