Creative Woodworks & crafts 1997-12, страница 42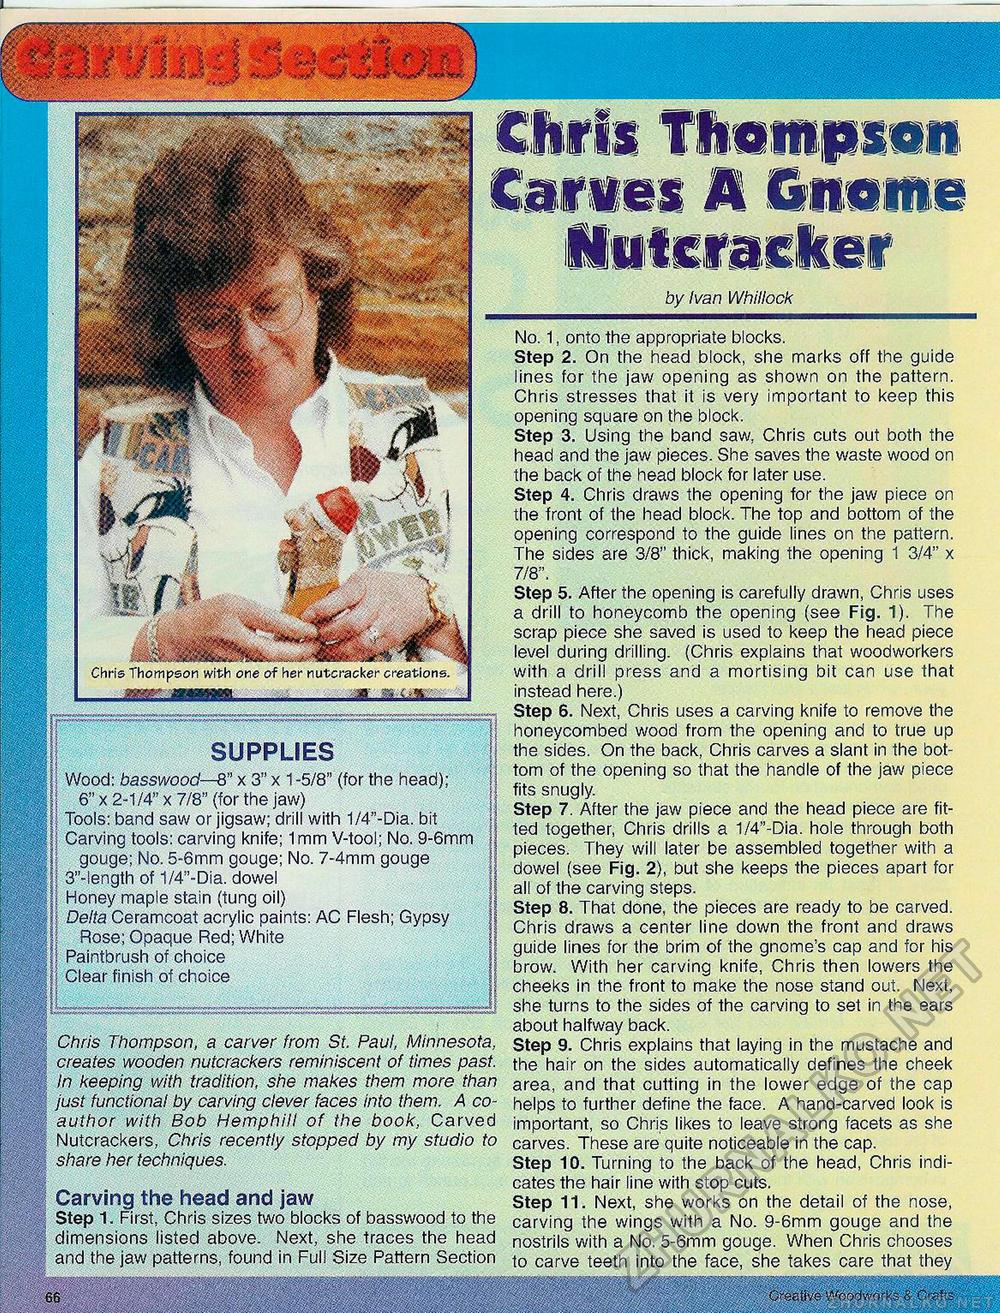
i Chris Thompson with one of her nutcracker creations. mmmmm___-_m SUPPLIES Wood: basswood—8" x 3" x 1 -5/8" (for the head); 6" x 2-1/4" x 7/8" (for the jaw) Tools: band saw or jigsaw; drill with 1/4"-Dia. bit Carving tools: carving knife; 1mm V-tool; No. 9-6mm gouge: No. 5-6mm gouge; No. 7-4mm gouge 3"-length of 1/4"-Dia. dowel Honey maple stain (tung oil) Delta Ceramcoat acrylic paints: AC Flesh; Gypsy Rose; Opaque Red; White Paintbrush of choice Clear finish of choice No. 1, onto the appropriate blocks. Step 2. On the head block, she marks off the guide lines for the jaw opening as shown on the pattern. Chris stresses that it is very important to keep this opening square on the block. Step 3. Using the band saw, Chris cuts out both the head and the jaw pieces. She saves the waste wood on the back of the head block for later use. Step 4. Chris draws the opening for the jaw piece on the front of the head block. The top and bottom of the opening correspond to the guide lines on the pattern. The sides are 3/8" thick, making the opening 1 3/4" x 7/8". Step 5. After the opening is carefully drawn, Chris uses a drill to honeycomb the opening (see Fig. 1). The scrap piece she saved is used to keep the head piece level during drilling. (Chris explains that woodworkers with a drill press and a mortising bit can use that instead here.) Step 6. Next, Chris uses a carving knife to remove the honeycombed wood from the opening and to true up the sides. On the back, Chris carves a slant in the bottom of the opening so that the handle of the jaw piece fits snugly. Step 7. After the jaw piece and the head piece are fitted together, Chris drills a 1/4"-Dia. hole through both pieces. They will later be assembled together with a dowel (see Fig. 2), but she keeps the pieces apart for all of the carving steps. Step 8. That done, the pieces are ready to be carved. Chris draws a center line down the front and draws guide lines for the brim of the gnome's cap and for his brow. With her carving knife, Chris then lowers the cheeks in the front to make the nose stand out. Next, she turns to the sides of the carving to set in the ears about halfway back. Step 9. Chris explains that laying in the mustache and the hair on the sides automatically defines the cheek area, and that cutting in the lower edge of the cap helps to further define the face. A hand-carved look is important, so Chris likes to leave strong facets as she carves. These are quite noticeable in the cap. Step 10. Turning to the back of the head, Chris indicates the hair line with stop cuts. Step 11. Next, she works on the detail of the nose, carving the wings with a No. 9-6mm gouge and the nostrils with a No. 5-6mm gouge. When Chris chooses to carve teeth into the face, she takes care that they _ \ Creaffyo Woodworks & Oiafts ........... ^ .................. H^BHHI^HHHHHBMSnB 'iSmim sr. FKillitHiiilii itofIII ilii ft i|iiii9Ili||!i>fl|l Carms A Gnome m m' Til® A m 'WMM wb mm ^ m ■Ills SwmEMLBI by Ivan Whillock M| § i • Chris Thompson, a carver from St. Paul, Minnesota, creates wooden nutcrackers reminiscent of times past. In keeping with tradition, she makes them more than just functional by carving clever faces into them. A coauthor with Bob Hemphill of the book, Carved Nutcrackers, Chris recently stopped by my studio to share her techniques. Carving the head and jaw Step 1. First, Chris sizes two blocks of basswood to the dimensions listed above. Next, she traces the head and the jaw patterns, found in Full Size Pattern Section |


