Creative Woodworks & crafts 1997-12, страница 47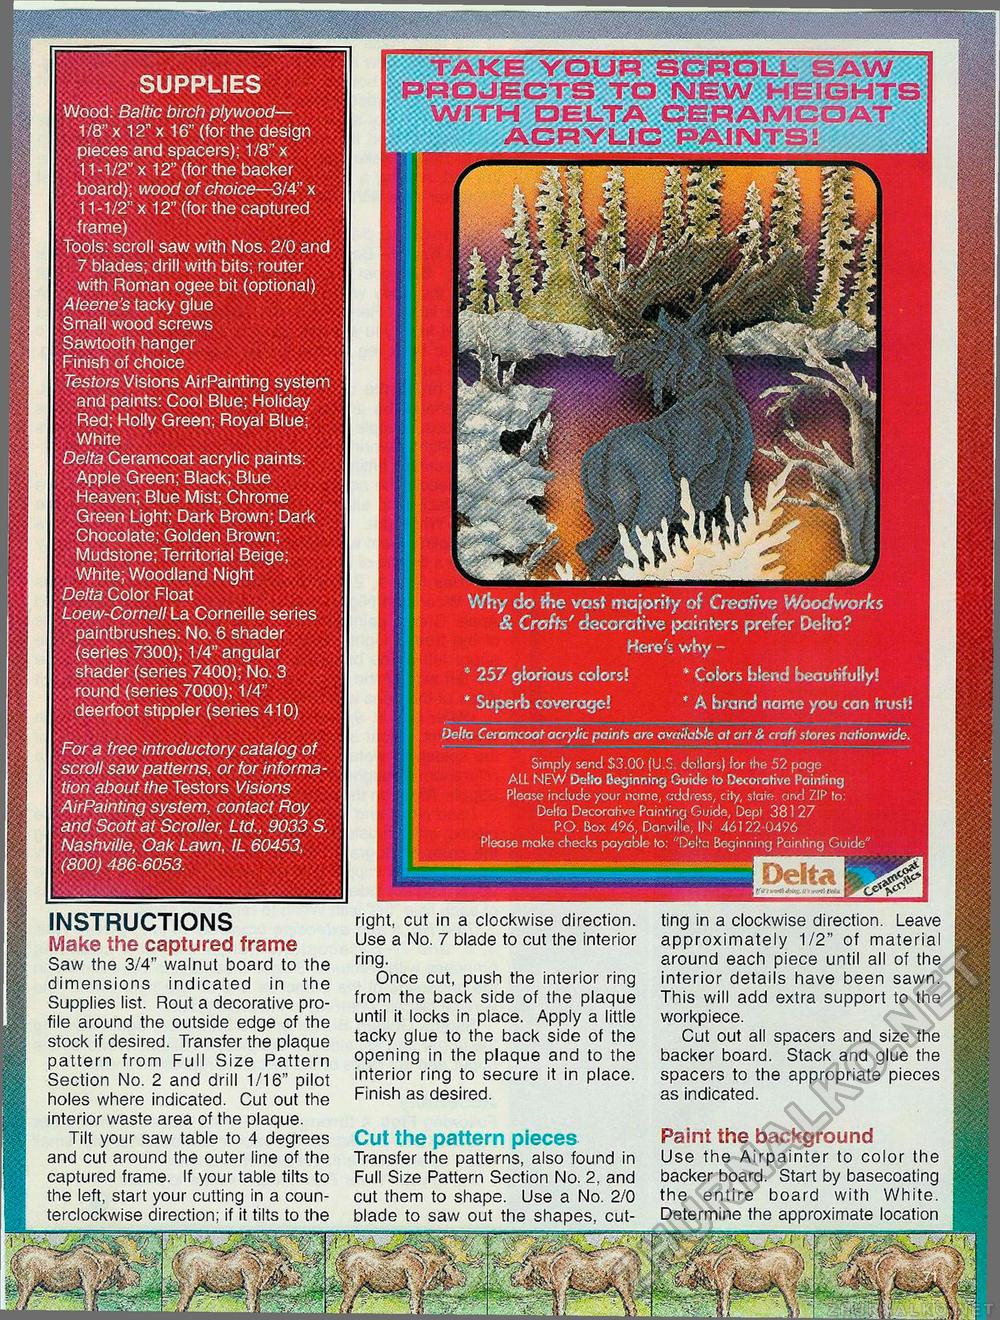
SUPPLIES Wood: Baltic birch plywood— 1/8" x 12"x 16" (for the design pieces and spacers); 1/8" x 11-1/2" x 12" (for the backer board); wood of choice—3/4" x 11-1/2" x 12" (for the captured frame) Tools: scroll saw with Nos. 2/0 and 7 blades; drill with bits; router with Roman ogee bit (optional) Ateene's tacky glue Small wood screws Sawtooth hanger Finish of choice Testors Visions AirPainting system and paints: Cool Blue; Holiday Red; Holly Green; Royal Blue; White Delta Ceramcoat acrylic paints: Apple Green; Black; Blue Heaven; Blue Mist; Chrome Green Light; Dark Brown; Dark Chocolate; Golden Brown; Mudstone; Territorial Beige; White; Woodland Night Delta Color Float Loew-Corneil La Corneille series paintbrushes: No. 6 shader (series 7300); 1/4" angular shader (series 7400); No. 3 round (series 7000); 1/4" deerfoot stippler (series 410) Why do the vost majority of Creative Woodworks & Crafts' decorative painters prefer Delta? Here's why - * 257 glorious colors! * Colors biend beautifully! * Superb coverage! * A brand name you can trust! Delta Ceramcoat acrylic paints are available at art & craft stores nationwide. For a free introductory catalog of scroll saw patterns, or for information about the Testors Visions AirPainting system, contact Roy and Scott at Scroller, Ltd., 9033 S. Nashville, Oak Lawn, IL 60453, (800) 486-6053. Simply send $3.00 (U.S. dollars) for the 52 page All NEW Delta Beginning Guide to Decorative Painting Please include your name, address, city, state, and ZIP to: Delta Decorative Painting Guide, Dept 381 27 P.O. Box 496, Danville, IN 46122-0496 se make checks payable to: "Delta Beginning Painting Guide' ■H PROJECTS Td iNliVV HEIGHTS WITH DELTA iERAMGOAT INSTRUCTIONS Make the captured frame Saw the 3/4" walnut board to the dimensions indicated in the Supplies list. Rout a decorative profile around the outside edge of the stock if desired. Transfer the plaque pattern from Full Size Pattern Section No. 2 and drill 1/16" pilot holes where indicated. Cut out the interior waste area of the plaque. Tilt your saw table to 4 degrees and cut around the outer line of the captured frame. If your table tilts to the left, start your cutting in a counterclockwise direction; if it tilts to the right, cut in a clockwise direction. Use a No. 7 blade to cut the interior ring. Once cut, push the interior ring from the back side of the plaque until it locks in place. Apply a little tacky glue to the back side of the opening in the plaque and to the interior ring to secure it in place. Finish as desired. ting in a clockwise direction. Leave approximately 1/2" of material around each piece until all of the interior details have been sawn. This will add extra support to the workpiece. Cut out all spacers and size the backer board. Stack and glue the spacers to the appropriate pieces as indicated. Paint the background Use the Airpainter to color the backer board. Start by basecoating the entire board with White. Determine the approximate location Cut the pattern pieces Transfer the patterns, also found in Full Size Pattern Section No. 2, and cut them to shape. Use a No. 2/0 blade to saw out the shapes, cut- ... |


