Creative Woodworks & crafts 1997-12, страница 48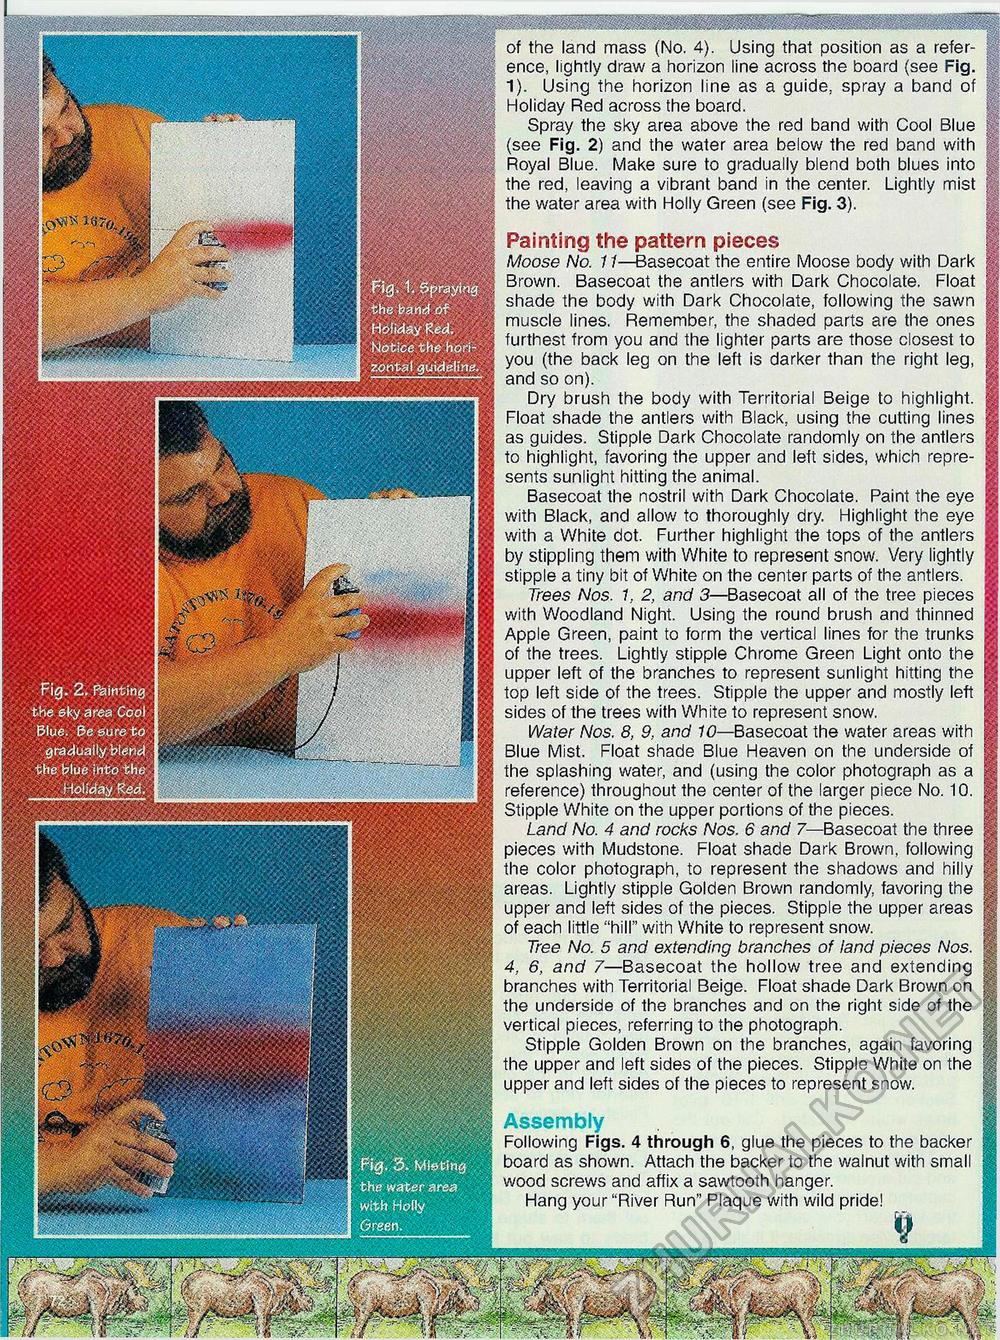
Fig. 1. Spraying the band of Holiday Red. Notice the horizontal guideline. Fig. 2. Painting the sky area Cool Blue. Be sure to ■ gradually blend the blue into the Holiday Red. Fig. 3. Misting the water area with Holly Painting the pattern pieces Moose No. 11—Basecoat the entire Moose body with Dark Brown. Basecoat the antlers with Dark Chocolate. Float shade the body with Dark Chocolate, following the sawn muscle lines. Remember, the shaded parts are the ones furthest from you and the lighter parts are those closest to you (the back leg on the left is darker than the right leg, and so on). Dry brush the body with Territorial Beige to highlight. Float shade the antlers with Black, using the cutting lines as guides. Stipple Dark Chocolate randomly on the antlers to highlight, favoring the upper and left sides, which represents sunlight hitting the animal. Basecoat the nostril with Dark Chocolate. Paint the eye with Black, and allow to thoroughly dry. Highlight the eye with a White dot. Further highlight the tops of the antlers by stippling them with White to represent snow. Very lightly stipple a tiny bit of White on the center parts of the antlers. Trees Nos. 1, 2, and 3—Basecoat all of the tree pieces with Woodland Night. Using the round brush and thinned Apple Green, paint to form the vertical lines for the trunks of the trees. Lightly stipple Chrome Green Light onto the upper left of the branches to represent sunlight hitting the top left side of the trees. Stipple the upper and mostly left sides of the trees with White to represent snow. Water Nos. 8, 9, and 10—Basecoat the water areas with Blue Mist. Float shade Blue Heaven on the underside of the splashing water, and (using the color photograph as a reference) throughout the center of the larger piece No. 10. Stipple White on the upper portions of the pieces. Land No. 4 and rocks Nos. 6 and 7—Basecoat the three pieces with Mudstone. Float shade Dark Brown, following the color photograph, to represent the shadows and hilly areas. Lightly stipple Golden Brown randomly, favoring the upper and left sides of the pieces. Stipple the upper areas of each little "hill" with White to represent snow. Tree No. 5 and extending branches of land pieces Nos. 4, 6, and 7—Basecoat the hollow tree and extending branches with Territorial Beige. Float shade Dark Brown on the underside of the branches and on the right side of the vertical pieces, referring to the photograph. Stipple Golden Brown on the branches, again favoring the upper and left sides of the pieces. Stipple White on the upper and left sides of the pieces to represent snow. Assembly Following Figs. 4 through 6, glue the pieces to the backer board as shown. Attach the backer to the walnut with small wood screws and affix a sawtooth hanger. Hang your "River Run" Plaque with wild pride! of the land mass (No. 4). Using that position as a reference, lightly draw a horizon line across the board (see Fig. 1). Using the horizon line as a guide, spray a band of Holiday Red across the board. Spray the sky area above the red band with Cool Blue (see Fig. 2) and the water area below the red band with Royal Blue. Make sure to gradually blend both blues into the red. leaving a vibrant band in the center. Lightly mist the water area with Holly Green (see Fig. 3). |


