Creative Woodworks & crafts 1998-07, страница 42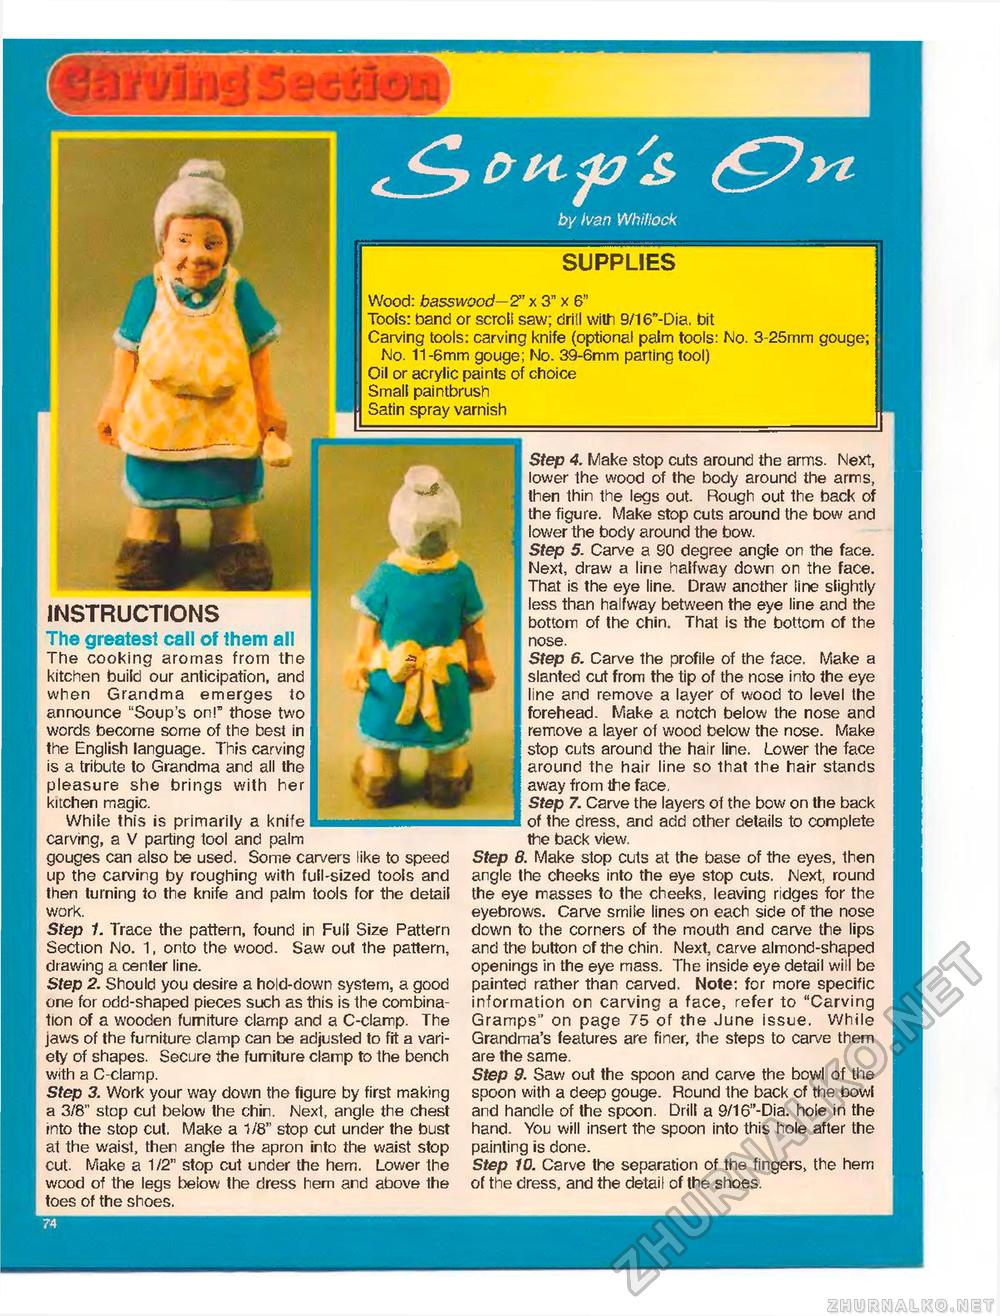
INSTRUCTIONS The greatest call of them all The cooking aromas from the kitchen build our anticipation, and when Grandma emerges to announce "Soup's on!" those two words become some of the best in the English language. This carving is a tribute to Grandma and all the pleasure she brings with her kitchen magic. While this is primarily a knife carving, a V parting tool and palm gouges can also be used. Some carvers like to speed up the carving by roughing with full-sized tools and then turning to the knife and palm tools for the detail work. Step 1. Trace the pattern, found in Full Size Pattern Section No. 1, onto the wood. Saw out the pattern, drawing a center line. Step 2. Should you desire a hold-down system, a good one for odd-shaped pieces such as this is the combination of a wooden fumiture clamp and a C-clamp. The jaws of the furniture clamp can be adjusted to fit a variety of shapes. Secure the fumiture clamp to the bench with a C-clamp. Step 3. Work your way down the figure by first making a 3/8" stop cut below the chin. Next, angle the chest into the stop cut. Make a 1/8" stop cut under the bust at the waist, then angle the apron into the waist stop cut. Make a 1/2" stop cut under the hem. Lower the wood of the legs below the dress hem and above the toes of the shoes. SUPPLIES Wood: basswood-2" x 3" x 6" Tools: band or scroll saw; drill with 9/16"-Dia. bit Carving tools: carving knife (optional palm tools: No. 3-25mm gouge; No. 11-6mm gouge; No. 39-6mm parting tool) Oil or acrylic paints of choice Small paintbrush Satin spray varnish Step 4. Make stop cuts around the arms. Next, lower the wood of the body around the arms, then thin the legs out. Rough out the back of the figure. Make stop cuts around the bow and lower the body around the bow. Step 5. Carve a 90 degree angle on the face. Next, draw a iine halfway down on the face. That is the eye line. Draw another line slightly less than halfway between the eye line and the bottom of the chin. That is the bottom of the nose. Step 6. Carve the profile of the face. Make a slanted cut from the tip of the nose into the eye line and remove a layer of wood to level the forehead. Make a notch below the nose and remove a layer of wood below the nose. Make stop cuts around the hair line. Lower the face around the hair line so that the hair stands away from the face, Step 7. Carve the layers of the bow on the back of the dress, and add other details to complete the back view. Step 8. Make stop cuts at the base of the eyes, then angle the cheeks into the eye stop cuts. Next, round the eye masses to the cheeks, leaving ridges for the eyebrows. Carve smile lines on each side of the nose down to the corners of the mouth and carve the lips and the button of the chin. Next, carve almond-shaped openings in the eye mass. The inside eye detail will be painted rather than carved. Note: for more specific information on carving a face, refer to "Carving Gramps" on page 75 of the June issue. While Grandma's features are finer, the steps to carve them are the same. Step 9. Saw out the spoon and carve the bowl of the spoon with a deep gouge. Round the back of the bowl and handle of the spoon. Drill a 9/16"-Dia. hole in the hand. You will insert the spoon into this hole after the painting is done. Step 10. Carve the separation of the fingers, the hem of the dress, and the detail of the shoes. 74 |


